Storm Damage Roof Inspection: What to Expect and How to Prepare in 2026
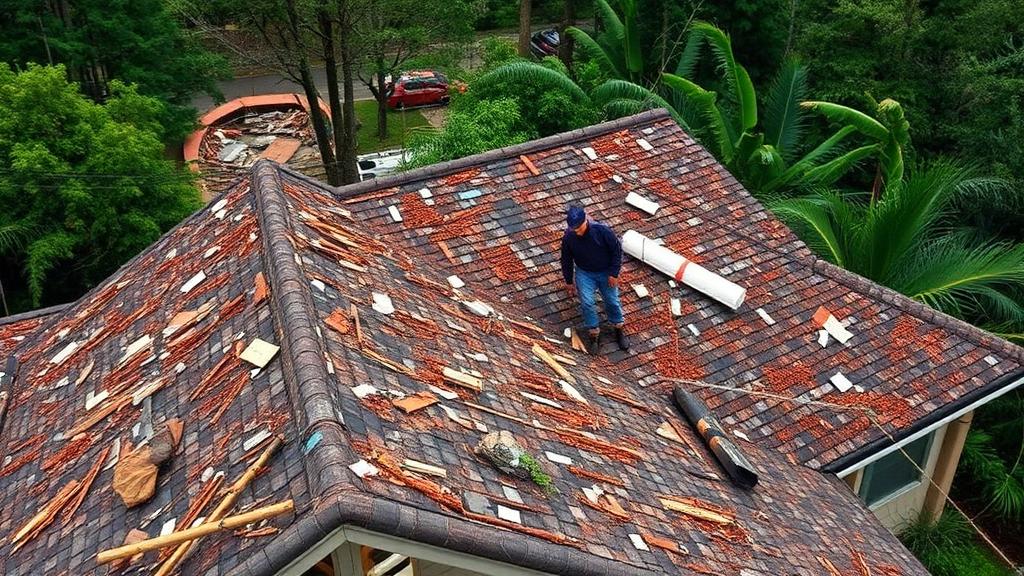
What Happens During a Storm Damage Roof Inspection?
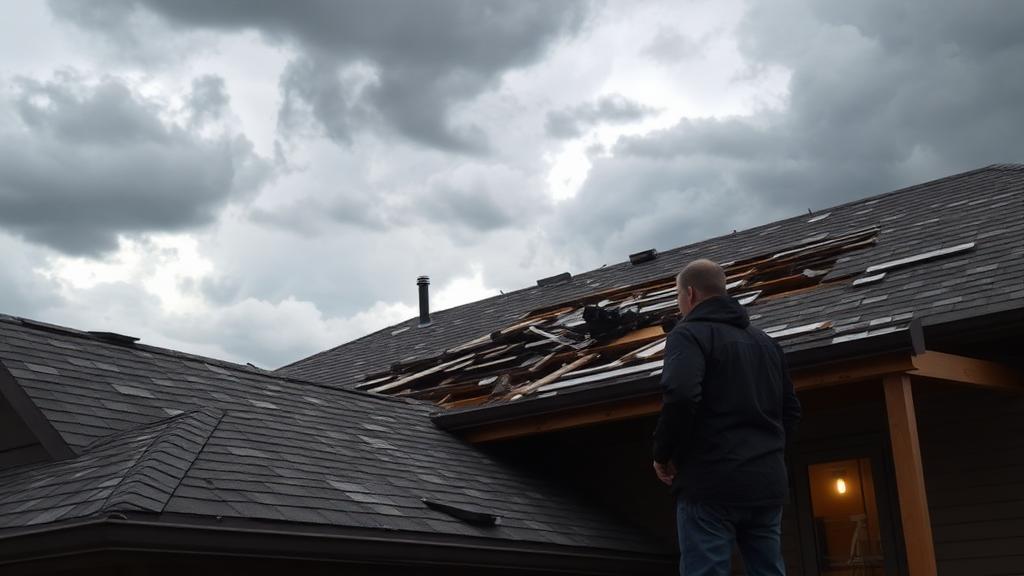
After a major storm rolls through your neighborhood, one of the most important steps you can take as a homeowner is scheduling a professional roof inspection. Whether it was hail, high winds, heavy rain, or a tornado, storm damage isn't always visible from the ground—and what you can't see can cost you thousands if left unaddressed.
In 2026, with insurance companies tightening claim requirements and roofing costs continuing to rise, understanding the storm damage inspection process is more important than ever. This guide walks you through every step so you know exactly what to expect.
When to Schedule a Storm Damage Inspection
Immediately After These Events
- Hail larger than 1 inch (quarter-sized): Can damage any roofing material
- Sustained winds above 60 mph: Can lift shingles, damage flashing, and break seals
- Tornado or straight-line winds: Even near-misses can cause significant roof damage
- Heavy debris impact: Fallen trees, branches, or airborne objects
- Prolonged heavy rain (3+ inches): Can exploit existing vulnerabilities and cause interior leaks
The 72-Hour Rule
Most insurance policies require you to report storm damage within a reasonable timeframe. While "reasonable" varies by carrier, the industry standard is 72 hours to 30 days. However, filing sooner strengthens your claim:
- Within 24 hours: Best case—demonstrates urgency and prevents additional damage
- Within 72 hours: Still strong—shows prompt response
- Within 30 days: Acceptable but may face more scrutiny
- After 30 days: Some carriers may deny or reduce claims
Before the Inspector Arrives: Homeowner Preparation
Step 1: Document Everything Yourself
Before any professional sets foot on your roof, create your own documentation:
- Photograph exterior damage from multiple angles (wide shots and close-ups)
- Photograph interior damage including water stains, ceiling bubbling, or attic moisture
- Video walkthrough of the property showing the full scope of visible damage
- Save weather reports from the storm date (National Weather Service data, local news screenshots)
- Note the exact date and time of the storm event
- Collect neighbor reports if they've discovered similar damage
Step 2: Prevent Further Damage
Insurance requires you to take reasonable steps to prevent additional damage, known as "mitigation":
- Cover open areas with tarps secured with 2x4s and screws (not nails through shingles)
- Clear debris from gutters and drainage paths
- Move valuables away from areas with active leaks
- Keep all receipts for emergency materials—these are reimbursable
Step 3: Do NOT Make Permanent Repairs
This is critical: Do not repair anything permanently before the insurance adjuster inspects. Temporary protection is fine and expected, but permanent repairs remove the evidence your claim depends on.
What Professional Inspectors Look For
Exterior Roof Inspection Checklist
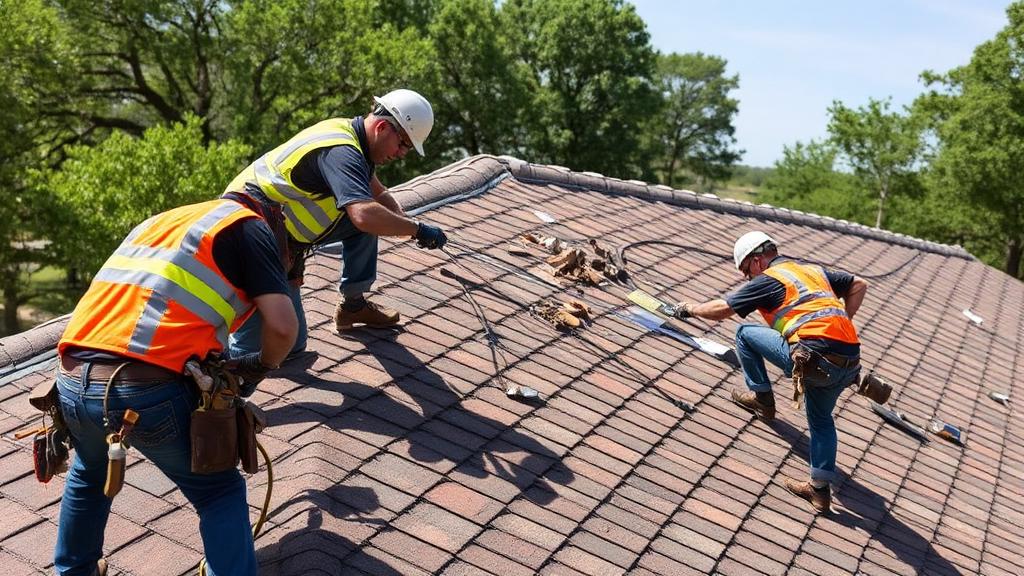
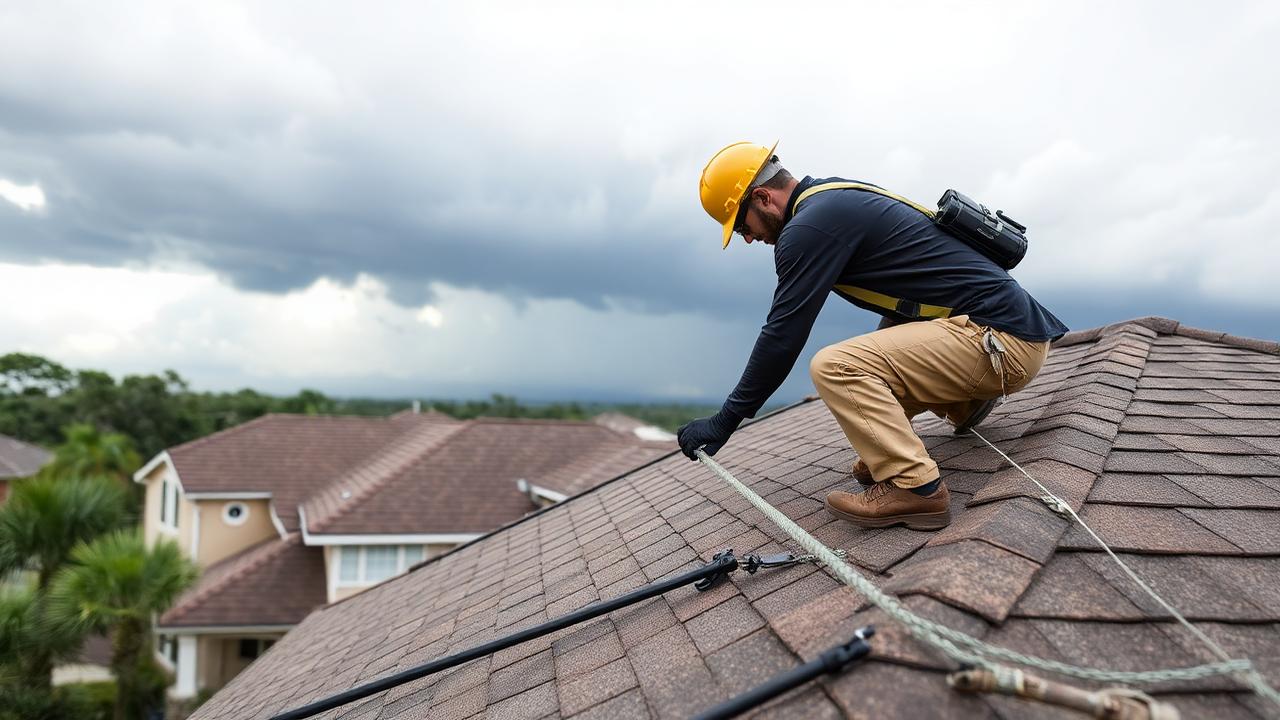
A thorough storm damage inspection covers every component of your roofing system:
Shingle Damage Assessment:: - Hail hits: Circular bruises where granules are displaced, exposing the black asphalt mat beneath - Wind damage: Lifted, curled, or missing shingles, particularly along edges and ridges - Creasing: Horizontal lines across shingles where wind bent them backward - Seal strip failure: Shingles that have lost their adhesive bond and can be lifted by hand - Granule loss patterns: Excessive granules in gutters indicate widespread surface damage
Flashing and Metal Components:: - Dented or punctured flashing around chimneys, vents, and walls - Displaced drip edge along eaves and rakes - Damaged boot flashings around plumbing vents - Valley flashing integrity and alignment
Ventilation Components:: - Cracked or broken ridge vents - Damaged turbine vents (bent fins = reduced airflow) - Displaced soffit vents or screens - Powered attic ventilator housing damage
Gutter System: - Dented gutter troughs and downspouts (indicates hail size and intensity) - Separated gutter sections from wind or ice - Excessive granule accumulation in gutter troughs - Damaged gutter guards or screens
Interior Inspection Points
The best inspectors don't stop at the roof surface:
Attic Assessment:: - Active daylight penetration through the roof deck - Moisture on rafters or decking indicating recent water intrusion - Staining patterns showing water travel paths - Insulation displacement from wind or water - Mold or mildew growth suggesting ongoing moisture issues
Living Space:: - Ceiling water stains (photograph and measure each one) - Wall moisture particularly around windows and at roof-wall intersections - Floor damage from active leaks - Electrical concerns if water has reached fixtures or outlets
Understanding the Inspection Report
Damage Classification Levels
Professional inspectors typically classify damage using these categories:
Functional Damage:: Damage that compromises the roof's ability to protect the building. Examples include missing shingles, cracked tiles, or punctured membranes. This always qualifies for insurance claims.
Cosmetic Damage:: Damage that affects appearance but not performance. Examples include minor denting on metal components or surface-level granule bruising. Coverage varies by policy—check your endorsements.
Pre-Existing Damage:: Wear, aging, or previous damage that existed before the storm. Inspectors must distinguish between storm damage and pre-existing conditions. This is where proper documentation and an experienced inspector are invaluable.
The Damage Matrix
Most reports include a roof diagram showing:
| Symbol | Meaning | Insurance Relevance |
|---|---|---|
| ● (Filled circles) | Confirmed hail impacts | Directly claimable |
| ✕ (X marks) | Wind-damaged areas | Directly claimable |
| △ (Triangles) | Soft spots/moisture | May indicate hidden damage |
| □ (Squares) | Pre-existing issues | Not covered by storm claim |
Working with Insurance: A Step-by-Step Process
Step 1: File Your Claim Promptly
Contact your insurance carrier's claims department (not your agent) with: - Policy number - Date and type of storm - Brief description of observed damage - Your documentation photos and videos
Step 2: The Insurance Adjuster's Inspection
Your carrier will send an adjuster, typically within 5–14 days. Key tips:
- Be present during the inspection to point out all damage areas
- Provide your documentation including photos, weather data, and neighbor reports
- Have your contractor present if possible—they can show the adjuster damage the adjuster might miss
- Ask questions about anything you don't understand in the assessment
Step 3: Review the Adjuster's Report
The adjuster's report determines your claim value. Common issues to watch for:
- Under-counted hail hits: Adjusters sometimes sample a small area and extrapolate—request full-slope testing
- Missed components: Verify all damaged items are listed (flashing, vents, gutters, not just shingles)
- Depreciation calculations: Ensure depreciation is calculated correctly based on roof age and condition
- Code upgrade exclusions: If your policy includes "law and ordinance" coverage, ensure code-required upgrades are included
Step 4: Supplement if Necessary
If the initial claim doesn't cover the full repair, your contractor can file a "supplement" documenting additional damage discovered during the repair process. This is common and expected—roughly 40% of storm damage claims require at least one supplement.
Red Flags: Storm Chasing Scams to Avoid
After every major storm, opportunistic companies flood affected areas. Protect yourself by watching for these warning signs:
- Door-to-door solicitation immediately after storms (legitimate companies don't need to chase)
- "Free roof" promises in exchange for signing over your insurance claim
- Pressure to sign contracts before the inspection is complete
- Requests for large upfront deposits (legitimate storm restoration companies bill after insurance approval)
- No local address or permanent office in your area
- Offering to cover your deductible (this is insurance fraud in most states)
How to Choose a Legitimate Storm Damage Contractor
- Verify state licensing and active insurance certificates
- Check for an established local presence (minimum 3 years in the area)
- Request references from recent storm damage projects
- Confirm manufacturer certifications for your roofing material
- Read online reviews focusing on storm restoration work
- Ensure they have experience working with insurance claims
Cost of Storm Damage Repairs in 2026
Common Repair Costs
| Repair Type | Average Cost Range | Insurance Coverage |
|---|---|---|
| Shingle replacement (per square) | $350–$600 | Yes, if storm-caused |
| Flashing repair/replacement | $200–$800 | Yes |
| Ridge vent replacement | $300–$600 | Yes |
| Pipe boot replacement | $150–$400 | Yes |
| Full roof replacement (asphalt) | $8,000–$18,000 | Yes, if total damage |
| Interior water damage repair | $1,000–$10,000+ | Separate from roof claim |
Understanding Your Deductible
In storm-prone states, deductibles may be structured differently:
- Standard deductible: Fixed amount (e.g., $1,000 or $2,500)
- Percentage deductible: 1–5% of your home's insured value (common for wind/hail in TX, FL, OK)
- Example: $300,000 home with 2% wind deductible = $6,000 out-of-pocket
Conclusion: Be Proactive, Be Prepared
Storm damage is stressful, but preparation and knowledge transform the experience from overwhelming to manageable. Document everything, schedule your inspection promptly, work with licensed professionals, and understand your insurance policy before you need it. The homeowners who recover fastest from storm damage are the ones who were ready for it.
*Find a trusted storm damage restoration contractor in your area. Search verified roofers with insurance claim experience.*