Before Adding Attic Insulation: Protect Roof Ventilation and Seal Air Leaks
Adding attic insulation sounds straightforward: choose a material, agree on a depth, and cover the attic floor. But the most important decisions happen before the first bag is opened. New insulation can conceal roof damage, bury repair access, or obstruct the airflow a vented roof assembly needs.
For homeowners planning an upgrade in late 2026, the useful question is not simply “How much insulation should I add?” It is “What must be inspected, repaired, sealed, and protected before the attic floor disappears?”
This guide focuses on that sequence for U.S. homes, especially existing houses with vented attics. The goal is a coordinated project in which the roofer, insulation installer, and any HVAC or electrical contractors solve their own parts without undermining someone else’s work.
First, Identify Where Your Home’s Insulated Boundary Belongs
In a conventional vented attic, insulation usually belongs at the attic floor, above the living space. The ceiling beneath it forms part of the home’s air-control boundary. Outside air enters through designated intake vents and exits through designated exhaust vents above that insulation.
An unvented attic is different. Its thermal and air-control layers are generally associated with the roofline rather than only the attic floor. Depending on the assembly and climate, it may also need specific vapor-control measures and conditioning or dehumidification provisions.
Do not combine these approaches casually. Spraying foam against the roof deck while leaving existing vents open, or closing vents while retaining an otherwise conventional vented assembly, can create an incomplete system.
Before requesting bids, ask each contractor:
- Is this attic currently vented, unvented, or an inconsistent mixture?
- Where should the continuous insulation and air barrier be located?
- Will the proposed work preserve that arrangement or deliberately redesign it?
If answers differ, resolve the design first. Cathedral ceilings, finished attics, and low-slope roof cavities often need an assembly-specific assessment rather than a standard attic-floor insulation package. Our roofing fundamentals guide can help you prepare for those conversations.
Inspect Before New Insulation Hides the Evidence
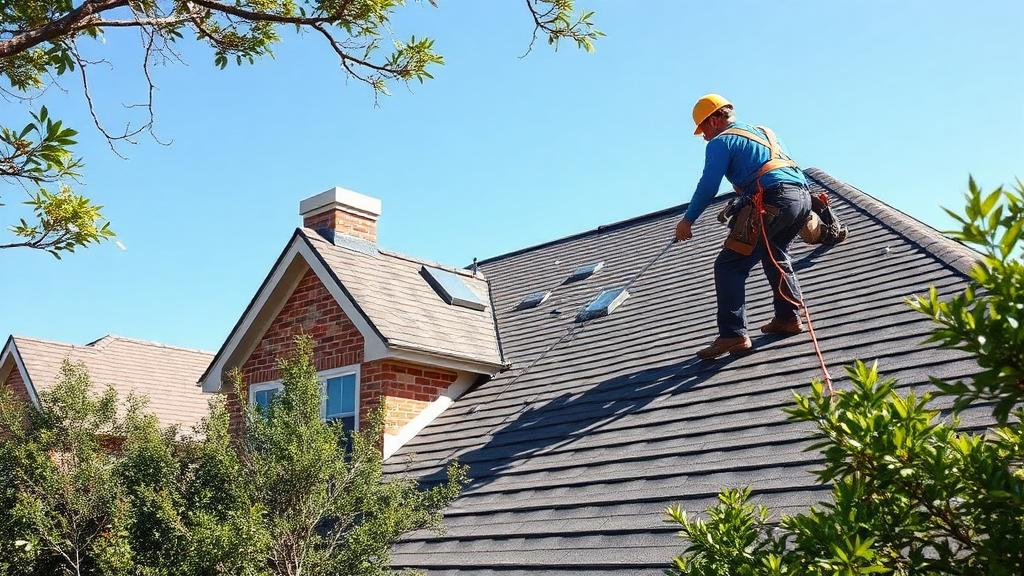
An insulation estimate is not necessarily a roof inspection. Assign responsibility for examining the roof deck, framing, penetrations, and existing moisture conditions before installation.
A qualified professional should distinguish active water entry from old staining and condensation. Dark sheathing alone does not establish the cause. Damp insulation might reflect a roof leak, indoor air leakage, an exhaust duct problem, or several issues together.
Ask for photographs identifying:
- Stained, wet, deteriorated, or suspect roof sheathing.
- Rusted fasteners or recurring condensation patterns.
- Compressed, displaced, or contaminated insulation.
- Disconnected ducts and poorly sealed ceiling penetrations.
- Existing intake openings and any obstructions.
Active leaks and unresolved wet materials should be addressed before covering the area. If drying is required, ask how the contractor will verify that conditions are suitable for enclosure rather than relying only on appearance.
Do not climb onto the roof or enter an unsafe attic to collect evidence. Attic access can involve fall hazards, exposed wiring, dust, and unsupported ceiling surfaces. Arrange a professional roof inspection when roof conditions are uncertain.
Separate Air Sealing From Insulation
Insulation slows heat transfer; it does not automatically stop air leakage. Loose-fill fiberglass and cellulose are not substitutes for a continuous air barrier.
In winter, indoor air escaping through ceiling openings can carry moisture toward cold roof sheathing. During cooling weather, leakage can also undermine comfort and moisture control. Adding insulation without addressing those openings may leave an important problem intact.
Common inspection points include plumbing and wiring penetrations, dropped ceilings, open wall cavities, attic hatches, and chases around mechanical equipment. An energy assessor can use diagnostic methods, potentially including blower-door testing and thermal imaging under suitable conditions, to locate significant leakage paths.
Have the installer describe the air-sealing scope separately from the insulation scope. “Seal as needed” is too vague for comparing proposals. Ask which openings are included, what materials will be used, and how inaccessible areas will be handled.
Some locations require special treatment. Chimneys, flues, and heat-producing equipment need appropriate clearances and approved materials. Ordinary canned foam is not a universal solution. Unrated recessed lights, electrical defects, or unusual penetrations may require an electrician or another qualified trade before insulation proceeds.
Protect the Eaves Before Increasing Insulation Depth
The eaves are where roof ventilation and insulation most often compete for limited space. A shallow roof edge may not have room for the desired insulation thickness and an unobstructed ventilation path unless the detail is planned carefully.
Ventilation baffles maintain a passage beneath the roof sheathing. Insulation dams or blocking help keep loose-fill material from entering soffits and intake openings. Depending on the product and assembly, one component may perform more than one function, but the terms are not interchangeable.
Ask the contractor to show how the proposed detail will:
- Preserve the required airflow path from each intended intake location.
- Keep insulation out of soffits and vent openings.
- Reduce wind washing through exposed insulation at the perimeter.
- Extend above the planned finished insulation level where needed.
- Remain secure during installation and afterward.
Not every roof has continuous soffit intake. Some have intermittent vents, unusual framing, or no practical eave intake at all. Baffle placement should follow the actual ventilation design, not a generic promise to install a few channels.
Where space limits insulation thickness, request a specific perimeter solution. Simply packing insulation tightly into the eaves can sacrifice ventilation without delivering the intended thermal performance.
Verify Ventilation Capacity, Not Just Vent Count
A roof with many visible vents can still have a poor airflow arrangement. The important questions are whether the intended openings are functional, appropriately distributed, and connected through the attic or roof cavity.
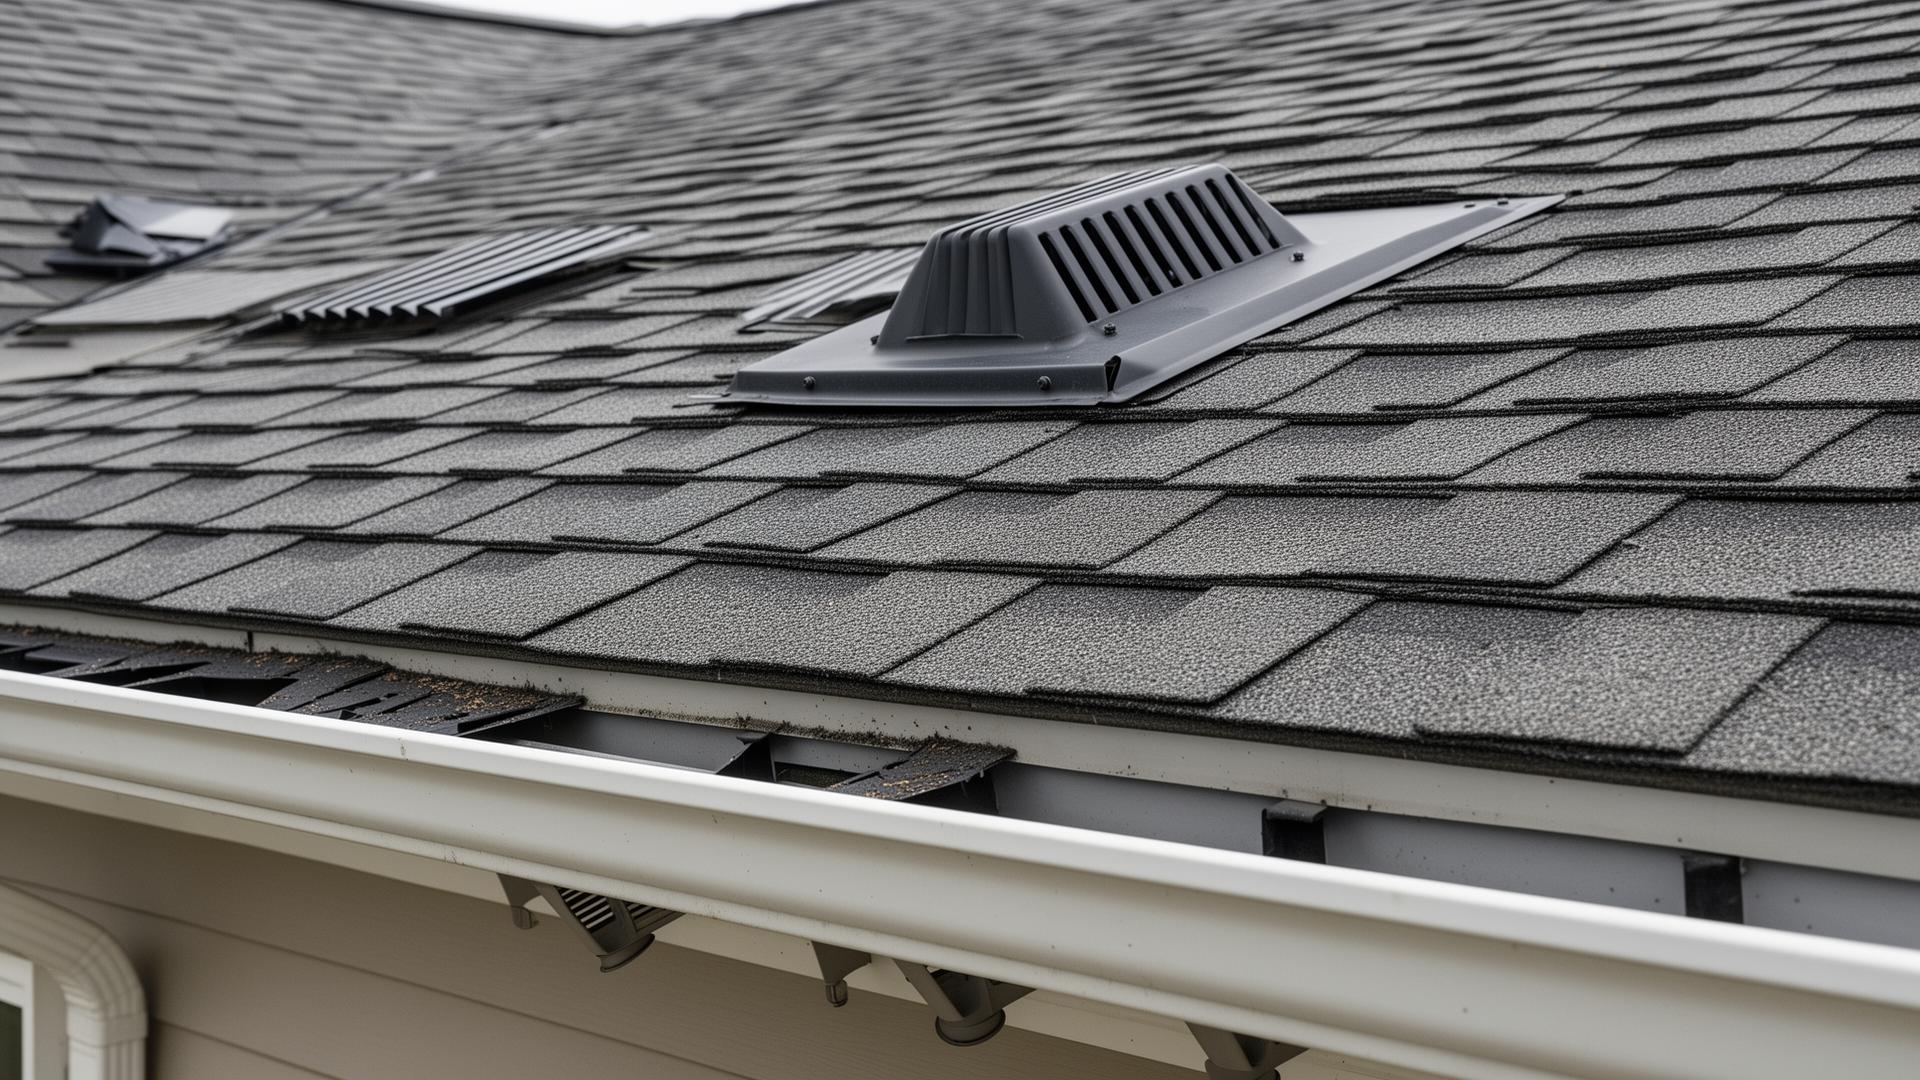
Have the roofer document the intake and exhaust products and their rated net free ventilating area. This is the usable opening area after accounting for restrictions such as louvers and screens, not the outside dimensions of a vent. The roofing glossary explains common terminology used in proposals.
Required ventilation sizing and distribution depend on the locally adopted code, roof assembly, product instructions, and other conditions. Common ventilation ratios have conditions and exceptions; a contractor should not apply a reduced requirement without confirming eligibility.
More exhaust is not automatically better. Exhaust capacity without adequate intake can pull replacement air through unintended openings, potentially including ceiling leaks. Mixing ridge vents, gable vents, and powered exhaust also deserves review because air may move between nearby openings rather than along the intended path.
The insulation contract should preserve the approved ventilation arrangement. Any vent additions, closures, or replacements should be coordinated with a qualified, insured roofer who holds any license required locally.
Resolve Exhaust Ducts, Equipment, and Safety Conflicts
Bathroom fans and clothes dryers should not discharge into the attic. Have a qualified contractor verify that each duct reaches an appropriate outdoor termination and that the installation meets applicable requirements.
A bathroom duct ending near a soffit opening is not equivalent to a proper outdoor connection. Depending on placement, even an exterior termination can allow moist exhaust to reenter nearby intake vents. Duct insulation, sealing, routing, and termination details should suit the climate and equipment.
Attic HVAC systems introduce another coordination issue. Insulation must not bury required service access, block equipment openings, or interfere with condensate drainage. Duct leakage and damaged duct insulation should be assessed before loose-fill installation makes them harder to reach.
If the home has fuel-burning equipment, discuss combustion air and venting before major air sealing or attic conversion. Building-tightness changes can affect some appliances. A qualified HVAC or combustion-safety professional should determine whether testing or corrective work is necessary.
Older materials can create additional hazards. If vermiculite insulation or another suspect material is present, do not disturb it. Obtain an appropriate assessment before removal, drilling, or air sealing. Significant biological contamination, pest damage, and unsafe wiring also require resolution before routine insulation work continues.
Choose Insulation by Installed Performance
Once the roof is dry, the air-sealing plan is clear, and ventilation paths are protected, compare insulation options.
For loose-fill products, the proposal should identify the material, target R-value, installation coverage, and any specified settled thickness. Depth alone is not enough: different products provide different thermal resistance, and installation must follow the manufacturer’s coverage requirements.
Batts need proper fitting around framing and obstructions. Gaps, folds, and compression can reduce performance. Adding batts over irregular existing insulation may look orderly without creating a continuous effective layer.
Spray foam requires a more detailed conversation about assembly design, substrate condition, product type, installation conditions, occupant protection, and applicable fire-protection requirements. Applying it at the roofline can change how the roof deck dries and how future leaks are detected. It is not merely another way to top up attic-floor insulation.
The appropriate R-value and vapor-control strategy vary with climate, local requirements, and existing construction. Avoid adding a new vapor-retarding layer without understanding what is already present and which drying directions the assembly needs.
Also specify an insulated, weatherstripped attic hatch and any necessary hatch dam. Storage or service platforms must be designed so they do not crush insulation or compromise safe access.
Put the Work in a Written Sequence
The most useful contract feature may be a pause between preparation and insulation. Once everything is covered, verifying air sealing and perimeter details becomes much harder.
A practical sequence is:
- Assessment: Document the existing roof, attic, insulation, ventilation, and equipment conditions.
- Hazard and moisture correction: Address leaks, unsafe electrical conditions, suspect materials, and exhaust problems.
- Preparation: Complete air sealing, baffles, dams, access provisions, and necessary duct repairs.
- Pre-cover review: Photograph and inspect work that will be concealed.
- Insulation installation: Install the specified product to its documented coverage and thermal-performance requirements.
- Closeout: Verify access, unobstructed vents, cleanup, and any agreed diagnostic testing.
Name the person responsible for approving each transition. Otherwise, an insulation crew may arrive before the roofer has completed a repair or before an electrician has cleared a fixture issue.
If roof replacement is already planned, ask whether any deck-level or ventilation corrections should happen then. That does not mean replacement is necessary for every insulation upgrade; it means avoiding work that must soon be undone.
Compare Bids by Scope and Documentation
The lowest insulation-only bid may exclude the preparation that makes the project effective. Compare proposals using the same scope rather than only material and R-value.
Request separate allowances or line items for inspection, selective removal, air sealing, baffles, ventilation changes, duct repairs, insulation, and testing. Costs vary with attic access, roof geometry, existing contamination, local labor conditions, and the amount of corrective work.
Ask how concealed defects will be documented and approved before extra work begins. Also clarify disposal, occupant protection, scheduling, and responsibility for incidental damage.
For closeout, request labeled before-and-after photographs, insulation product information, coverage records where applicable, and a map or description of areas with limited access. Documentation should identify any unresolved exclusions rather than implying the entire attic was treated uniformly.
Verify insurance and any locally required licenses for each trade. State and local rules differ; our state roofing directory can help you orient your contractor search.
Practical Pre-Insulation Checklist
Use this checklist with your contractors, not as a reason to enter an unsafe attic:
- [ ] Confirm whether the assembly is vented or unvented.
- [ ] Identify the intended insulation and air-barrier boundaries.
- [ ] Investigate active leaks, damp insulation, and suspicious staining.
- [ ] Resolve material, electrical, combustion, and pest hazards.
- [ ] Specify air sealing separately from insulation installation.
- [ ] Document intake and exhaust capacity and placement.
- [ ] Confirm baffle and insulation-dam details at the eaves.
- [ ] Verify bathroom and dryer exhaust routes outdoors.
- [ ] Protect HVAC access, drainage, and equipment clearances.
- [ ] Specify insulation product, R-value, and coverage requirements.
- [ ] Include attic-hatch insulation and weatherstripping.
- [ ] Schedule photographs and a review before concealment.
- [ ] Assign responsibility for final verification and unresolved items.
Keep these records with your homeowner maintenance checklist for future roof repairs, HVAC service, or a home sale.
FAQ
Can I add insulation without changing my roof vents?
Often, yes, if a professional confirms that the existing ventilation arrangement is adequate and will remain unobstructed. An insulation upgrade does not automatically require new vents. It does require checking whether increased insulation depth will affect intake paths and whether existing vents actually function.
Should old attic insulation always be removed?
No. Dry, suitable existing insulation may remain if it does not prevent necessary repairs or effective installation. Wet, contaminated, or suspect materials need an appropriate assessment. Selective removal may be needed to reach air leaks, inspect framing, or correct eave details even when full removal is unnecessary.
Will a powered attic fan fix inadequate ventilation?
Not necessarily. A powered fan cannot replace a sound intake design or ceiling air sealing. It may draw air through unintended paths when replacement air is limited. Have the complete assembly evaluated before adding powered exhaust, including any potential interaction with fuel-burning equipment.
How can I confirm soffit vents were not buried?
Require photographs of the intake paths, baffles, and dams before insulation, followed by final verification from safe professional access. The documentation should correspond to the actual vent locations. Looking at soffit grilles from the ground cannot confirm that the space behind them remains open.
What should I monitor after the upgrade?
Watch from occupied rooms and ground level for new odors, ceiling discoloration, unusual indoor humidity, or comfort problems. Keep indoor humidity appropriate for your climate and season. If concerns appear after cold weather or heavy rain, request a professional follow-up rather than adding more vents or insulation without a diagnosis.
A successful upgrade is not simply a deeper blanket of insulation. It is a dry, safely detailed assembly with controlled air leakage, protected ventilation where required, and records showing what was completed before the work disappeared from view.