Before Winter Rain: A Roof Flashing and Penetration Checkup
Late fall roof preparation often starts with leaves and gutters. But a roof can shed water properly across its main surface and still leak where a plumbing pipe, chimney, wall, or equipment mount interrupts that surface. These transitions deserve their own seasonal checkup.
For October 31, 2026, a useful maintenance priority is to review these vulnerable connections before your area's next stretch of persistent rain, freezing weather, or wind-driven storms. The goal is not to coat every seam with sealant. It is to identify questionable details, document existing conditions, and arrange appropriate repairs while workable weather remains.
This guide focuses on flashing and roof penetrations rather than general gutter maintenance or storm response. All homeowner observations should come from the ground, indoor living spaces, or a safely accessible attic. Leave roof access, testing, and repairs to qualified, insured professionals licensed where required.
Why Roof Connections Need a Separate Seasonal Review
Flashing is the material that directs water across or away from a roof intersection. A penetration is an opening through the roof, such as a plumbing vent, exhaust outlet, or support for mounted equipment. Penetrations typically need purpose-built flashing integrated with the surrounding roof covering.
The critical word is integrated. Roof components generally work by overlapping so water travels outward and downhill. A metal flange or rubber collar may look intact from a distance while its connection to the surrounding roofing has failed.
Temperature changes also make adjoining materials move differently. Metal expands, flexible collars age, masonry absorbs moisture, and wood framing shifts. Wind-driven rain can expose a weakness that ordinary rainfall never revealed.
That does not mean every aging detail needs replacement. It means seasonal preparation should evaluate the whole connection, not just the visible bead of sealant. For background on roof assemblies, see Roofing 101.
Make a Simple Map Before Calling a Contractor
Start with a rough sketch of the house footprint. Label the street side, rear yard, garage, and any additions. From safe ground locations, note roof features you can actually see; binoculars or a camera zoom can help.
Include:
- Chimneys and their approximate locations.
- Plumbing vent pipes and roof exhaust outlets.
- Upper walls that meet a lower roof.
- Dormers, roof valleys, and changes in roof slope.
- Skylights, satellite dishes, solar arrays, and equipment supports.
- Areas where an addition meets the original house.
Do not guess about hidden surfaces. Mark those areas as needing professional review. Pair the sketch with photos taken from recognizable locations so future pictures can be compared.
Next, record indoor clues: an old ceiling stain, a musty closet, peeling paint near a chimney, or moisture that appears only during certain storms. Note when each symptom occurs. A leak seen during wind-driven rain may require a different investigation from moisture that appears on cold, dry mornings.
Your map helps a contractor connect observations without assuming that the entry point lies directly above the stain. Water can travel along framing or other concealed surfaces before becoming visible.
Give Pipe Boots and Exhaust Outlets Individual Attention
A pipe boot is the flashing assembly around a pipe that passes through the roof. Depending on the design, it may include a flexible collar, metal base, or other weatherproof components. The collar and roof covering can age at different rates.
From the ground, you might notice an obviously displaced cover, a tilted pipe, or debris lodged around a penetration. Smaller cracks and hidden fastening problems usually require close professional inspection.
Ask the roofer to evaluate:
- Collar cracking, splitting, or separation from the pipe.
- Deterioration of the flashing base and surrounding roofing.
- Fastener placement and exposed fastening points.
- Whether the assembly accommodates movement appropriately.
- Evidence of past patching that may conceal the original problem.
Plumbing vents and exhaust outlets are not interchangeable. Plumbing vents must remain functional, and exhaust terminations must suit the connected appliance or system. Never cap a pipe simply because it looks like an unprotected opening.
If an exhaust outlet is damaged, the roofer may need to coordinate with an HVAC contractor or another trade. Do not add screens, covers, or sealant to appliance vents without confirming the system's requirements.
Check Chimney and Roof-to-Wall Details as Systems
Chimneys and walls create more complex intersections than a single pipe. They may involve several flashing pieces that must work together.
At a sloped roof meeting a sidewall, step flashing typically directs water outward in successive pieces. Counterflashing or the wall's weather-management layers protect the upper edges of that flashing. At some lower roof-to-wall endings, kickout flashing diverts runoff away from the wall and toward the gutter.
A ground-level warning sign is staining or deterioration on siding below a roof-to-wall intersection. Other clues include peeling paint, damp trim, or recurring interior moisture near a dormer. These do not prove a flashing defect, but they justify closer evaluation.
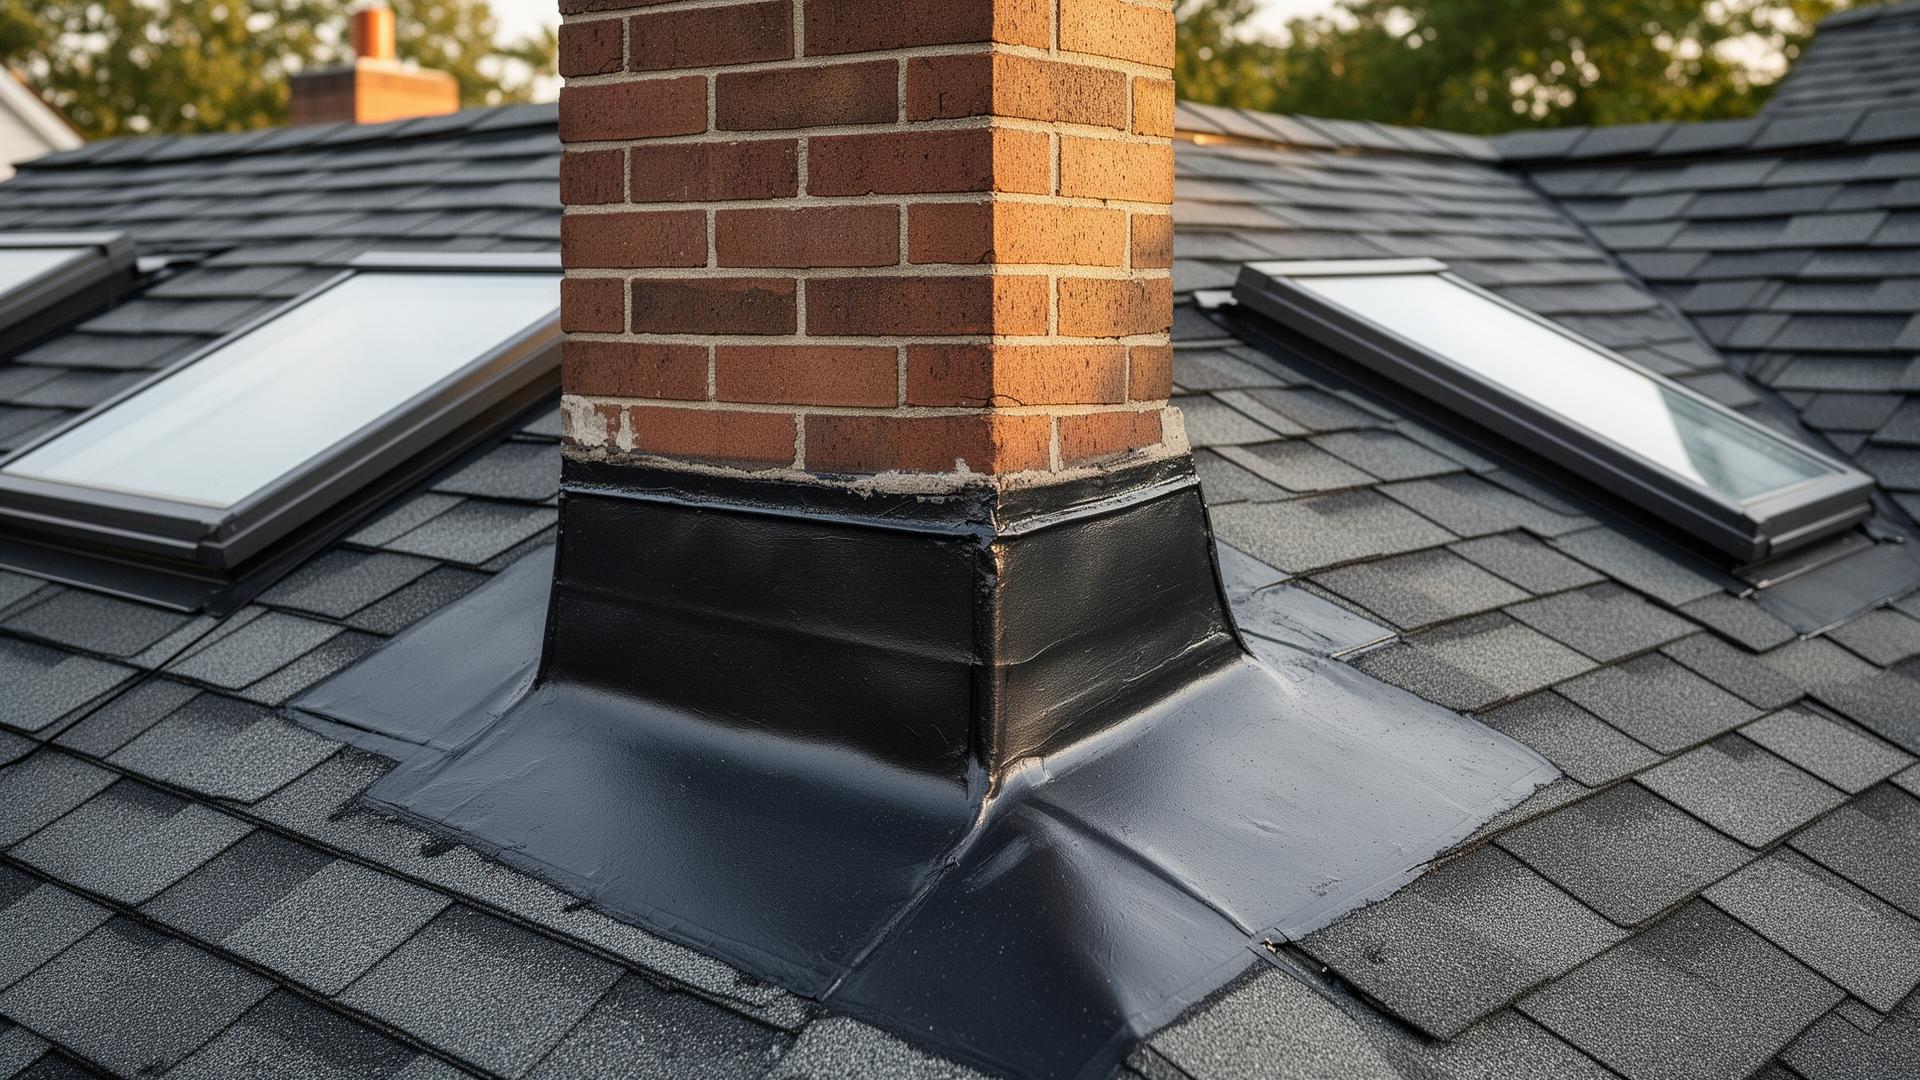
For chimneys, ask the contractor to distinguish roof-flashing problems from masonry problems. Cracked mortar joints, a deteriorated chimney crown, or other chimney defects can admit water independently of the roof connection.
Where a chimney interrupts runoff on its uphill side, ask whether the existing water-diversion detail is appropriate. The need for a cricket or other configuration depends on chimney dimensions, roof geometry, applicable requirements, and installation details.
A durable repair may require both a roofer and a qualified chimney professional. Repeatedly sealing the visible roof edge will not resolve every source of chimney moisture. If terminology becomes confusing, use the roofing glossary to clarify the proposed work.
Review Equipment Mounts and Forgotten Attachments
Seasonal preparation is also a chance to inventory objects attached to the roof. Older satellite dishes, abandoned antenna supports, and unused brackets can remain long after the equipment stops serving a purpose.
Ask whether each attachment is still necessary. Removing obsolete equipment may reduce future maintenance, but only if the mounting holes and underlying assembly are properly restored. Unscrewing a bracket and covering the holes with surface caulk is not automatically an adequate repair.
For solar arrays, separate roofing responsibilities from electrical and mounting-system responsibilities. Do not move panels, disconnect wiring, or disturb mounts yourself. Have the roofer coordinate with a qualified solar contractor when access beneath an array is necessary. Review applicable workmanship and equipment warranties before authorizing changes.
Also consider upcoming holiday decorations. Avoid nails, screws, or staples through roofing, flashing, and roof-edge metal. Use attachment methods intended for the specific nonroof surface, and arrange professional help for elevated locations. Decorations should not obstruct exhaust outlets, drainage paths, or emergency access.
The simplest seasonal improvement may be preventing a new penetration rather than repairing an old one.
Use Indoor Evidence Without Misdiagnosing the Leak
If your attic has safe, established access and a stable walking surface, look for visible moisture clues without stepping onto insulation or exposed ceiling materials. Do not enter an attic that is cramped, poorly lit, electrically hazardous, or otherwise unsafe. A professional can inspect inaccessible areas.
Useful observations include darkened roof sheathing near a penetration, damp insulation, rust on nearby fasteners, and staining along chimney framing. Photograph the location and note recent weather. Do not touch suspect wiring or disturb contaminated materials.
An old stain does not necessarily indicate an active leak. Conversely, dry conditions during one visit do not prove the assembly is watertight. A contractor may recommend moisture measurements, repeat observations, or controlled testing.
Condensation can resemble a roof leak. Widespread moisture on cold surfaces, rather than a localized trail, may point toward indoor humidity, air leakage, or exhaust problems. Roof leakage and condensation can also occur together.
Do not paint over stains or close concealed spaces until the source has been evaluated and affected materials have dried appropriately. If water is near electrical fixtures or a ceiling is sagging, keep people away and seek urgent professional help.
Match the Inspection to Your Next Weather Season
Late October does not mean the same roofing conditions throughout the United States. Schedule around the weather your home is likely to face, not a universal maintenance calendar.
Cold and snowy regions:: Prioritize existing leaks and questionable details before snow obscures them. Ask whether anticipated temperatures allow the specified materials to be installed correctly. Snow removal and evaluation of unusual roof loading require separate professional planning.
Rain-dominant regions:: Focus on recurring dampness, roof-to-wall intersections, and the time needed for repair surfaces to dry. A break in rainfall may be too short for some products or work sequences.
Warm coastal regions:: Wind-driven rain, corrosion, and prolonged wet conditions can make connection details especially important. Ask whether replacement metals, fasteners, and accessories suit the roof system and local exposure.
Dry regions with episodic storms:: Long dry spells can hide developing defects. Aging flexible collars and poorly integrated patches may not reveal themselves until a substantial storm arrives.
Local permit requirements, licensing rules, historic-district restrictions, and product approvals vary. Use state roofing resources as a starting point, then verify requirements with the relevant local authority and contractor.
Decide What Needs Repair Now and What Can Be Monitored
Ask the inspector to sort findings into clear priorities rather than presenting an unexplained list of replacements.
Prompt attention:: Active water entry, detached flashing, an open penetration, or water threatening electrical components needs timely action. If permanent work cannot proceed safely, a professional may recommend temporary protection with a defined follow-up plan.
Planned repair before sustained weather:: Cracked collars, failed patching, damaged surrounding roofing, or questionable roof-to-wall details may warrant scheduled repair even without an observed indoor leak.
Document and monitor:: Cosmetic discoloration, intact older components, and dry historical stains may be suitable for observation when a professional finds no functional defect. Monitoring should specify what to watch for and when to recheck.
Request photographs and an explanation connecting each recommendation to water management. Age alone is not a complete diagnosis, and the absence of an indoor stain is not proof that a detail is sound.
If several intersections show similar installation defects, ask whether isolated repairs will be dependable or whether a broader section needs reconstruction. Neither a patch nor full replacement should be the automatic answer.
Get a Repair Scope That Goes Beyond “Reseal Flashing”
A useful proposal identifies the location, defect, repair method, and limits of the work. “Reseal roof penetrations” is often too vague to compare against another bid.
Ask the contractor to specify:
- Which flashing assemblies will be repaired or replaced.
- Whether surrounding roofing must be removed and restored.
- How concealed damage will be documented and authorized.
- Which products will be used and why they are compatible.
- Whether masonry, siding, electrical, or solar work is excluded.
- How weather delays and temporary protection will be handled.
- What workmanship coverage and completion documentation are included.
Sealants have legitimate uses in roofing systems. The concern is using them as substitutes for required overlaps, sound materials, or correctly installed flashing. Ask whether the proposed sealant is part of the intended detail or merely a short-term measure.
Costs depend on access, roof slope, material type, concealed damage, and the number of trades involved. A small visible defect can require substantial disassembly. Confirm licensing where required and current insurance, and use roof inspection help when arranging an evaluation.
Practical Preseason Checklist
Use this focused checklist alongside the broader homeowner checklist.
- [ ] Sketch visible penetrations, chimneys, wall intersections, and equipment mounts.
- [ ] Take dated ground-level photographs without using ladders or entering unsafe areas.
- [ ] Record indoor stains, odors, and the weather associated with moisture.
- [ ] Gather previous repair invoices and relevant warranties.
- [ ] Identify abandoned attachments for professional removal assessment.
- [ ] Arrange an inspection of concealed or uncertain connections.
- [ ] Request separate priorities for urgent repair, scheduled work, and monitoring.
- [ ] Confirm product suitability and installation-weather requirements.
- [ ] Obtain a written scope, including exclusions and concealed-damage procedures.
- [ ] Save completion photographs and check affected indoor areas after subsequent rain.
Keep the record simple enough to update. Its value is showing what changed, what was repaired, and whether the original symptom returned.
FAQ
Should every roof penetration be resealed each fall?
No. Some details use sealant as a maintained component; others rely primarily on properly assembled flashing and overlaps. Unnecessary sealant can obscure defects or interfere with water flow. Follow the roof system's maintenance requirements and a qualified roofer's assessment rather than a blanket annual resealing schedule.
Can a pipe boot be replaced without replacing the roof?
Often, yes. The options depend on the flashing design, surrounding roof condition, material compatibility, and access. Some repairs require removing adjacent roofing to restore the assembly correctly. Ask whether a proposed retrofit is appropriate for the existing detail and what it leaves unchanged.
Why does a leak happen only when rain blows from one direction?
Wind can push water toward a particular wall, flashing joint, or opening that ordinary rainfall does not expose. Record the storm conditions and stain location. A roofer may need to investigate siding, masonry, or other exterior components as well as the roof itself.
Is late fall too late for flashing repairs?
Not necessarily. Suitable working conditions depend on local weather, roof materials, repair methods, and product instructions. Ask the contractor which conditions are necessary and what happens if they do not occur. An unsafe or incompatible installation is not a good tradeoff for finishing before a calendar deadline.
How can I tell whether the repair worked?
Keep the completion photos and compare indoor observations after later rainfall, including conditions similar to those that caused the original symptom. Moisture readings may help when concealed materials were wet. Continued staining or dampness calls for follow-up; one dry day is not a conclusive test.