DIY Roof Leak Repair: Step-by-Step Guide for Homeowners in 2026
Can You Fix a Roof Leak Yourself?
A leaking roof is every homeowner's nightmare—and the repair costs can be equally terrifying. But here's the truth many roofing contractors won't tell you: many common roof leaks can be repaired by a competent DIY homeowner for under $100 in materials. The key is knowing which leaks are safe to tackle yourself and which require professional expertise.
This guide covers the most common roof leak sources, provides detailed step-by-step repair instructions, and clearly identifies when it's time to call in the pros.
Safety First: Non-Negotiable Rules
Before you climb onto any roof, commit these rules to memory:
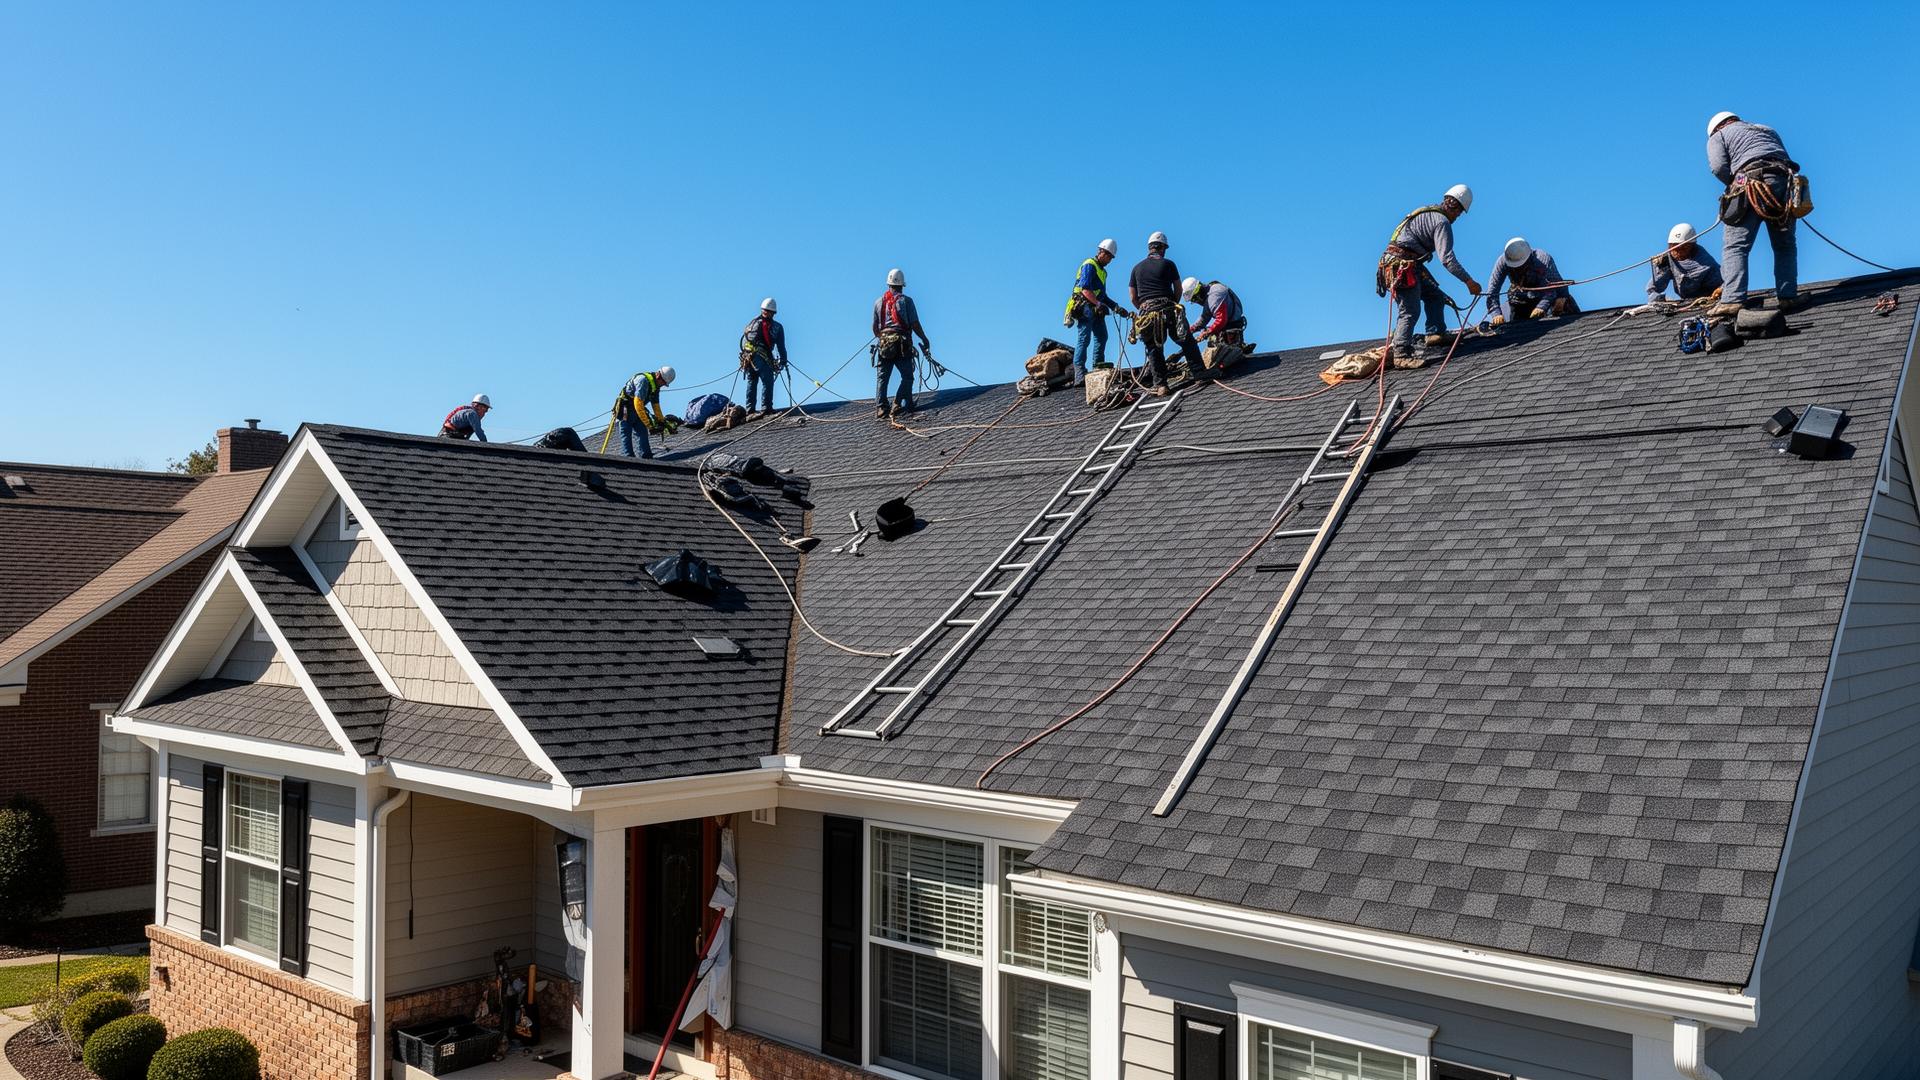
Personal Safety - Never work on a wet, icy, or frosty roof—the slip risk is extreme - Always use a sturdy extension ladder that extends 3 feet above the roof edge - Wear rubber-soled shoes with good grip (never sandals, boots with worn treads, or bare feet) - Use a safety harness attached to a roof anchor for any slope above 4:12 pitch - Never work alone—have someone on the ground watching and ready to call for help - Avoid working in wind above 15 mph or in lightning conditions - Stay away from power lines—maintain at least 10 feet of clearance
When NOT to DIY - Your roof pitch is steeper than 6:12 (moderate to steep) - The damage is extensive (more than a few square feet) - You need to work near power lines - The roof deck feels soft or spongy when walked on - You have any fear of heights or balance issues - The repair requires removing and resetting multiple shingle courses
Essential DIY Roof Repair Tool Kit
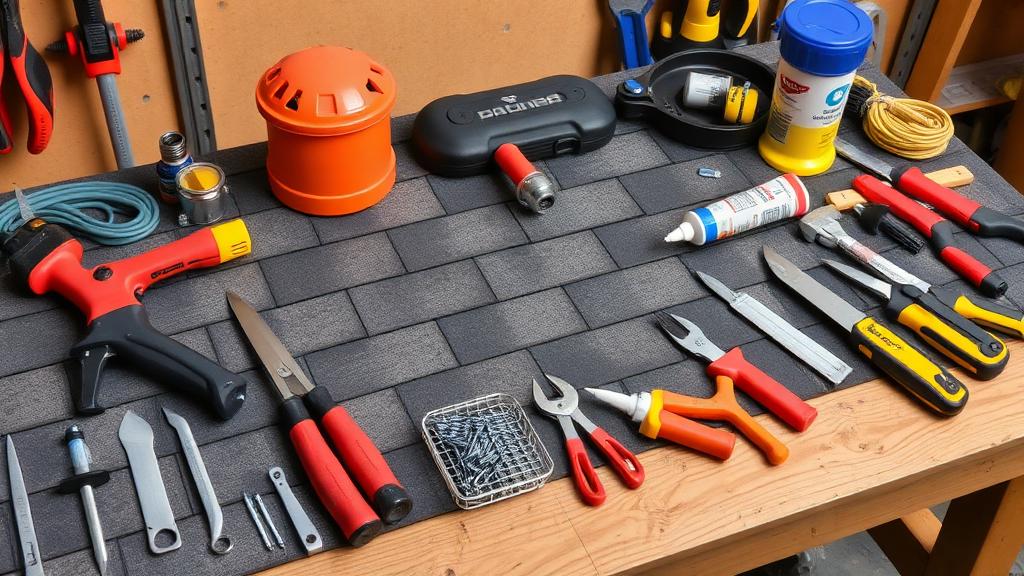
Basic tools ($50–$100 total):: - Pry bar or flat bar for lifting shingles - Roofing nails (1.25-inch galvanized) - Hammer or pneumatic nail gun - Utility knife with extra blades - Caulk gun with roofing sealant (polyurethane or silicone) - Tape measure - Chalk line - Garden hose (for water testing from inside)
Safety equipment ($100–$300):: - Roof harness system with lanyard - Rubber-soled work shoes - Safety glasses - Work gloves - Extension ladder with stabilizer
Advanced tools (if needed):: - Heat gun (for cold-weather shingle work) - Tin snips (for flashing work) - Flashing material (galvanized or aluminum)
Step 1: Finding the Leak Source
This is often the hardest part. Water can travel far from the entry point before dripping through your ceiling.
Interior Detection Method
- Start in the attic during or immediately after rainfall
- Follow the water trail uphill from the ceiling stain—look for wet rafters, water tracks on the underside of decking, or damp insulation
- Mark the entry point with chalk or a marker
- Measure the distance from the entry point to two reference points (ridge and a gable wall) so you can locate it from outside
Garden Hose Method (Dry Weather)
- Have a helper stationed inside the attic with a flashlight
- Start low on the roof and work uphill, saturating small sections with a garden hose
- Wait 5–10 minutes in each area before moving uphill
- When your helper spots water, you've found the general entry zone
- Narrow it down by moving the hose to specific features (flashings, vents, seams)
Common Leak Locations (Check These First)
In order of likelihood: 1. Plumbing vent boot flashings (rubber boots crack after 10–15 years) 2. Chimney flashing (step flashing and counter flashing separation) 3. Roof valleys (where two slopes meet) 4. Wall-to-roof intersections (step flashing behind siding) 5. Damaged or missing shingles 6. Nail pops (nails backing out of decking over time) 7. Skylights (particularly the uphill flashing)
Step 2: Repairing Common Leak Types
Repair #1: Cracked Plumbing Vent Boot
Difficulty:: Easy | Time: 30 minutes | Cost: $10–$25
This is the single most common roof leak in homes 10+ years old. The rubber boot around plumbing vent pipes cracks from UV exposure.
Instructions:: 1. Pry up the shingles surrounding the vent pipe (be gentle—you'll reset them) 2. Remove the old boot by pulling the nails securing it to the deck 3. Slide the old boot up and off the pipe 4. Slide the new boot (match pipe diameter) down over the pipe 5. Lift the surrounding shingles and slide the boot flange underneath the upper shingles 6. The lower edge of the boot should sit ON TOP of the lower shingles 7. Secure with 4–6 roofing nails around the flange perimeter 8. Apply roofing sealant over each nail head and around the pipe-to-boot junction 9. Press shingles back into place
Repair #2: Replacing Damaged Shingles
Difficulty:: Moderate | Time: 45–60 minutes | Cost: $15–$40
Instructions:: 1. Carefully lift the shingle tabs above the damaged shingle 2. Remove the nails from the damaged shingle (4 in the shingle, 4 through the row above) 3. Slide out the damaged shingle 4. Slide the new shingle into position (align with surrounding shingles) 5. Nail the new shingle with 4 nails placed 1 inch above the cutout slots 6. Reseal the lifted shingle tabs above with a quarter-sized dab of roofing cement under each tab 7. Press firmly to re-establish the seal strip bond
Pro Tip:: Buy a bundle of matching shingles when you move into a home. Manufacturers discontinue colors frequently, and a perfect match becomes impossible after a few years.
Repair #3: Sealing a Nail Pop
Difficulty:: Easy | Time: 15 minutes per nail | Cost: $5
Nail pops occur when nails gradually back out of the roof deck, lifting the shingle and creating a direct water entry point.
Instructions:: 1. Lift the shingle above the popped nail 2. Pull the popped nail completely out with a pry bar 3. Drive a new nail 1 inch to the side of the old hole (the old hole won't hold) 4. Apply roofing sealant over the new nail head AND fill the old nail hole 5. Press the shingle back down and apply sealant under the lifted tab
Repair #4: Valley Leak Patching
Difficulty:: Moderate-Difficult | Time: 1–2 hours | Cost: $25–$75
Instructions:: 1. Identify the specific leak point in the valley 2. Carefully lift the shingles on both sides of the valley 3. Apply a generous amount of roofing cement under the shingle edges along the valley 4. If the valley metal is damaged, slide a piece of matching flashing under the shingles and over the damaged area 5. Seal all edges with roofing cement 6. Press shingles firmly back into place
Repair #5: Small Flashing Repair
Difficulty:: Moderate | Time: 1 hour | Cost: $20–$50
Instructions:: 1. Clean the area thoroughly—remove old sealant, debris, and corrosion 2. If the flashing has a small hole or crack, apply roofing cement and embed a piece of flashing material over the damage 3. If step flashing has separated from the wall, re-secure with masonry screws and seal with polyurethane caulk 4. Apply a final coat of roofing sealant over all repair areas
When to Call a Professional
Despite the DIY spirit, some situations demand professional expertise:
- Structural damage: Soft or sagging roof deck indicates potential structural failure
- Widespread damage: More than 3–4 shingle repairs needed suggests systemic issues
- Chimney flashing: Complex geometry and masonry work require specialist skills
- Ice dam damage: Often indicates ventilation problems requiring whole-system solutions
- Flat roof leaks: Membrane repairs require specialized tools and materials
- Warranty concerns: DIY repairs can void manufacturer warranties
Expected Professional Repair Costs in 2026
| Repair Type | Professional Cost |
|---|---|
| Vent boot replacement | $150–$300 |
| Shingle replacement (small area) | $200–$500 |
| Valley repair | $400–$800 |
| Chimney flashing | $500–$1,500 |
| Skylight flashing | $300–$800 |
| Full flashing replacement | $800–$2,000 |
Conclusion
DIY roof leak repair is achievable for many common issues, saving homeowners hundreds to thousands of dollars. The keys to success are accurate leak detection, proper safety precautions, quality materials, and honest assessment of your own capabilities. When in doubt, a professional repair done right the first time is always cheaper than a DIY fix that fails.
*Need professional help with a roof leak? Find trusted local roofers for fast, reliable repair services in your area.*