How to Document Roof Storm Damage for Insurance Claims: The Complete Guide

Proper documentation of roof storm damage can mean the difference between a fully covered repair and paying thousands out of pocket. Insurance companies make decisions based on the evidence provided, and homeowners who document thoroughly consistently receive better claim outcomes. This comprehensive guide teaches you professional documentation techniques that protect your interests and maximize your insurance claim success.
Why Documentation Matters
Insurance claims operate on evidence. Adjusters who visit your property days or weeks after a storm can only assess what they can see at that moment. Without proper documentation, you may miss compensation for:
- Damage that was cleaned up before the adjuster arrived
- Items thrown away before photos were taken
- Interior damage that has since been repaired to prevent further problems
- Context that explains how damage occurred
The Documentation Difference:
| Claim Element | Poor Documentation | Thorough Documentation |
|---|---|---|
| Damage scope | May miss hidden damage | Comprehensive coverage assessment |
| Causation proof | Difficult to prove storm caused damage | Clear timeline establishes cause |
| Claim disputes | Little evidence to support appeals | Strong evidence for negotiations |
| Settlement amount | Often lower than actual damage | Fair compensation for all damage |
Investing time in proper documentation immediately after storm damage protects your claim from the start.
Phase One: Immediate Post-Storm Documentation
The first hours after discovering storm damage are critical for documentation. Acting quickly preserves evidence that may change or disappear.
Safety-First Approach:
Before documenting, ensure: - The storm has completely passed - No electrical hazards exist - The structure appears stable - Adequate lighting is available - You have safe access paths
Initial Survey Documentation:
Walk your entire property and document everything, even areas that appear undamaged. This establishes baseline conditions and may reveal damage you'd otherwise miss.
Exterior Documentation Checklist:
- Roof Overview
- - Multiple angles showing entire roof
- - Close-ups of all visible damage
- - Surrounding property context shots
- Specific Damage Points
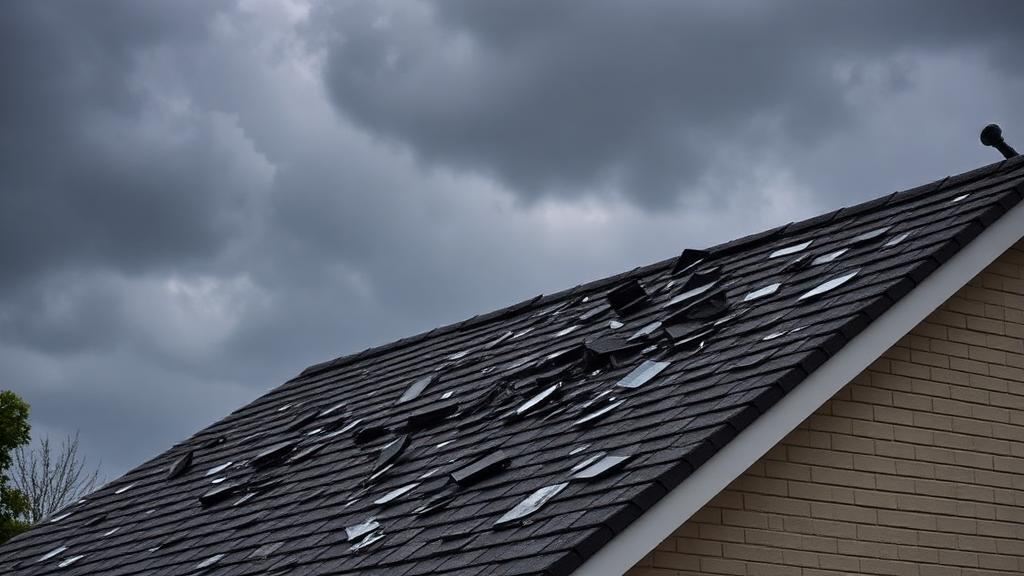
- - Missing or damaged shingles
- - Bent or torn flashing
- - Damaged vents, skylights, or chimneys
- - Gutter and downspout damage
- - Fascia and soffit damage
- Ground Evidence
- - Fallen debris with location context
- - Shingle granules on ground or in gutters
- - Damaged landscaping near structure
- - Neighbor property damage (if visible)
- Contextual Evidence
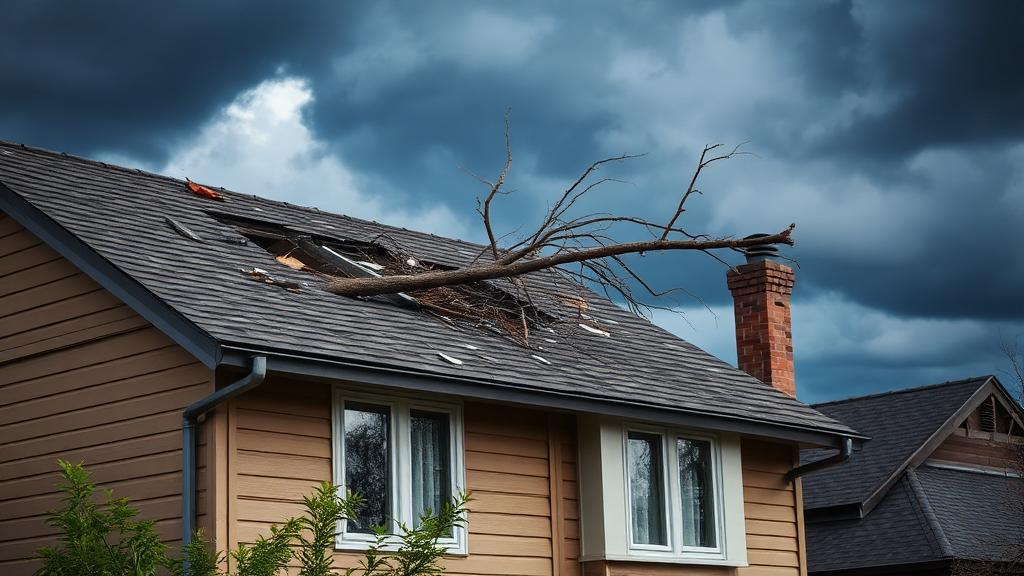
- - Damaged trees or fallen branches
- - Debris patterns showing wind direction
- - Any vehicles or objects that struck the house
- - Hail on ground or collected in containers
Professional Photography Techniques
Quality photos strengthen claims significantly. Apply these professional techniques for maximum impact.
Camera Settings and Equipment:
- Use the highest resolution available on your device
- Enable timestamp and location data
- Keep lens clean for sharp images
- Use video for complex damage areas
- Consider using a drone for roof overview (if legally permitted and safely operated)
Composition Guidelines:
Wide-Angle Context Shots:: Start with wide shots that show the damaged area in relation to the overall structure. These establish location and help adjusters understand the scope of damage.
Medium-Range Detail Shots:: Move closer to show specific damage areas. Include recognizable landmarks (vents, chimneys) to establish location on the roof.
Close-Up Evidence Shots:: Capture detailed images of individual damage points. For shingles, show the specific crack, tear, or missing piece. For hail damage, show the impact pattern clearly.
Reference Objects:
Include scale references in close-up shots: - Place a ruler, coin, or credit card next to hail damage - Use a tape measure for larger damaged areas - Include your hand for size context when needed
Lighting Considerations:
- Natural daylight produces best results
- Avoid harsh shadows that hide damage
- Take photos when sun isn't directly overhead
- Use flash for dark areas (attic, underneath eaves)
- Return to problem areas at different times if lighting wasn't optimal
Video Documentation Best Practices
Video supplements still photography by showing damage in context and capturing elements photos might miss.
When Video Excels:
- Walking tours of damage patterns
- Showing water actively leaking
- Demonstrating how wind affected materials
- Documenting areas too dangerous to access closely
- Recording verbal descriptions of what you're seeing
Video Recording Tips:
- Hold device steady—use both hands
- Move slowly and deliberately
- Narrate what you're showing
- Include date and time verbally
- Pan slowly across damage areas
- Zoom in smoothly on specific damage
- Record for at least 10-15 seconds per area
Sample Narration Approach:
"This is [your name], recording on [date] at approximately [time], following the [type of storm] that occurred on [storm date]. I'm now showing the north side of my roof where you can see multiple shingles have been torn loose by the wind. The damaged area extends approximately [measurement] feet along the ridge..."
Interior Damage Documentation
Storm damage often extends inside your home. Document interior damage with equal thoroughness.
Interior Areas to Check:
- Ceilings - Water stains, sagging, cracks, visible leaks
- Walls - Water staining, bubbling paint, wet drywall
- Attic - Daylight through roof, water intrusion, wet insulation
- Windows - Broken glass, water entry, seal failures
- Personal property - Any items damaged by water intrusion
Documenting Water Damage:
Water damage requires special documentation attention because it can dry before adjusters arrive:
- Photo fresh water stains immediately
- Mark the extent of wet areas with masking tape
- Document with timestamp photos
- Video active dripping if occurring
- Measure and note affected areas
- Keep samples of damaged insulation or materials
Creating Written Records
Written documentation provides context that photos alone cannot convey.
Essential Written Records:
Storm Event Journal:: Create a chronological log including: - Date and time storm started and ended - Type of storm (hail, wind, tornado, hurricane) - Approximate wind speeds if known - Hail size if applicable - When you first discovered damage - Every action you've taken since discovery
Damage Inventory:: For each damaged item or area, note: - Location (be specific—"northwest corner of main roof") - Description of damage - Approximate dimensions - Corresponding photo numbers - Any materials or debris collected
Communication Log:: Record all interactions regarding the claim: - Date, time, and duration of calls - Name and title of person contacted - What was discussed - Any commitments made - Follow-up actions required
Evidence Preservation Techniques
Physical evidence supports your documentation and can be crucial for claim disputes.
What to Preserve:
- Fallen shingles and roofing materials
- Hailstones (freeze immediately in sealed bag with date label)
- Damaged gutters or flashing pieces
- Tree branches that struck the roof
- Any foreign objects that caused damage
Preservation Methods:
| Evidence Type | Preservation Method | Storage Duration |
|---|---|---|
| Hailstones | Freeze in labeled bags | Until claim resolved |
| Shingles/materials | Store in dry location | Until claim resolved |
| Plant debris | Photograph, can dispose after | N/A |
| Personal property | Keep or photograph before disposal | Until claim resolved |
Before Disposing of Anything:
Never throw away damaged materials before: - Taking detailed photographs - Getting written approval from insurance company - The adjuster has had opportunity to inspect - You've kept samples if disposal is necessary
Professional Assessment Documentation
Documentation by qualified professionals carries significant weight with insurance companies.
Contractor Documentation:
Request detailed written assessments from roofing professionals that include: - Company credentials and licensing - Date and time of inspection - Detailed damage findings - Cause assessment (storm-related vs. pre-existing) - Recommended repairs with specifications - Cost estimates with line-item detail - Photos taken during professional inspection
Independent Inspector Reports:
For significant claims, consider hiring: - Licensed home inspectors - Structural engineers (if structural damage suspected) - Public adjusters (for complex claims)
These professionals provide expert documentation that can support your claim and counter insurance company assessments.
Digital Organization System
Organizing your documentation makes it accessible and convincing when presenting claims.
File Organization Structure:
Create a dedicated folder system:
- Storm_Damage_[Date]/
- - Photos/ (Exterior_Overview, Roof_Detail, Interior_Damage, Evidence_Items)
- - Videos/
- - Written_Records/ (Storm_Journal.doc, Damage_Inventory.xlsx, Communication_Log.doc)
- - Professional_Reports/ (Contractor_Estimates, Inspection_Reports)
- - Insurance_Documents/ (Policy_Copy.pdf, Claim_Correspondence)
Backup Strategies:
Protect your documentation with multiple backups: - Cloud storage (Google Drive, Dropbox, iCloud) - External hard drive - Email copies to yourself - Physical printouts of key documents
Working With Insurance Adjusters
Your documentation supports interactions with insurance adjusters throughout the claims process.
Presenting Your Documentation:
When the adjuster visits: - Have organized documentation ready - Provide copies of your photos and records - Walk through your damage inventory together - Point out items the adjuster might miss - Note any disagreements with adjuster observations - Request a copy of their assessment
Supplementing the Initial Claim:
If you discover additional damage after the adjuster's visit: - Document new findings using the same thorough process - Submit supplement requests with supporting evidence - Reference original claim numbers - Request additional adjuster inspection if needed
When Documentation Uncovers Disputes
Sometimes your documentation reveals discrepancies with insurance assessments.
Common Dispute Situations:
- Adjuster missed damage you documented
- Assessment classifies damage as pre-existing
- Repair estimate seems inadequate
- Claim is partially or fully denied
Using Documentation in Disputes:
Your thorough documentation becomes evidence for: - Formal appeal letters - Public adjuster negotiations - Legal proceedings if necessary - Regulatory complaints
Documentation That Strengthens Disputes:
| Evidence Type | How It Helps |
|---|---|
| Timestamped photos | Proves when damage occurred |
| Pre-storm photos | Shows condition before damage |
| Multiple angles | Demonstrates full damage extent |
| Professional assessments | Provides expert opinions |
| Communication records | Documents company commitments |
Special Documentation Situations
Some storm damage scenarios require additional documentation approaches.
Hail Damage:
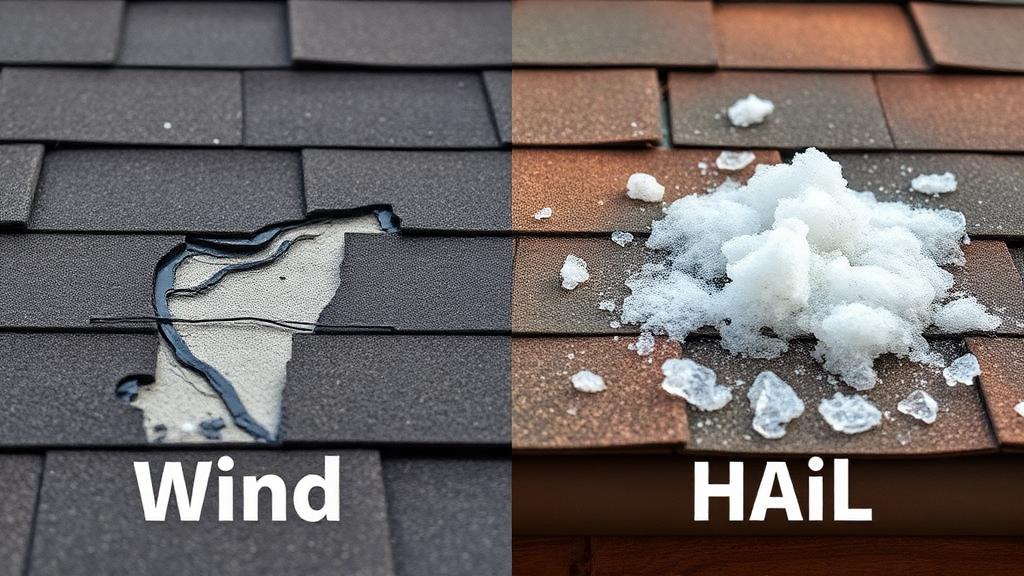
Hail damage is often subtle and disputed. Extra documentation steps include: - Photograph hailstones with size reference - Document hail damage to other items (cars, AC units, siding) - Note official hail reports from weather services - Get professional assessment specifically trained in hail damage identification
Wind Damage:
Wind damage documentation should capture: - Direction of damage patterns - Damage to surrounding structures confirming wind direction - News or weather service wind speed reports - Video showing how damaged materials move
Flood-Related Roof Damage:
When flooding accompanies storm damage: - Keep roof damage separate from flood documentation - Note water levels and whether roof was affected by flooding or rainfall - Understand that flood damage requires separate insurance
Conclusion
Thorough documentation transforms storm damage claims from contested negotiations into clearly supported requests for fair compensation. By investing time in proper photography, written records, and evidence preservation immediately after storm damage occurs, you protect your interests throughout the entire claims process.
Remember these key documentation principles:
- Act immediately - Evidence changes and disappears quickly
- Be comprehensive - Document everything, even apparent minor damage
- Maintain quality - Clear, detailed photos strengthen claims
- Stay organized - Systematic records are more convincing
- Preserve everything - Don't dispose of evidence prematurely
- Back up digitally - Protect your documentation from loss
Your home represents a major investment, and proper documentation ensures you receive the insurance coverage you've been paying for. Take documentation seriously—the effort you invest now protects your financial interests throughout the entire repair and claims process.