What to Do Immediately After Storm Damage to Your Roof: A Step-by-Step Emergency Guide
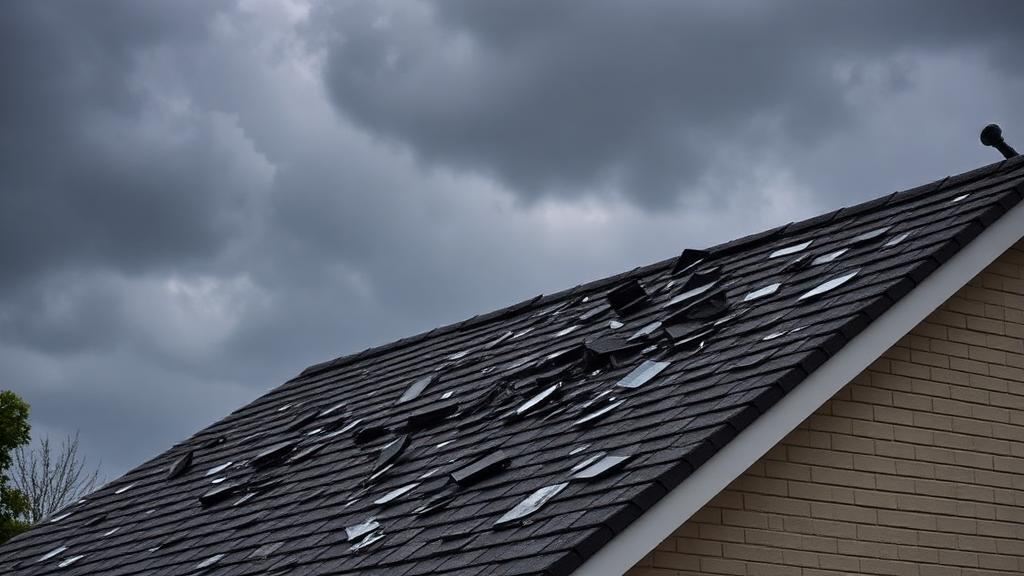
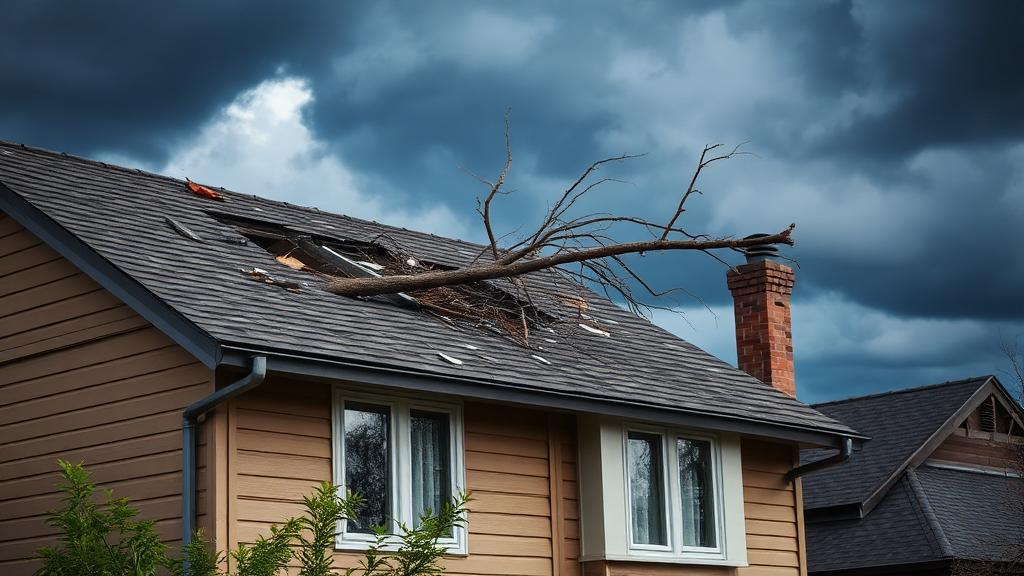
When a severe storm damages your roof, the actions you take in the first 24-48 hours can significantly impact your safety, the extent of secondary damage, and the success of your insurance claim. Storm damage to roofing systems is one of the most common and stressful emergencies homeowners face, but knowing the proper steps helps you navigate this challenging situation effectively. This comprehensive guide walks you through everything you need to do immediately after discovering storm damage to your roof.
Priority One: Ensure Personal Safety
Before assessing any damage, your family's safety must come first. Storm-damaged roofs present multiple hazards that require immediate attention.
Immediate Safety Concerns:
- Electrical Hazards - If you suspect the roof damage has exposed electrical systems or if water is leaking near electrical outlets, switches, or your breaker box, turn off power to affected areas immediately. Water and electricity create deadly combinations.
- Structural Integrity - Visible sagging in ceilings or walls indicates potential structural compromise. If you notice sagging, hear creaking sounds, or see cracks forming in walls, evacuate the area immediately.
- Falling Debris - Loose shingles, damaged gutters, and other roofing materials may still be falling. Stay clear of the exterior perimeter of your home until the storm has completely passed.
- Gas Leaks - Severe storm damage can affect gas lines. If you smell gas, leave immediately, don't use any switches or electronics, and call your gas company from a safe location.
Creating a Safe Assessment Zone:
Only proceed with damage assessment when: - The storm has completely passed - Weather conditions allow safe exterior access - Daylight provides adequate visibility - No active falling debris exists - Electrical hazards have been addressed
Step Two: Document Everything Thoroughly
Proper documentation is crucial for insurance claims and contractor estimates. Begin documenting immediately, even before temporary repairs.
Photography Guidelines:
Take comprehensive photos including:
| Photo Type | What to Capture |
|---|---|
| Wide shots | Overall roof condition from multiple angles |
| Close-ups | Individual areas of damage (shingles, flashing, etc.) |
| Context shots | Damage in relation to landmarks (chimney, vents) |
| Ground debris | Fallen shingles, branches, or other materials |
| Interior damage | Water stains, wet areas, damaged ceilings |
| Date/time proof | Newspaper or phone screen showing date |
Written Documentation:
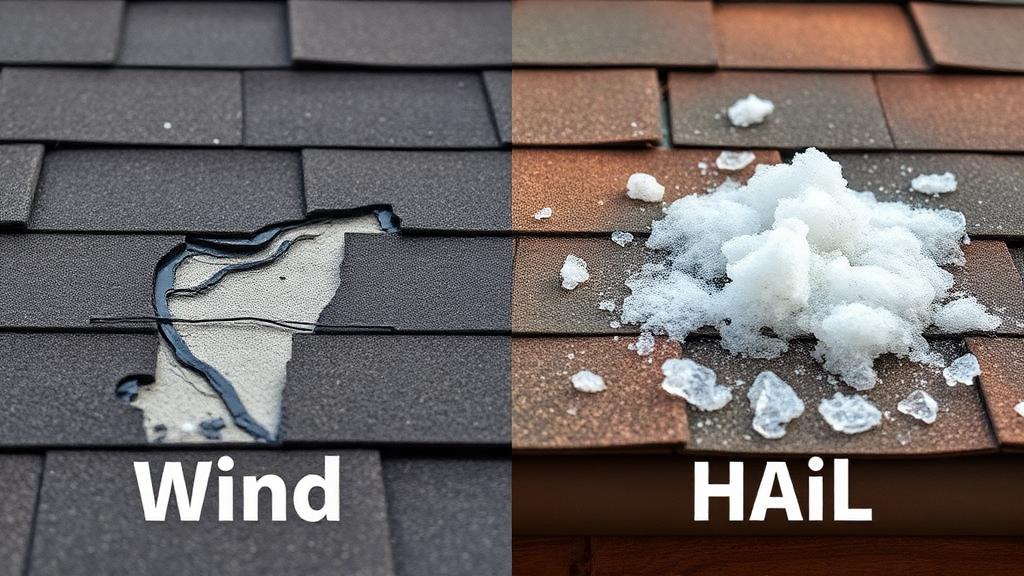
Create detailed notes including: - Exact date and time storm occurred - Type of storm (hail, wind, tornado, hurricane) - When damage was first discovered - Description of visible damage - Timeline of all actions taken - Names and contact information of anyone you speak with
Keep all documentation organized digitally with cloud backup, and maintain a physical folder as well. This documentation will be invaluable when working with your insurance company.
Step Three: Prevent Secondary Water Damage
Once you've documented the initial damage, taking steps to prevent additional water intrusion protects your home and demonstrates to insurance companies that you've fulfilled your obligation to mitigate further losses.
Temporary Roof Protection Methods:
Tarping Damaged Areas:: Emergency roof tarps are the most effective temporary measure. Proper tarping technique includes:
- Use heavy-duty tarps rated for outdoor use (minimum 10-12 mil thickness)
- Extend tarp at least 4 feet beyond damaged area on all sides
- Secure tarp edges with 2x4 boards screwed through the tarp into the roof deck
- Avoid using sandbags alone, which can shift and allow water entry
- Ensure tarp sheds water away from vulnerable areas
Interior Protection Measures:: - Move furniture and valuables away from leak areas - Place buckets, bins, or large containers under active leaks - Use towels or plastic sheeting to protect floors - Move electronics away from any potential water paths - Remove area rugs that might absorb water
What NOT to Do:: - Don't climb onto a wet or damaged roof without proper safety equipment - Don't make permanent repairs before insurance inspection - Don't dispose of damaged materials before documenting them - Don't use open flames for drying (fire hazard)
Step Four: Contact Your Insurance Company
Promptly notifying your insurance company starts the claims process and ensures you meet policy requirements. Most policies require timely notification of damage.
When Making the Initial Call:
Be prepared to provide: - Policy number - Date and time of storm - Brief description of damage - Your contact information - Photos if you can email them during the call
What to Request:
- Claim number - Get this in writing
- Adjuster assignment timeline - Ask when to expect contact
- Temporary repair authorization - Confirm what temporary repairs are covered
- Documentation requirements - Understand exactly what they need
- Preferred contractor lists - Though you're not required to use them
Important Insurance Tips:
- File claims promptly—most policies have reporting deadlines
- Keep records of all communications
- Never sign documents you don't fully understand
- You have the right to your own contractor and public adjuster
- Get the adjuster's estimate in writing before agreeing to anything
Step Five: Arrange Emergency Repairs
While waiting for the full insurance process, emergency repairs prevent additional damage. These temporary measures are typically covered by insurance.
Finding Emergency Roofing Services:
When seeking emergency roof repair, prioritize:
- Local, established companies - They're easier to verify and more likely to handle warranties
- Proper licensing and insurance - Essential for your protection
- Written estimates - Even for emergency work
- Clear scope of work - Understand what temporary measures they'll take
Red Flags to Avoid:
Storm chasers often appear after major weather events. Warning signs include: - Unsolicited door-to-door sales immediately after storms - Pressure to sign contracts immediately - Requests for full payment upfront - Out-of-state license plates or lack of local references - Offers to pay your deductible (this is insurance fraud) - No physical business address
Finding reputable local contractors before emergencies occur helps you avoid scammers during stressful situations.
Step Six: Prepare for the Adjuster's Visit
Insurance adjusters typically visit within days of filing a claim for storm damage. Proper preparation ensures accurate damage assessment.
Before the Adjuster Arrives:
- Compile all documentation you've gathered
- Make a list of all damage you've identified
- Note any pre-existing conditions so they're not attributed to the storm
- Have your contractor present if possible
- Prepare questions about the claims process
During the Adjuster's Inspection:
- Walk the property with the adjuster
- Point out all damage you've documented
- Provide copies of your photos and notes
- Ask the adjuster to explain their assessment methodology
- Request a copy of their report
- Get everything in writing
Understanding the Assessment:
The adjuster's report will include: - Scope of damage - Repair vs. replacement recommendations - Estimated repair costs - Any applicable depreciation - Your deductible amount
Step Seven: Get Multiple Contractor Estimates
While you'll receive an insurance company estimate, getting independent contractor bids ensures you understand the full scope of needed repairs.
What Estimates Should Include:
Professional roofing estimates should detail: - Complete scope of work - Materials to be used (brands, grades, warranties) - Labor costs broken down by task - Timeline for completion - Payment schedule - Warranty information - Permit acquisition responsibility
Comparing Estimates:
| Consideration | What to Look For |
|---|---|
| Scope match | Does it address all damage? |
| Material quality | Comparable grades across estimates |
| Labor detail | Specific work items, not just "roof repair" |
| Hidden costs | Are permits, disposal fees included? |
| Timeline | Realistic completion expectations |
| Warranty | Workmanship guarantee length |
If contractor estimates exceed the insurance payout, you may need to negotiate with your insurance company or use a public adjuster.
Understanding Your Insurance Coverage
Storm damage claims involve understanding your specific policy provisions.
Common Coverage Elements:
Dwelling Coverage:: Covers the structure itself, including the roof, typically at replacement cost for newer roofs.
Personal Property:: Covers interior damage to belongings caused by roof failure.
Additional Living Expenses:: May cover temporary housing if damage makes your home uninhabitable.
Deductibles:: Storm damage may be subject to your standard deductible or a separate wind/hail deductible, which can be higher.
Depreciation:: Older roofs may be subject to depreciation, meaning insurance pays actual cash value rather than replacement cost.
Review your policy's roof coverage details and understand your deductible obligations before making decisions.
Creating a Long-Term Repair Plan
Once emergency measures are in place, develop a comprehensive repair strategy.
Short-Term Priorities (1-7 days):: - Secure temporary weatherproofing - Document all damage thoroughly - File insurance claim - Contact reputable contractors for estimates
Medium-Term Steps (1-4 weeks):: - Meet with insurance adjuster - Obtain multiple contractor estimates - Review and negotiate insurance settlement - Select contractor and sign contract
Long-Term Completion (1-3 months):: - Schedule permanent repairs - Obtain necessary permits - Complete full restoration - Final inspection and documentation - Secure warranty documentation
Avoiding Common Mistakes
Storm damage situations create opportunities for costly errors. Avoid these common mistakes:
Documentation Failures:: - Not taking enough photos - Disposing of damaged materials too soon - Failing to keep written records - Missing insurance filing deadlines
Contractor Mistakes:: - Signing contracts under pressure - Paying too much upfront - Not verifying licensing and insurance - Hiring based on price alone
Insurance Errors:: - Accepting the first settlement offer without review - Not reading the adjuster's report carefully - Failing to dispute inaccurate assessments - Missing supplemental claim opportunities
When to Seek Professional Help
Some storm damage situations benefit from professional advocacy:
Consider a Public Adjuster When:: - Damage is extensive - You disagree with the insurance company's assessment - The claim is denied or significantly underpaid - You feel overwhelmed by the process
Consult an Attorney When:: - Insurance company acts in bad faith - Large disputes exist over coverage - Policy language is unclear - You've received multiple claim denials
Preparing for Future Storms
Once repairs are complete, take steps to better protect your home:
Mitigation Measures:: - Consider impact-resistant roofing materials - Trim trees away from the roof - Ensure proper attic ventilation - Install hurricane straps in storm-prone regions - Maintain regular roof inspections
Documentation Updates:: - Photograph your repaired roof thoroughly - Store documentation of new materials and warranties - Update your home inventory - Review and update insurance coverage
Conclusion
Storm damage to your roof creates stress and uncertainty, but knowing the proper response procedures helps you navigate this challenging time effectively. Remember these key principles:
- Safety first - Never compromise personal safety
- Document thoroughly - Photos and records protect your interests
- Act promptly - Prevent secondary damage and meet insurance deadlines
- Choose carefully - Verify contractors and understand contracts
- Stay organized - Maintain records throughout the entire process
By following these steps, you protect your family, your property, and your financial interests while ensuring your home receives the quality repairs it needs to weather future storms.