Emergency Roof Tarping: A Complete Guide to Temporary Storm Damage Protection
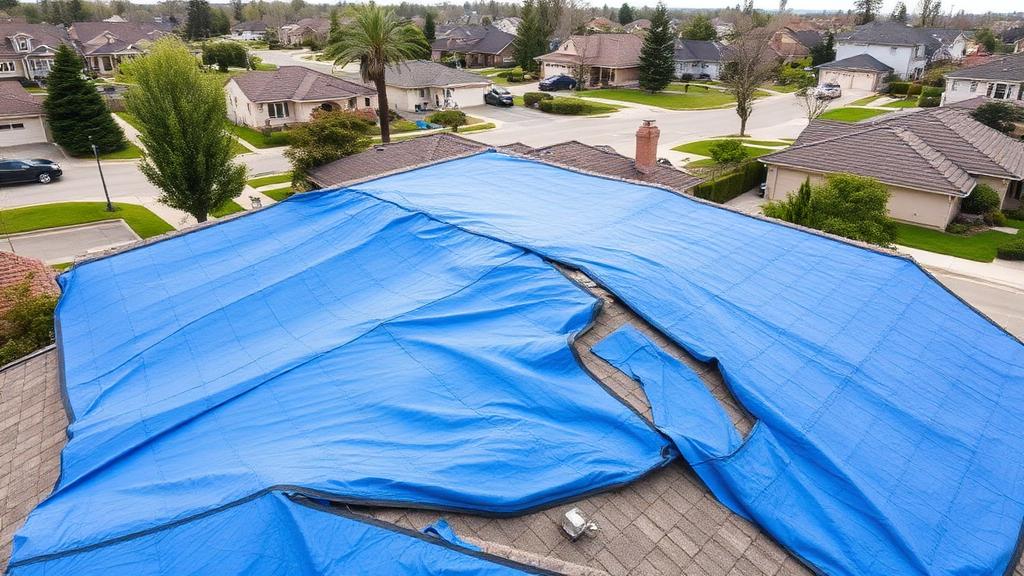
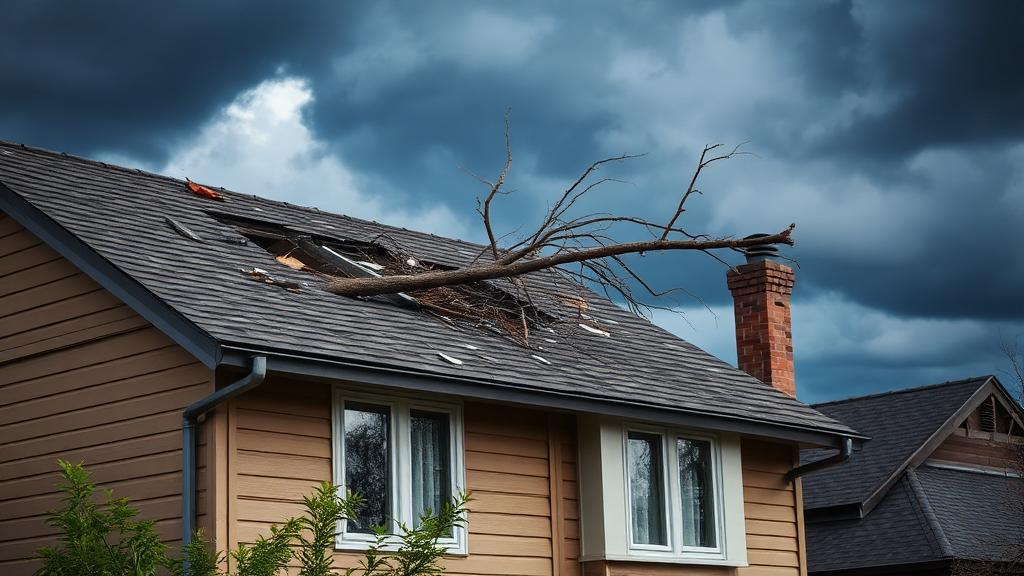
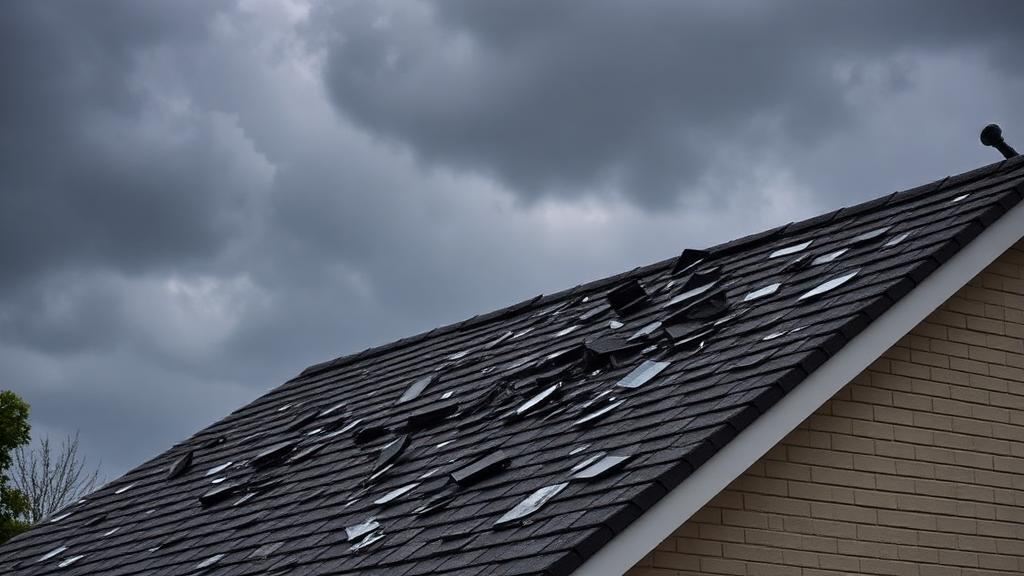
When storm damage compromises your roof, every minute counts. Water intrusion through damaged roofing can cause thousands of dollars in additional damage to insulation, drywall, electrical systems, and personal belongings. Emergency roof tarping provides crucial temporary protection until permanent repairs can be made. This comprehensive guide covers everything you need to know about emergency tarping—from DIY techniques to knowing when professional help is essential.
Understanding the Urgency
After storm damage, your roof's primary function—keeping water out—is compromised. The consequences of delayed protection compound rapidly.
The Cost of Delayed Action:
| Time Without Protection | Potential Additional Damage |
|---|---|
| First 24 hours | Water staining, wet insulation |
| 2-7 days | Mold growth begins, drywall damage |
| 1-2 weeks | Structural damage, electrical hazards |
| 2+ weeks | Extensive mold, major structural issues |
Insurance Implications:
Most homeowner's insurance policies include a "duty to mitigate" clause requiring you to take reasonable steps to prevent additional damage. Failure to tarp a damaged roof promptly may result in: - Denial of claims for secondary damage - Reduced settlements - Questions about claim legitimacy
Emergency tarping demonstrates you've fulfilled this obligation while also protecting your property.
Safety First: Before You Begin
Roof work is inherently dangerous, especially on damaged structures. Before attempting any tarping, assess whether DIY is appropriate.
When to Hire Professionals:
Call professional emergency roofing services if: - Roof slope exceeds 6:12 pitch (steep roof) - Structural damage is visible (sagging, broken trusses) - Electrical hazards exist near damage - You lack proper equipment or assistance - Weather conditions remain unstable - The damaged area is large or inaccessible
Safety Equipment Requirements:
If you proceed with DIY tarping, you need: - Sturdy extension ladder rated for your weight plus materials - Non-slip footwear with good tread - Safety harness and roof anchors (highly recommended) - Work gloves for grip and protection - Eye protection - Assistant on the ground for ladder stability
Weather Considerations:
Never attempt roof work during: - Active precipitation (rain, snow, hail) - High winds (above 15-20 mph) - Lightning within 10 miles - Wet conditions on roof surface - Darkness or poor visibility
Emergency Tarping Materials
Quality materials ensure effective temporary protection and withstand follow-up weather events.
Tarp Selection Guide:
| Tarp Feature | Minimum Requirement | Preferred Specification |
|---|---|---|
| Thickness | 8 mil | 10-12 mil or heavier |
| Material | Polyethylene | Heavy-duty reinforced poly |
| Size | Covers damage + 4 feet each side | Larger is better |
| Grommets | Standard spacing | Reinforced grommets |
| Color | Any | Bright color for visibility |
Size Calculations:
Measure your damaged area, then add at least 4 feet on each side. This extra coverage ensures: - Water sheds away from damaged area - Secure anchoring is possible - Wind lifting is minimized - Future expansion of damage is covered
Additional Materials Needed:
- 2x4 lumber for anchor boards
- Roofing screws (2-1/2" to 3" length)
- Screw gun or drill with appropriate bits
- Utility knife or heavy scissors
- Tape measure
- Hammer (backup if power tools fail)
- Rope or bungee cords (secondary securing)
- Ladder stabilizer (recommended)
Basic Tarping Technique
The standard approach secures the tarp using weight boards that transfer holding force to the roof deck below.
Step-by-Step Process:
1. Prepare the Area:: - Remove loose debris from around damaged area - Clear any materials that might puncture the tarp - Identify anchor points away from damage - Plan your work pattern before climbing
2. Position the Tarp:: - Unroll tarp on ground to verify size and orientation - Mark which edge will be the peak (top) edge - Roll tarp loosely for transport to roof - Position with peak edge extending over roof ridge
3. Secure the Peak Edge:: - Extend tarp 1-2 feet over roof ridge if possible - Place 2x4 board on tarp at ridge - Drive screws through board, tarp, and into roof deck - Use one screw per foot of board length
4. Secure the Lower Edges:: - Pull tarp tight across damaged area - Use weight boards (2x4s) along all edges - Screw boards through tarp into solid roof deck - Ensure tarp extends well beyond damage on all sides
5. Create Water Flow:: - Ensure tarp slopes away from damage point - Eliminate any pockets where water could pool - Verify water will shed to gutters or ground - Check that edges won't funnel water under tarp
Advanced Tarping Techniques
Some situations require modified approaches for effective protection.
Steep Roof Tarping:
Steep roofs present unique challenges: - Use safety ropes anchored to secure points - Work from roof ladders or scaffolding if available - Consider anchoring from the eaves upward - Use additional midpoint securing to prevent sliding
Large Area Coverage:
When damage spans large sections: - Overlap multiple tarps by at least 3 feet - Always overlap with upper tarp over lower tarp - Secure overlap seams with additional boards - Consider professional help for very large areas
Peak and Ridge Damage:
When damage includes the roof ridge: - Extend tarp over both sides of ridge - Create a peak wrap to prevent leakage - Secure both slopes independently - Verify no water can enter at ridge junction
Valley and Complex Roof Tarping:
Valleys and intersections require extra attention: - Ensure tarps extend well beyond valleys - Direct water away from intersection points - Use additional securing at transition areas - Consider separate tarps for each roof plane
Common Tarping Mistakes
Avoid these frequent errors that reduce tarp effectiveness:
Insufficient Overlap:: - Mistake: Tarp just covers damaged area - Problem: Water enters from sides or upslope - Solution: Extend 4+ feet beyond damage on all sides
Improper Securing:: - Mistake: Using weights only (bricks, sandbags) - Problem: Wind easily displaces loose weights - Solution: Screw anchor boards through tarp into deck
Water Pooling:: - Mistake: Tarp creates low spots or pockets - Problem: Pooling stresses tarp, creates leaks - Solution: Ensure positive slope across entire tarp
Peak Gaps:: - Mistake: Tarp stops short of roof ridge - Problem: Water enters above tarp - Solution: Extend over ridge when possible
Inadequate Tarp Quality:: - Mistake: Using thin or old tarps - Problem: UV damage, tears, failures - Solution: Use heavy-duty tarps rated for outdoor use
Professional Tarping Services
Professional emergency tarping offers advantages when DIY isn't practical.
What Professionals Provide:
- Rapid response (often same-day service)
- Proper safety equipment and training
- Experience with complex roof configurations
- Higher quality materials
- Documentation for insurance
- Workmanship guarantees
Cost Expectations:
| Tarping Scenario | Typical Cost Range |
|---|---|
| Small area (<100 sq ft) | $200 - $500 |
| Medium area (100-300 sq ft) | $400 - $800 |
| Large area (300+ sq ft) | $700 - $1,500+ |
| Complex roof/multiple areas | Custom quote |
These costs are typically covered by insurance as part of emergency mitigation. Keep all receipts and documentation for claim submission.
Finding Emergency Services:
Look for contractors who: - Offer 24/7 emergency response - Have proper licensing and insurance - Provide written estimates before work - Will coordinate with your insurance claim - Have established local reputation
Find emergency roofing services in your area before storms occur so you're prepared.
Tarping Duration and Maintenance
Emergency tarps are temporary solutions requiring ongoing attention.
Expected Tarp Lifespan:
Properly installed heavy-duty tarps typically last: - 60-90 days in good conditions - 30-45 days with moderate weather exposure - Less time with severe UV, wind, or temperature extremes
Maintenance Requirements:
Regularly check your temporary tarp for: - Tears or punctures - Loosened securing boards - Water pooling or improper drainage - Edge lifting or wind damage - UV degradation (brittleness, color fading)
When to Re-Tarp:
Replace or repair tarps when: - Visible damage appears - Water begins entering the structure - Securing has loosened significantly - 90+ days have passed - Before anticipated major weather events
Beyond Tarping: Interior Protection
While tarping addresses external water entry, additional interior precautions protect your home.
Immediate Interior Steps:
- Place containers under any active leaks
- Move furniture and valuables away from wet areas
- Remove area rugs that might absorb water
- Turn off electrical circuits in affected areas
- Run fans to circulate air and reduce moisture
Moisture Monitoring:
Even with tarping, monitor for: - Spreading water stains - Musty odors indicating mold - Soft spots in ceiling drywall - Humidity increases in affected rooms
When to Call Water Mitigation:
If water entered before tarping, consider professional water mitigation to: - Extract standing water - Dry structural materials - Prevent mold growth - Document damage for insurance
Insurance and Documentation
Proper documentation protects your claim for both the original damage and emergency tarping costs.
Documentation Requirements:
Before tarping: - Photograph all damage extensively - Video active leaks if occurring - Note date, time, and weather conditions - Record damage extent in writing
After tarping: - Photograph completed tarp installation - Keep all material receipts - Get written invoices from professionals - Document any additional damage that occurred
Submitting for Reimbursement:
Emergency tarping is typically covered as "temporary repairs" or "mitigation." Submit: - Itemized receipts for materials - Professional service invoices - Photos of tarp installation - Written explanation of emergency circumstances
Transitioning to Permanent Repairs
Tarping is temporary—permanent repairs are essential.
Timeline Considerations:
- File insurance claim immediately
- Schedule contractor estimates within days
- Plan permanent repairs within 30-60 days
- Don't wait until tarp fails to act
Coordinating Tarp Removal:
Work with your repair contractor to: - Schedule removal immediately before repair - Minimize time roof is exposed - Properly dispose of tarp materials - Inspect for additional damage before repair
Permit Requirements:
Permanent repairs often require permits. Discuss with your contractor: - Local permit requirements - Inspection scheduling - Code compliance for repairs - Timeline impact of permit process
Conclusion
Emergency roof tarping is a critical skill for protecting your home after storm damage. Whether you tackle it yourself or hire professionals, quick action prevents secondary damage, satisfies insurance requirements, and preserves your home's value.
Remember these key principles:
- Safety first - Never risk personal injury for property protection
- Quality materials - Invest in heavy-duty tarps and proper securing
- Proper technique - Follow installation best practices for effective protection
- Ongoing monitoring - Regularly inspect and maintain temporary protection
- Prompt permanent repair - Tarps are temporary—schedule repairs quickly
Being prepared before storms occur—knowing reliable contractors, having supplies on hand, and understanding the process—makes emergency response faster and more effective. Take time now to prepare for potential emergencies, and you'll be ready to protect your home when storms strike.