How to Repair Damaged Roof Shingles: Step-by-Step Guide
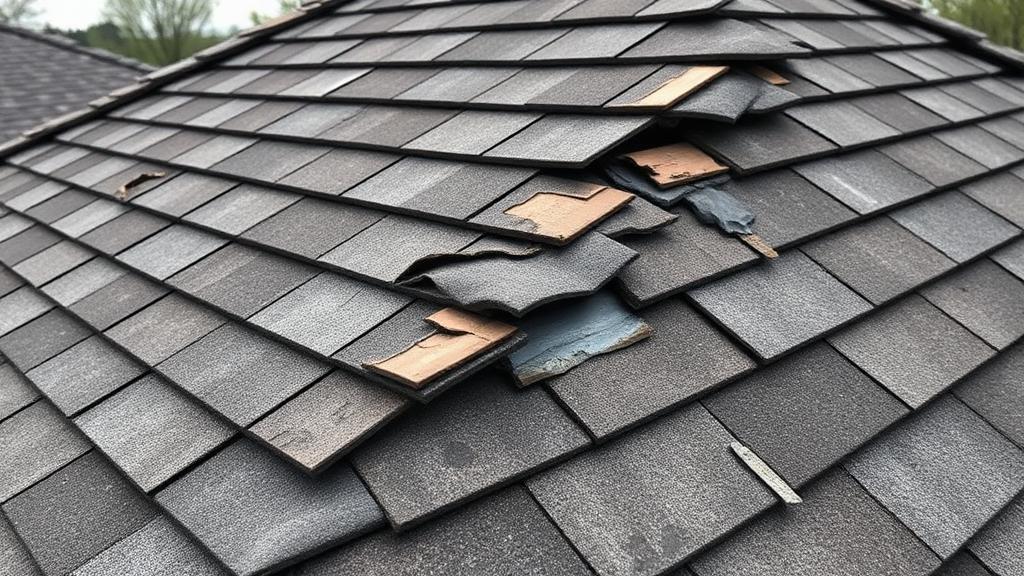
Damaged roof shingles are among the most common roofing problems homeowners face. Whether caused by wind, impact, age, or improper installation, damaged shingles compromise your roofs ability to protect your home. For capable homeowners with low-slope roofs, replacing a few damaged shingles can be a manageable DIY project. This guide covers everything you need to know about shingle repair, including when the job exceeds DIY scope.
Before You Begin: Safety and Assessment
Roof work is inherently dangerous, and safety must be your first consideration.
Evaluate Your Comfort Level: Be honest about your comfort working at heights. If you feel nervous about ladder work or roof walking, hire a professional. No repair is worth a fall.
Roof Pitch Assessment: Measure your roof pitch before attempting any work. Pitches under 4:12 are relatively easy to walk. Pitches of 4:12 to 6:12 require more caution. Pitches above 6:12 should generally be left to professionals with proper fall protection.
Weather Conditions: Never work on a wet or icy roof. Avoid hot days when shingles are soft and easily damaged by foot traffic. Cool, dry days with light wind are ideal.
Proper Equipment: At minimum, you need a sturdy extension ladder rated for your weight plus materials, rubber-soled shoes with good grip, a secure ladder stabilizer, and someone on the ground for safety.
Damage Scope: Assess how many shingles need replacement. Replacing two or three shingles is a reasonable DIY project. Larger areas may indicate underlying problems requiring professional assessment.
Tools and Materials Needed
Gather everything before climbing onto your roof.
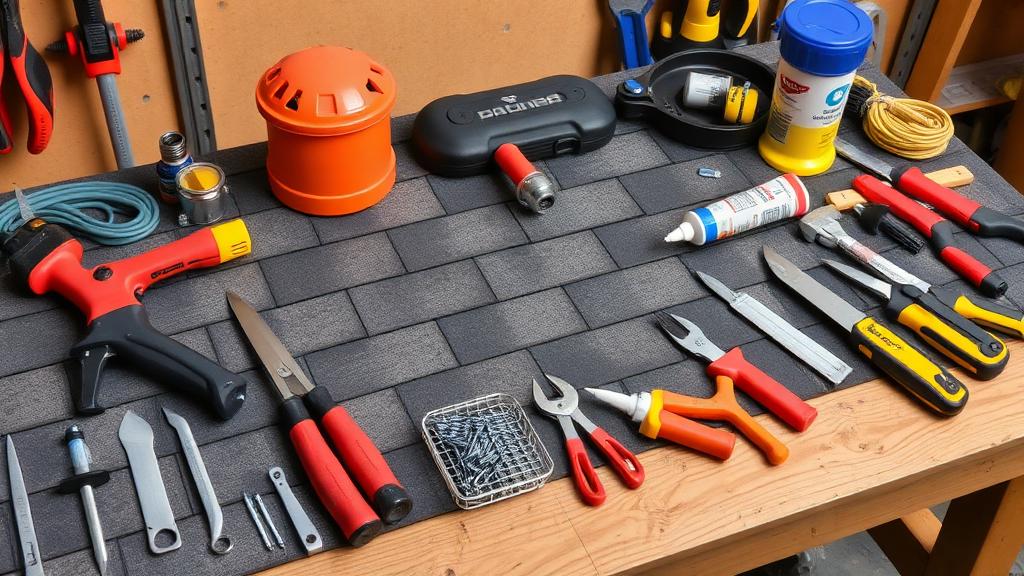
Tools Required: Flat pry bar or shingle removal tool, hammer, utility knife, caulk gun, tape measure, chalk line for larger repairs, and a sturdy tool belt or bucket.
Materials Required: Replacement shingles matching your existing roof, roofing nails (typically 1.25 inches), roofing cement or sealant, and possibly replacement underlayment for larger repairs.
Matching Shingles: Finding exact matches for older shingles can be challenging. Bring a sample to your supplier. If exact matches are unavailable, consider taking shingles from a less visible area to use for visible repairs, then using similar-but-not-matching shingles in the hidden location.
Step-by-Step Shingle Replacement
For a typical three-tab or architectural shingle replacement, follow these steps.
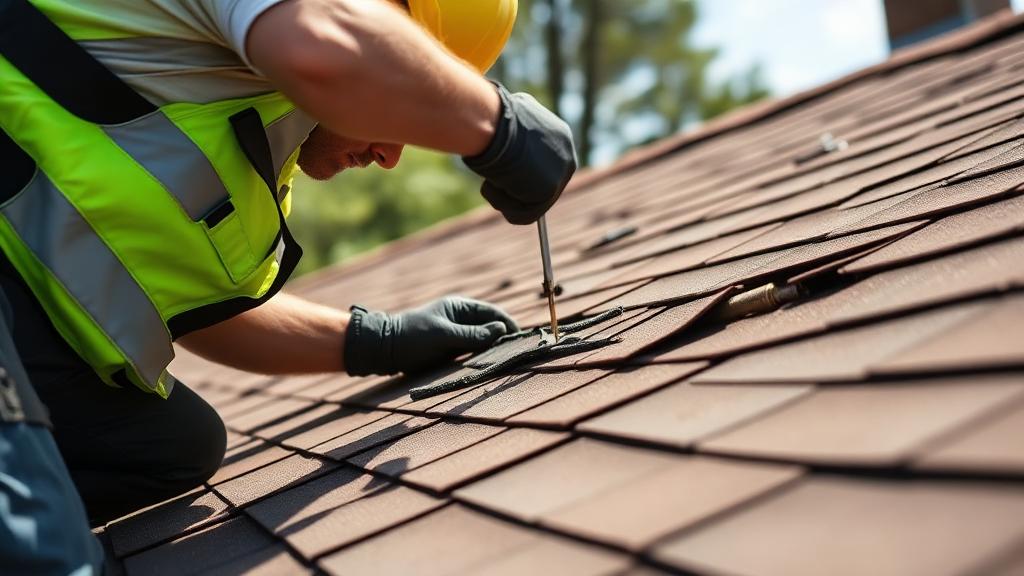
Step 1: Break the Seal: Asphalt shingles are sealed to each other with adhesive strips. Carefully slide your flat bar under the damaged shingle and the one above it to break these seals. Work gently to avoid damaging surrounding shingles. In cold weather, seals may be brittle and break easily. In hot weather, they may be very sticky and require more force.
Step 2: Remove Nails: Each shingle is held by two rows of nails: one row through its own upper portion and another row from the shingle above. Locate all nails securing the damaged shingle. Slide your pry bar under the shingle head and lever up to remove nails. Most shingles have four to six nails each.
Step 3: Remove the Damaged Shingle: Once all nails are removed, slide the damaged shingle out. If it tears, remove all pieces. Check the area underneath for damage to the underlayment or decking.
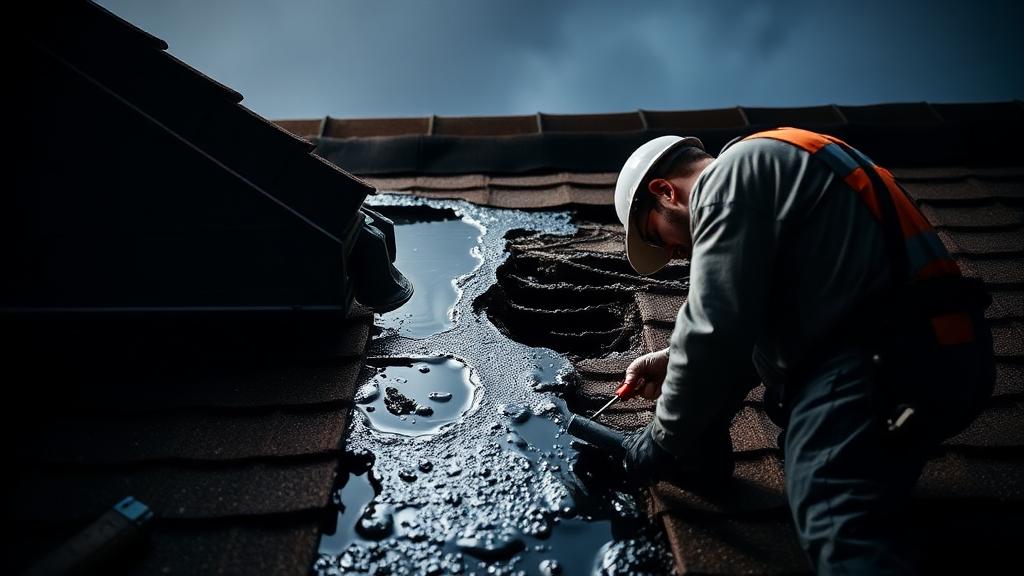
Step 4: Inspect the Underlayment: With the shingle removed, inspect the felt or synthetic underlayment beneath. If it is torn, degraded, or water-damaged, repair or replace this section before installing new shingles. Small tears can be sealed with roofing cement.
Step 5: Install the New Shingle: Slide the new shingle into position. The upper edge should align with surrounding shingles, and the lower edge should create a consistent exposure line.
Step 6: Nail the New Shingle: Following the manufacturers nailing pattern (typically four nails for standard conditions, six for high-wind areas), drive nails just above the adhesive strip line. Nails should be driven straight and seated flush with the shingle surface, not overdriven.
Step 7: Seal the Shingle Edges: Apply roofing cement under the edges of the new shingle and the overlapping shingle above to reseal them. Press firmly to ensure contact.
Step 8: Secure Lifted Shingles: If you lifted surrounding shingles, reseal them with roofing cement as well. All shingles should lie flat and sealed when you are finished.
Repairing Rather Than Replacing
Some shingle damage can be repaired without full replacement.
Cracked Shingles: If a shingle is cracked but pieces remain in place, apply roofing cement under the crack, press pieces together, and add cement over the crack. This repair may be visible but is functionally effective.
Curling Edges: Curling shingle edges can be glued down with roofing cement. Apply cement under the curl, press down, and weight until the cement sets.
Minor Granule Loss: Small areas of granule loss do not require immediate replacement. Monitor these areas for deterioration.
When Repair Wont Work: Broken, torn, or severely weathered shingles need replacement. Repairs to such shingles are temporary at best.
Common Mistakes to Avoid
Learn from others errors to ensure quality repairs.
Overdriving Nails: Nails driven too deep crack shingles and fail to hold properly. The nail head should be flush with the shingle surface, with the shingle lying flat around it.
Wrong Nail Placement: Nails placed too high do not adequately secure the shingle. Nails placed too low may be visible or hit the shingle below incorrectly.
Improper Sealing: Failing to reseal lifted shingles leaves them vulnerable to wind damage. All shingle edges should be sealed when work is complete.
Working in Wrong Conditions: Shingles worked in cold temperatures crack. Shingles worked in hot temperatures tear and show foot traffic marks. Choose appropriate weather.
Ignoring Underlying Damage: Replacing shingles over damaged underlayment or decking is pointless. The new shingles will fail just like the old ones.
When to Call a Professional
Many situations exceed safe or practical DIY scope.
Multiple Areas of Damage: Widespread damage suggests underlying problems that require professional diagnosis. What appears to be surface damage may indicate ventilation issues, age-related failure, or installation defects.
Steep Roofs: Any roof too steep to walk comfortably requires professional equipment and experience. The risk of DIY work on steep roofs far exceeds potential savings.
High Roofs: Second-story and higher roofs significantly increase fall danger and make material handling difficult.
Flashing-Related Damage: Damage near chimneys, vents, or other penetrations often involves flashing work that requires professional skills.
Repeated Failures: If you have repaired the same area multiple times, the underlying problem needs professional diagnosis.
Insurance Considerations: Some insurance policies require professional repairs for continued coverage. Check your policy before DIY work.
Connect with qualified roofing professionals in your area when repairs exceed DIY scope.
Maintaining Your Repair
Proper maintenance extends the life of your repair work.
Monitor During Rain: Watch repaired areas during the next few rains to ensure they are not leaking. Address any issues immediately.
Annual Inspection: Include repaired areas in your annual roof inspection routine. Look for loosening, lifting, or any signs of failure.
Keep Records: Note when repairs were made and what was done. This information is useful for future maintenance planning and any insurance or sale situations.
Conclusion
Replacing a few damaged shingles is within the capability of many handy homeowners willing to work carefully and safely. The key is honest assessment of your skills and comfort level, proper preparation, and attention to detail during the work. When in doubt about any aspect of the job, professional help is always the safer and often more cost-effective choice. Quality repairs properly executed can restore your roof's protection and add years to its service life.