Emergency Roof Leak Repair: What to Do When Water Starts Coming In
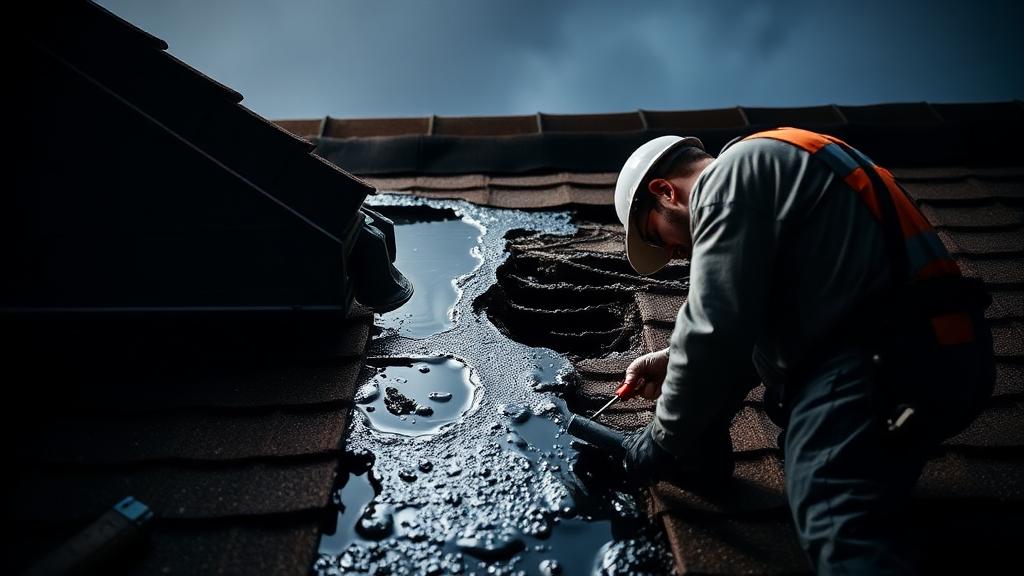
A roof leak during a storm is every homeowner's nightmare. Water pouring into your living space demands immediate action to prevent extensive damage. This comprehensive guide covers exactly what to do when emergency roof leaks occur.
Immediate Response: The First 10 Minutes
When you discover water coming through your ceiling, quick action minimizes damage.
Step 1: Protect Valuables (2 minutes) Move items away from the water infiltration area: - Electronics and computers first - Important documents and photos - Furniture that can be moved - Rugs and area carpets
Step 2: Contain the Water (3 minutes) Set up water collection: - Place buckets, bins, or trash cans under drips - Lay towels around container bases - If dripping is widespread, use plastic sheeting
Step 3: Relieve Ceiling Pressure (5 minutes) If the ceiling is bulging or water is pooling: - Place a bucket beneath the bulge - Carefully puncture the lowest point with a screwdriver - Allow water to drain into the container - This prevents ceiling collapse and spreading damage
WARNING:: Never attempt emergency roof work during active storms with lightning, high winds, or heavy rain. Wait for conditions to improve before exterior work.
Identifying the Leak Source
Finding where water enters helps prioritize emergency repairs.
Interior Investigation:: - Follow water stains toward their source - Check attic if safely accessible - Look for daylight through roof deck - Note moisture patterns on insulation
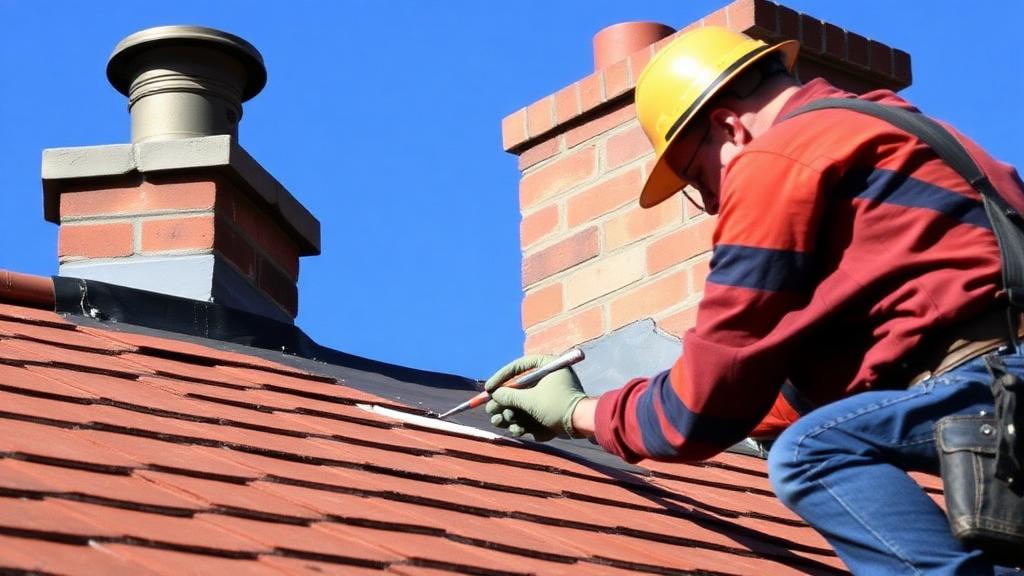
Common Entry Points:: | Location | Signs | Urgency | |----------|-------|---------| | Chimney flashing | Water near chimney | High | | Roof valleys | Stains along ceiling angles | High | | Vent pipes | Water around bathroom/kitchen | Medium | | Missing shingles | Direct dripping | High | | Skylight | Water around skylight | Medium |
Important Note:: Water often travels along rafters before dripping, so the leak source may not be directly above visible water damage. Professional leak detection often requires experience.
Temporary Emergency Fixes
While waiting for professional repairs, temporary measures limit ongoing damage.
Roofing Cement Application:: For accessible damage in safe conditions: 1. Locate the damaged area 2. Clean debris from around damage 3. Apply roofing cement liberally 4. Press replacement material into cement 5. Seal edges completely
Plastic Sheeting (Tarp) Installation:: The most effective temporary protection when damage is extensive:
Materials needed: - Heavy-duty tarp (minimum 6 mil) - 2x4 boards for weight - Screws or sandbags - Ladder with proper setup
Installation process: 1. Unroll tarp to cover damage plus 4 feet on all sides 2. Extend tarp over roof ridge when possible 3. Secure top edge with boards and screws into ridge 4. Anchor bottom edge with weighted boards or sandbags 5. Ensure water sheds to edges, not pools
Read our detailed emergency tarp installation guide for step-by-step instructions.
Bucket Flashing Repair:: For vent pipe failures: 1. Apply roofing cement around pipe base 2. Press flexible metal flashing into cement 3. Seal all edges with additional cement
What NOT to Do During Emergencies
Certain actions can worsen damage or create safety hazards.
Avoid:: - Climbing on wet or icy roofs - Using electrical devices near water - Ignoring electrical outlets near leaks - Extensive attic work during active leaks - Delaying water extraction efforts
Safety First:: - If water is near electrical panels, shut off power - If ceilings are sagging severely, evacuate the room - If structural damage is visible, call professionals immediately
Finding 24/7 Emergency Repair Services
Many roofing companies offer emergency services for urgent situations.
Emergency Service Expectations:: - Temporary repairs to stop active leaking - Tarp installation for significant damage - Assessment of immediate vs. delayed needs - Scheduling for permanent repairs
Finding Emergency Contractors:: - Search "[your city] 24 hour roof repair" - Check major contractors' emergency lines - Contact local roofing professionals - Ask neighbors for recommendations
Emergency Service Costs:: Emergency calls typically include premium pricing: - After-hours service fee: $150-$400 - Tarp installation: $200-$700 - Emergency patching: $300-$800 - Assessment only: $100-$250
These costs are worthwhile to prevent thousands in water damage.
Documenting Damage for Insurance
Proper documentation supports insurance claims for covered damage.
Document Immediately:: - Photograph all visible water damage - Video the active leak if safely possible - Capture damage to belongings - Note date and time of discovery - Record weather conditions
Preserve Evidence:: - Keep damaged materials for adjuster inspection - Don't dispose of ruined belongings immediately - Save receipts for emergency repairs - Maintain contractor documentation
Learn more about filing roof insurance claims and working with adjusters.
Water Damage Mitigation
After stopping the leak, preventing secondary damage is essential.
Immediate Drying:: - Remove standing water with wet vacuum or mop - Increase ventilation with fans - Run dehumidifiers continuously - Remove wet insulation from attic
Mold Prevention:: Mold can begin growing within 24-48 hours: - Maintain air circulation in affected areas - Consider professional drying services for extensive water - Monitor for musty odors in following days - Inspect hidden areas for moisture
Ceiling and Wall Care:: - Don't repaint or repair until completely dry - Allow several days minimum for drying - Check for hidden moisture with moisture meters - Consider professional assessment for extensive damage
Planning Permanent Repairs
Emergency measures are temporary—permanent repairs prevent recurrence.
Timeline for Permanent Repairs:: - Schedule professional inspection within days - Get multiple estimates for permanent repair - Plan repairs based on weather windows - Address underlying causes, not just symptoms
Preventing Future Emergencies:: - Annual roof inspections - Regular maintenance schedules - Address minor issues before they become major - Maintain proper attic ventilation
Common Emergency Leak Causes
Understanding typical causes helps prevent future emergencies.
Storm-Related:: - Wind-lifted shingles - Impact from debris - Ice dam formation - Overwhelmed drainage
Age-Related:: - Deteriorated flashing - Failed vent boots - Cracked or curled shingles - Worn sealants
Maintenance-Related:: - Clogged gutters causing backup - Debris accumulation in valleys - Overgrown tree branches - Neglected minor damage
Emergency Preparedness
Being prepared reduces emergency stress and damage.
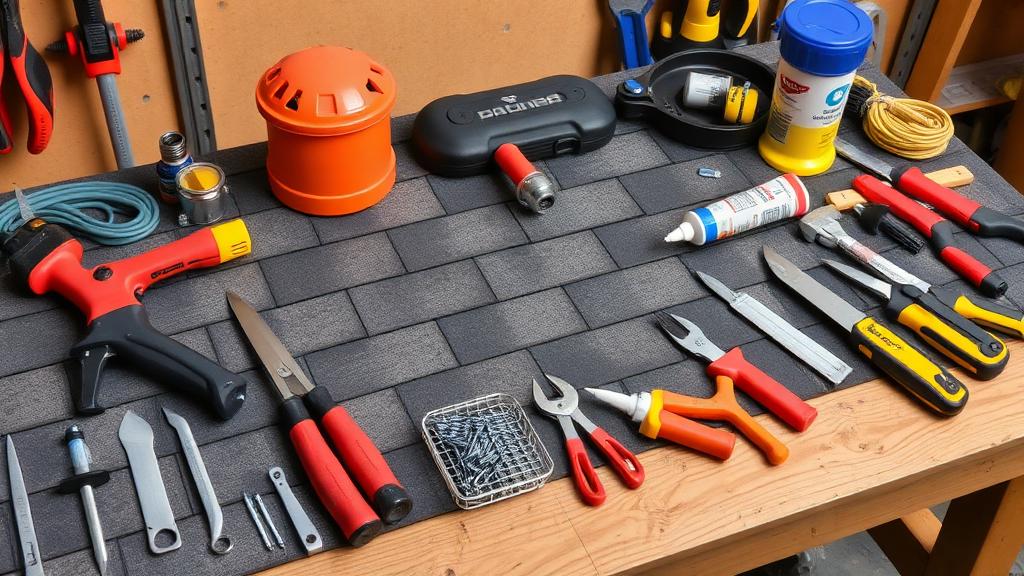
Keep on Hand:: - Heavy-duty tarps (at least 2) - Roofing cement and caulk - Screws and basic tools - Emergency contractor numbers - Insurance policy information
Regular Preparation:: - Know your roof's vulnerable areas - Maintain contractor relationships - Keep gutters clean - Address small problems promptly
When to Evacuate
Some situations require leaving the building.
Evacuation Indicators:: - Ceiling collapse or imminent collapse - Extensive electrical involvement - Structural damage visible - Water volume overwhelming containment - Sewage backup accompanying leak
After Evacuation:: - Contact insurance company - Document from safe distance - Arrange professional assessment - Don't re-enter until cleared
Working with Insurance After Emergency
Emergency roof damage often qualifies for insurance coverage.
Coverage Considerations:: - Sudden and accidental damage typically covered - Gradual wear typically excluded - Emergency repair costs often reimbursable - Document everything for claims
Claim Process:: 1. Report damage to insurer promptly 2. Get emergency repairs to prevent further damage 3. Keep all receipts and documentation 4. Schedule adjuster inspection 5. Get permanent repair estimates 6. Review settlement offer carefully
Conclusion
Emergency roof leaks demand immediate action, but safety always comes first. Contain the water, protect your valuables, document everything, and call professionals for permanent repairs. With proper emergency response, even severe leaks can be managed with minimal lasting damage.
Need emergency roof repair? Find local 24/7 roofing contractors who can respond quickly to protect your home.