Identifying and Repairing Shingle Damage: A Complete Homeowner Guide
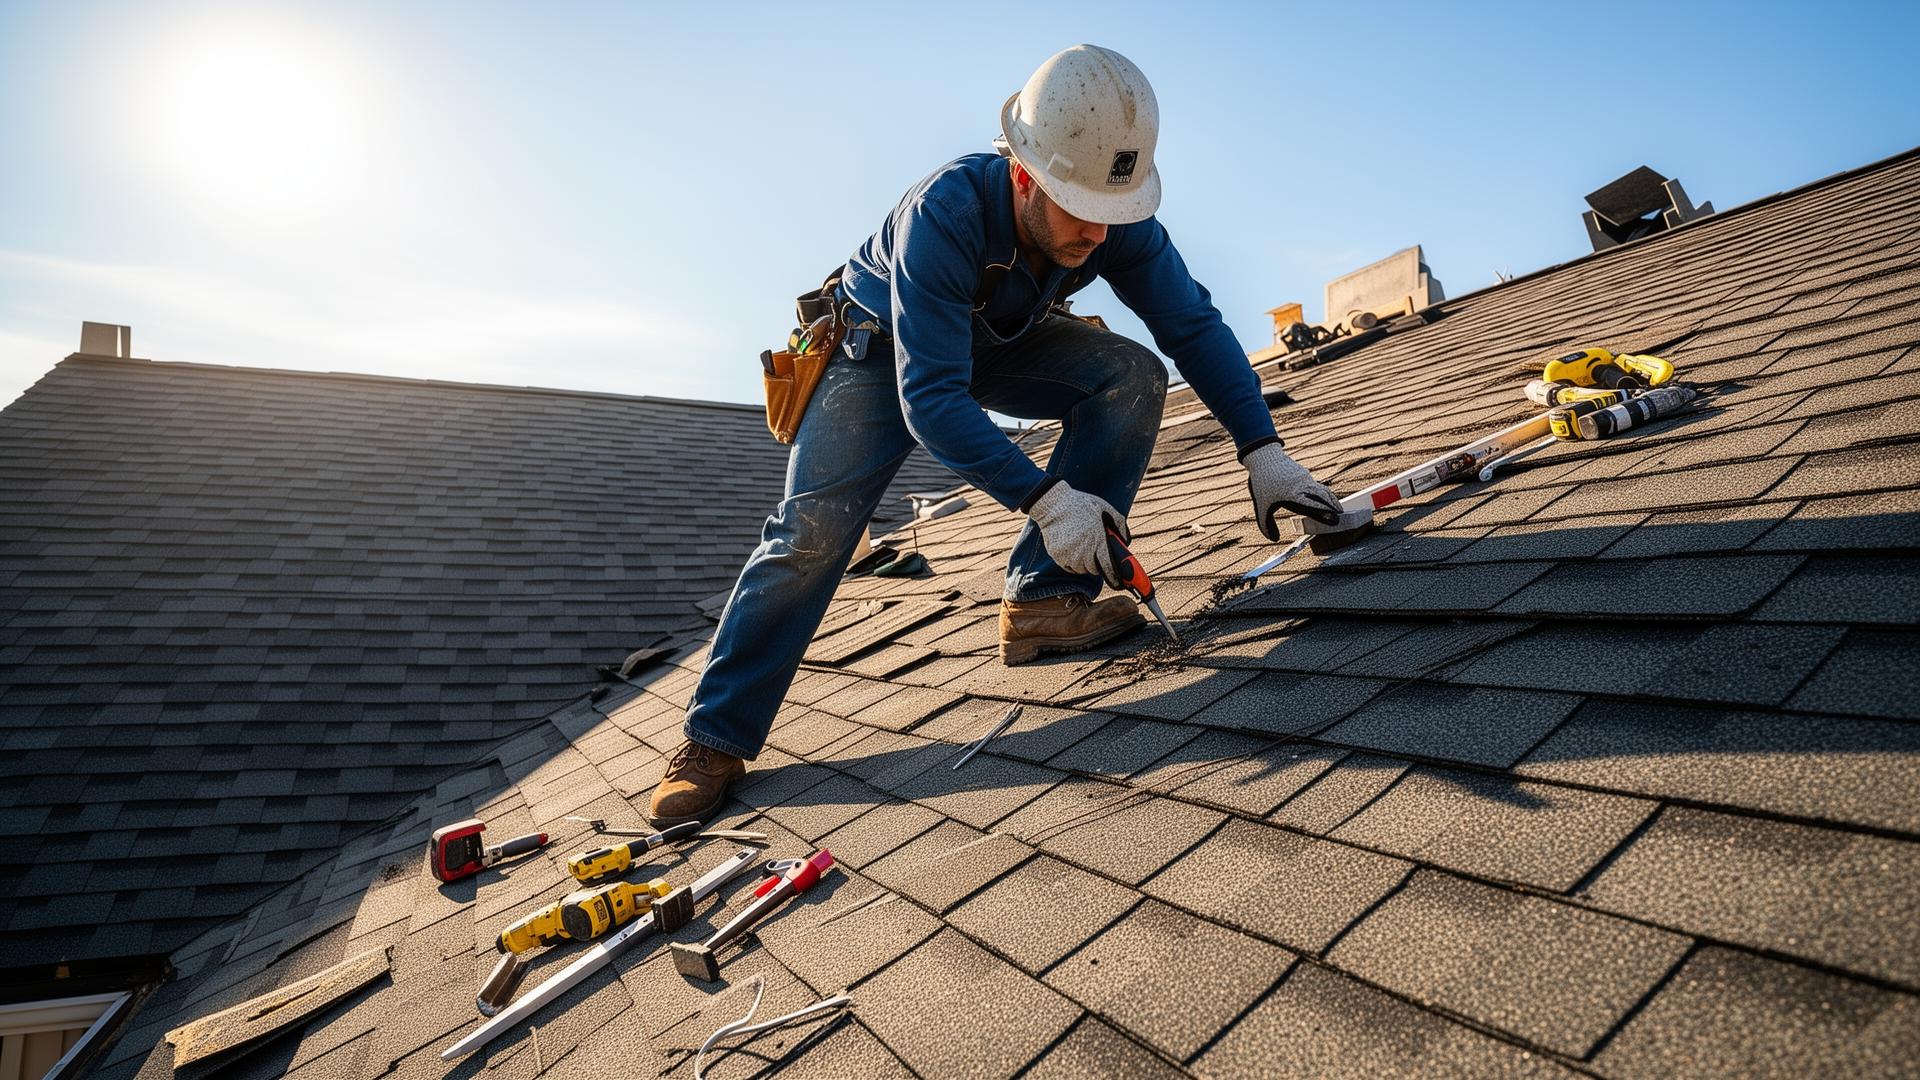
Shingle damage is one of the most common roofing issues homeowners face, yet many struggle to identify problems before they become costly repairs. Understanding the signs of shingle damage and knowing when to call a professional can save thousands in water damage and premature roof replacement costs.
Common Types of Shingle Damage
Shingles can deteriorate in several ways, each with distinct visual indicators and repair requirements.
Curling and Cupping: When shingles curl at the edges or cup in the center, they are losing their ability to shed water effectively. Curling typically indicates age-related deterioration or poor attic ventilation causing excessive heat buildup.
Cracking and Splitting: Temperature fluctuations cause shingles to expand and contract, eventually leading to cracks. These cracks allow water infiltration and typically appear as vertical lines across the shingle surface.
Missing Granules: The granular coating on shingles protects against UV damage and fire. When granules wash away (often visible in gutters), the underlying asphalt becomes exposed and deteriorates rapidly.
Blistering: Heat damage causes bubbles or blisters in shingle surfaces. While small blisters may be cosmetic, larger ones can pop and expose the underlying material to water damage.
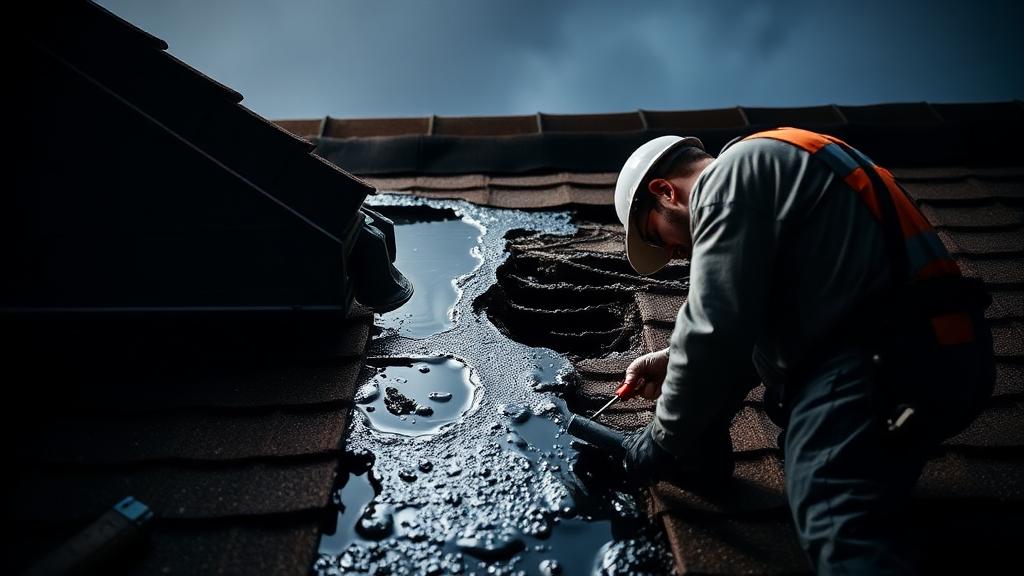
Wind Damage: High winds can lift shingle edges, break the seal strips, or tear shingles completely off the roof. Missing or lifted shingles require immediate attention to prevent water infiltration.
DIY Inspection Tips
Regular inspections help catch problems early when repairs are simpler and less expensive.
Ground-Level Inspection: Start by walking around your home with binoculars. Look for missing shingles, obvious curling, or color variations that might indicate damage or algae growth.
Gutter Check: Examine your gutters for accumulated granules. Some granule loss is normal for new roofs, but excessive granules in established roofs indicate deterioration.
Attic Inspection: Check your attic for daylight coming through the roof deck, water stains on rafters, or moisture on insulation. These signs indicate roof penetration issues.
After-Storm Check: Always inspect your roof after significant storms. Hail, wind, and falling debris can cause damage that worsens rapidly if not addressed.
When to Repair vs. Replace
Understanding when repair is sufficient versus when replacement is necessary saves money and prevents recurring problems.
Repair is Appropriate When: - Damage is localized to a small area (less than 30% of roof) - Shingles are less than 15 years old and matching replacements are available - The roof deck beneath is sound and undamaged - Issues are limited to surface damage without structural concerns
Replacement is Necessary When: - Damage extends across multiple roof sections - Shingles are approaching or past their expected lifespan (20-25 years for most architectural shingles) - Multiple previous repairs have been performed - Roof deck shows signs of rot or structural damage - Insurance adjusters recommend full replacement after storm damage
Professional Repair Process
Understanding what to expect from professional repairs helps you evaluate contractor proposals.
Assessment: Qualified contractors begin with thorough inspection, often including photo documentation. They should explain findings clearly and provide options when applicable.
Material Matching: For repairs, contractors should attempt to match existing shingle color and style. Perfect matches may be impossible for older roofs, but close approximations maintain appearance.
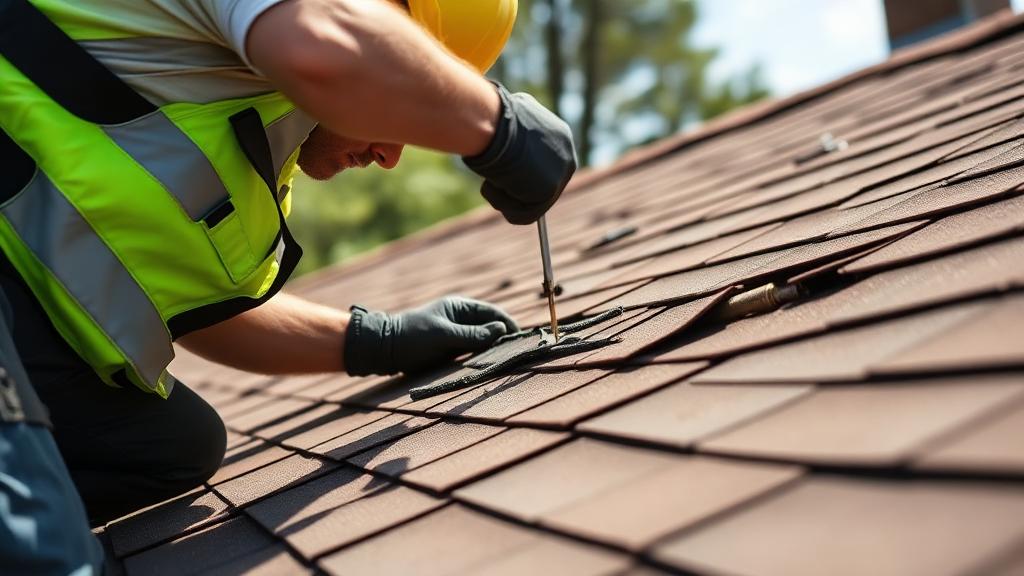
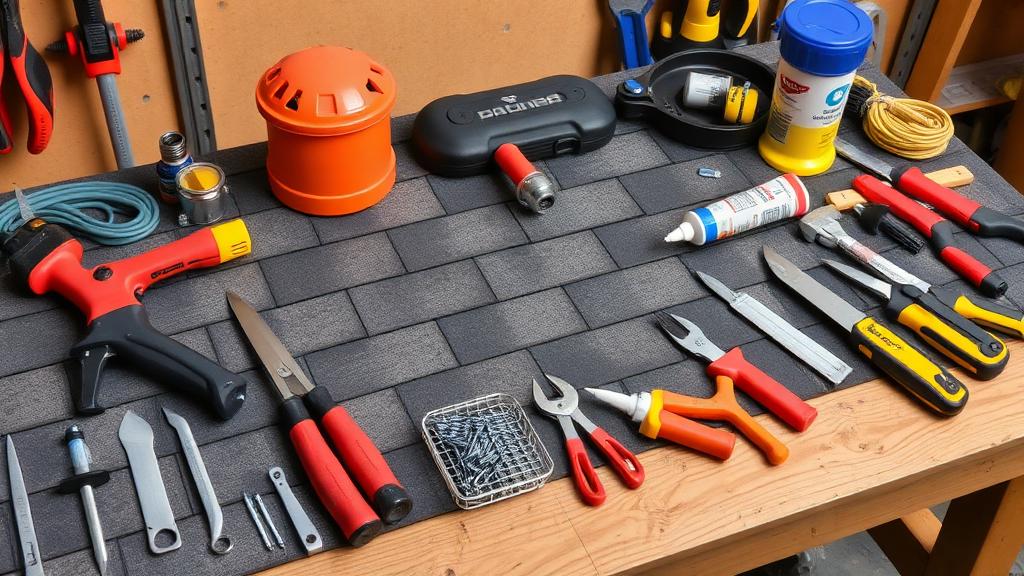
Proper Techniques: Professional repairs involve removing damaged shingles, inspecting underlying materials, replacing damaged underlayment if necessary, and installing new shingles with proper nailing patterns and sealant.
Warranty Coverage: Ask about warranty coverage for repair work. Reputable contractors stand behind their repairs with written warranties.
Cost Expectations
Repair costs vary based on damage extent, accessibility, and local market conditions.
Minor Repairs: Small repairs addressing a few missing or damaged shingles typically cost $150-$400.
Moderate Repairs: Larger repairs covering a roof section or addressing multiple issues run $400-$1,000.
Major Repairs: Significant repairs approaching partial replacement can cost $1,000-$3,000 or more.
Emergency Repairs: After-hours or immediate response repairs typically carry premium pricing.
Prevention Strategies
Proactive maintenance extends shingle life and reduces repair frequency.
Regular Inspections: Schedule professional inspections every 2-3 years, plus after major storms.
Trim Overhanging Branches: Trees dropping debris or scraping the roof accelerate shingle damage.
Maintain Gutters: Clogged gutters cause water backup that can damage roof edges and facilitate ice dams.
Address Ventilation: Proper attic ventilation prevents heat buildup that accelerates shingle aging.
Prompt Repairs: Small problems become big problems quickly. Address issues promptly to prevent escalation.
Conclusion
Shingle damage is inevitable over time, but early detection and proper repair significantly extend roof life. Regular inspections, prompt attention to problems, and working with qualified contractors keeps your roof protecting your home effectively.
Find local roofing contractors for professional shingle repair and inspection services.