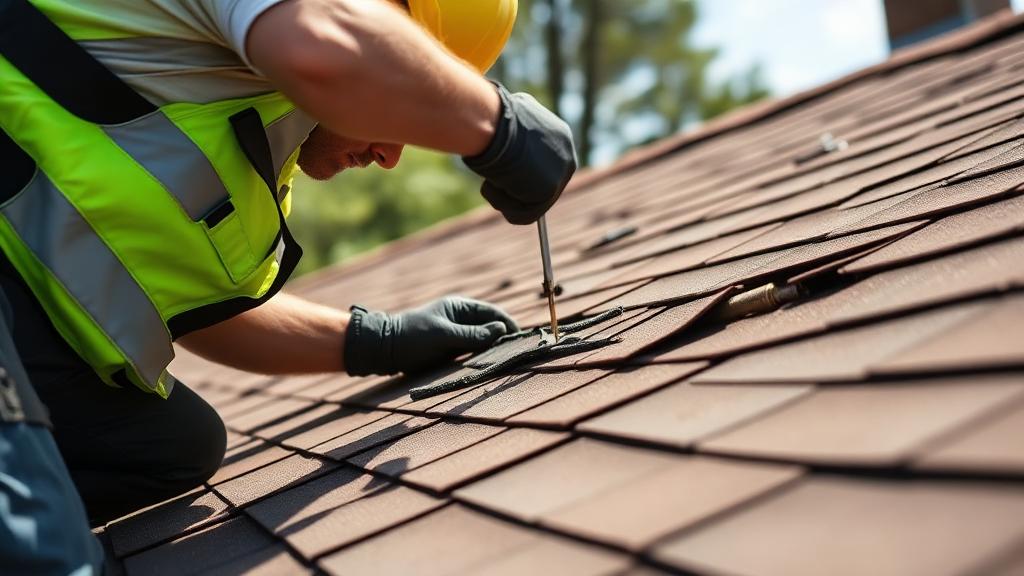
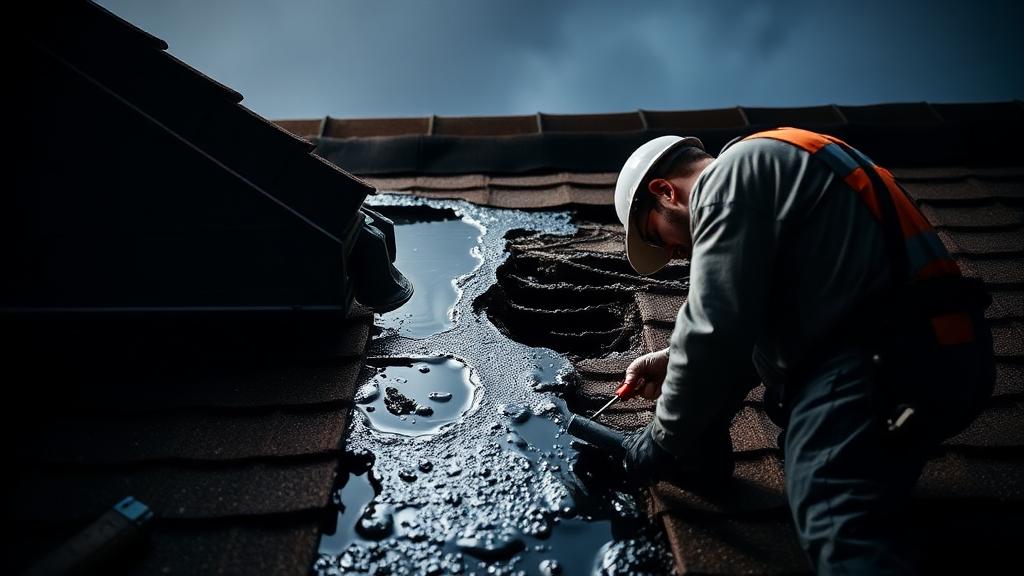
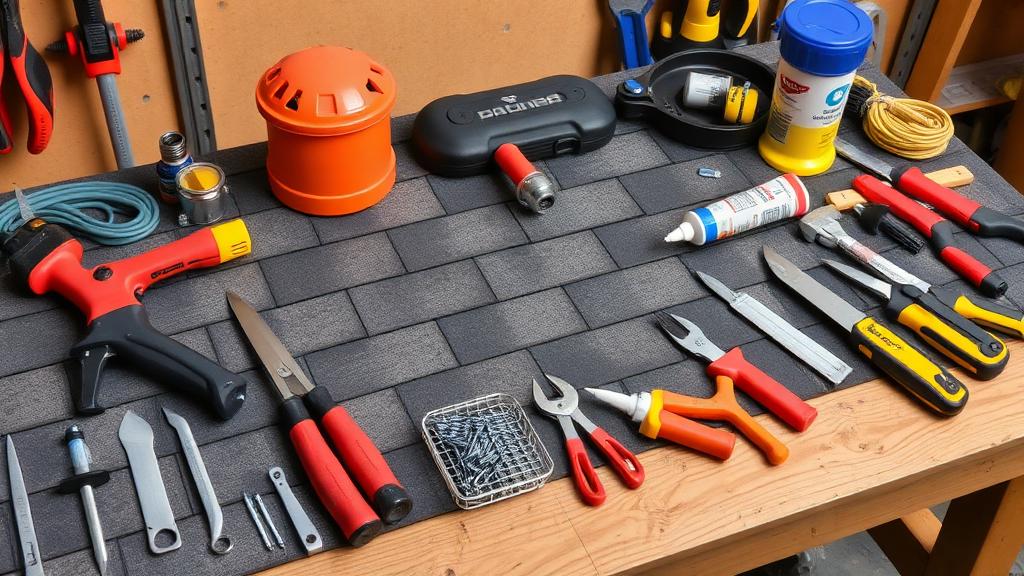
Roof Repair After Storm Damage: Complete Guide
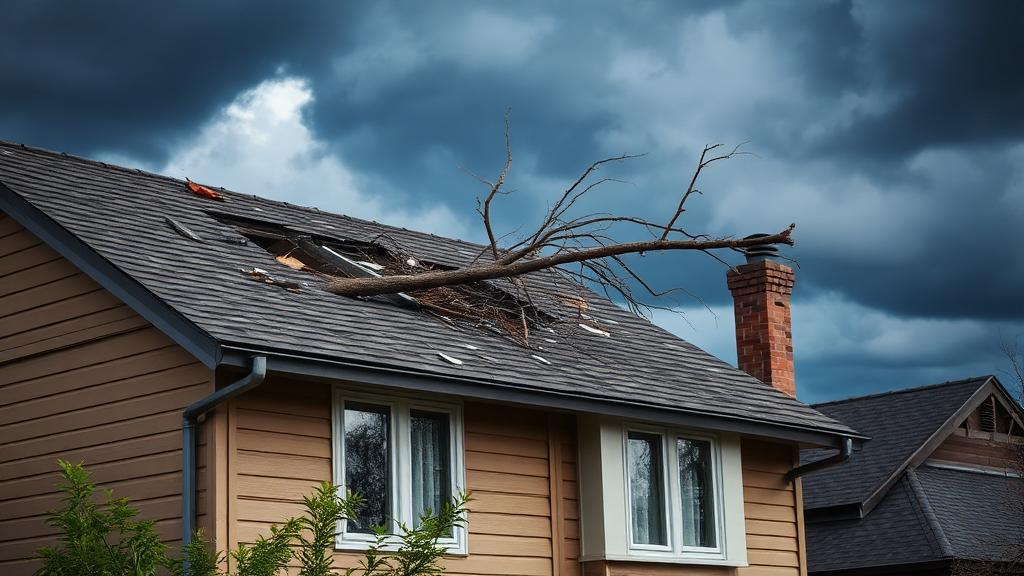
Severe storms can devastate roofing systems in minutes, leaving homeowners facing urgent repair decisions while navigating insurance claims and contractor selection. Understanding the complete process from initial damage assessment through permanent repairs helps you protect your home and investment during this stressful time.
Immediate Post-Storm Actions
The hours immediately following storm damage are critical for minimizing further damage and documenting your claim.
Safety First: Before approaching your home, look for downed power lines, hanging tree limbs, and structural damage. Do not enter areas with obvious structural compromise. If your home has significant damage, contact utility companies to shut off services.
Initial Assessment: Once safe to approach, walk around your home looking for obvious damage. Check for missing shingles, visible holes, damaged gutters, and debris accumulation. Look inside for water stains, drips, or daylight visible through the roof.
Photographic Documentation: Photograph and video all visible damage from multiple angles. Include wide shots showing overall damage patterns and close-ups of specific damage areas. Capture interior damage as well. Time-stamp photos if possible.
Emergency Mitigation: Take reasonable steps to prevent additional damage. Cover holes or exposed areas with tarps secured by weights or boards. Move valuables away from leak areas. Place containers under active drips.
Contact Your Insurance: Report the damage to your insurance company as soon as possible. Most policies require prompt reporting and have specific timelines for claim filing.
Understanding Storm Damage Types
Different storm conditions create different damage patterns requiring different repair approaches.
Wind Damage: High winds lift, tear, and peel shingles from roofs. Look for missing shingles, lifted edges, exposed underlayment, and shingle debris in your yard. Wind damage often appears in patterns following dominant wind direction.
Hail Damage: Hail impacts create divots in shingles, crack tiles, and dent metal roofing. Damage may not be immediately visible from the ground. Soft metal flashings and vent covers often show hail damage clearly.
Falling Debris: Branches and trees can puncture roofs, crush structural members, and tear away large sections. Even small branches can dislodge shingles or crack tiles when falling from height.
Driven Rain: Heavy rain combined with wind can force water under shingles and into areas designed to shed normally falling rain. Water intrusion may occur without obvious external damage.
Lightning Strikes: Direct lightning hits can cause fire, explode shingles, and damage electrical systems. Lightning damage requires thorough inspection including electrical systems.
Insurance Claim Process
Navigating insurance claims successfully requires documentation, communication, and understanding of your policy.
Review Your Policy: Before filing, understand your coverage, deductibles, and any applicable endorsements. Policies vary in what storm damage is covered and what exclusions apply.
Prompt Filing: File your claim as soon as possible after documenting damage. Delayed filing can complicate claims and may violate policy requirements.
Insurance Adjuster Visit: Your insurance company will send an adjuster to assess damage and determine coverage. Be present during this inspection if possible. Walk them through all damage you have documented.
Scope of Loss Document: Request a copy of the adjusters scope of loss, which details all items the insurance company agrees to cover. Review this carefully against your own damage assessment.
Supplement Requests: If contractor estimates exceed insurance approval, your contractor can file supplements requesting additional coverage for legitimately needed work. This is a normal part of the process for complex claims.
Documentation Retention: Keep copies of all communications, estimates, receipts, and documentation throughout the claim process. These records protect you if disputes arise.
Temporary Repairs
Temporary repairs protect your home until permanent work can be completed.
Tarping Damaged Areas: Blue tarps are the standard emergency roof covering. For effective protection, tarps should extend at least four feet past damaged areas on all sides. Secure with weighted boards or sandbags rather than creating additional holes.
Board Over Holes: Small holes can be temporarily covered with plywood secured without additional roof penetration. Use roofing cement around edges to improve seal.
Interior Protection: Move belongings away from leak areas. Cover furniture and flooring with plastic. Set up containers to catch drips and prevent water spread.
Document All Expenses: Temporary repair costs are typically covered by insurance as mitigation expenses. Keep all receipts for materials and any professional emergency services.
Professional Emergency Services: Many roofing companies offer emergency tarping and board-up services. For significant damage or unsafe conditions, professional emergency services are worth the cost.
Selecting a Repair Contractor
Choosing the right contractor is crucial for quality repairs and smooth insurance processing.
Avoid Storm Chasers: After major storms, contractors from outside your area often canvas damaged neighborhoods. These storm chasers may provide substandard work, disappear before completing jobs, or pressure you into signing contracts with unfavorable terms.
Local Reputation Matters: Local contractors have reputations to maintain in your community. They will be available for warranty service and are accountable for their work quality.
Verify Credentials: Confirm contractors hold required licenses and insurance. Request certificates of liability and workers compensation coverage and verify they are current.
Multiple Estimates: Get at least three estimates from reputable contractors. Compare scope of work, materials specified, timelines, and warranty terms. The lowest price is not always the best value.
Insurance Claim Experience: Contractors experienced with insurance claims can help navigate the process, including filing supplements for additional covered work. This experience is valuable for complex claims.
Written Contracts: Insist on detailed written contracts specifying all work to be performed, materials to be used, timeline, payment schedule, and warranty terms. Never pay in full upfront. Browse local roofing contractors in your area.
Permanent Repair Process
Once temporary measures are in place and contractors are selected, permanent repairs can proceed.
Complete Inspection: Before repair work begins, ensure a complete inspection identifies all damage. Water can travel far inside roof structures, causing hidden damage that must be addressed.
Underlying Damage: If shingles are damaged, inspect and repair underlayment as needed. If underlayment is compromised, inspect and repair decking. Effective repairs address all layers.
Material Matching: For partial repairs, match new materials to existing as closely as possible for both function and appearance. Significant color or style mismatches affect curb appeal and potentially resale value.
Code Compliance: Repairs should meet current building codes, which may have changed since original construction. Permit requirements vary by location and scope of work.
Ventilation Assessment: Major repairs offer an opportunity to address ventilation deficiencies that may have contributed to damage or shortened previous roof life.
Quality Assurance
Ensure repairs meet quality standards before considering work complete.
Progress Inspections: For major repairs, request periodic inspections as work progresses. Address issues before they are covered by additional work.
Final Walkthrough: Before making final payment, walk through completed work with your contractor. Identify any concerns for immediate correction.
Documentation: Obtain copies of all warranties, permit sign-offs, and completion certificates. Photograph completed work for your records.
Follow-Up Inspection: Consider having an independent inspector review completed work, especially for major repairs. The cost is worthwhile for catching issues before warranties are tested.
Prevention for the Future
Once repairs are complete, take steps to reduce future storm damage.
Tree Maintenance: Keep trees trimmed so branches do not overhang your roof. Remove dead or dying trees near your home before they become storm hazards.
Regular Inspections: Schedule annual professional inspections to catch developing problems before storms exploit them. Post-storm inspections are also important even when no obvious damage is visible.
Quality Materials: When repairs or replacement are needed, invest in impact-resistant materials where appropriate. Some may qualify for insurance premium discounts.
Ventilation Improvements: Proper attic ventilation reduces the likelihood of wind-driven damage and extends roof life generally.
Conclusion
Storm damage repair is a process that requires prompt action, careful documentation, and quality contractor selection. By understanding the complete process from initial assessment through permanent repairs, you can protect your home, maximize your insurance recovery, and ensure repairs will withstand future storms. While storm damage is stressful, systematic approach to recovery results in a home as good or better than before the storm struck.