How to Calculate Roof Square Footage: Step-by-Step Methods (2026)
Accurately calculating your roof's square footage is the foundation of any successful roofing project. Whether you're estimating materials for a DIY repair, verifying a contractor's bid, or planning a full roof replacement, knowing how to measure your roof correctly can save you money and prevent costly mistakes. This guide covers every method available, from simple ground-level estimates to professional-grade techniques.
Why Accurate Roof Measurement Matters
Getting your roof measurement wrong has real consequences:
Underestimating:: Ordering too few shingles or materials causes project delays, potential color-matching issues with additional orders, and rush-delivery costs.
Overestimating:: Ordering too many materials wastes money. While some excess is intentional (waste factor), significant overordering ties up cash in unused materials.
Budget Planning:: Your roof's square footage directly determines material and labor costs. An accurate measurement leads to accurate estimates.
Contractor Verification:: Knowing your roof size lets you verify contractor measurements. Significant discrepancies may indicate errors or intentional over-billing.
Understanding the Difference: Footprint vs. Roof Area
Before calculating, understand this critical distinction:
Building Footprint:: The ground-level area covered by the building, measured as length × width. This does not account for roof slope.
Actual Roof Area:: The true surface area of the roof, which is always larger than the footprint because the roof slopes upward from the edges. The steeper the pitch, the greater the difference.
A building with a 2,000 sq ft footprint might have a roof area of 2,240 sq ft (at a 6:12 pitch) or 2,600 sq ft (at a 10:12 pitch). This difference significantly impacts material quantities and costs.
Method 1: Ground-Level Estimation (Easiest)
This method is ideal when you can't safely access the roof but need a reasonable estimate.
Step 1: Measure the Building Footprint
Using a tape measure, determine the building's outside dimensions: - Measure the length of each side - Include all sections of the building (main structure, additions, garage) - Note any irregularities (L-shapes, bump-outs, etc.)
Step 2: Add Roof Overhang
The roof extends beyond the walls (called the eave or overhang). Add the overhang distance to each side: - Typical overhang: 12-24 inches (1-2 feet) on each side - Measure or estimate the overhang and add it to your dimensions
Example:: Building measures 50 feet × 30 feet Overhang is 1.5 feet on each side Adjusted dimensions: 53 feet × 33 feet = 1,749 sq ft footprint
Step 3: Determine Roof Pitch
Roof pitch is the slope expressed as rise over run (e.g., 6:12 means the roof rises 6 inches for every 12 inches of horizontal distance). You can determine pitch by:
From Inside the Attic:: 1. Place a level horizontally against a rafter 2. Measure 12 inches along the level from the rafter 3. Measure the vertical distance from the level down to the rafter at the 12-inch mark 4. That vertical distance is your rise — expressed as rise:12
From Outside (Using a Level and Tape Measure):: 1. Place a level against the roof surface 2. Measure 12 inches along the level 3. Measure the vertical drop from the level to the roof surface
Using a Smartphone App:: Several apps use your phone's accelerometer to measure roof pitch when placed against the roof surface.
Step 4: Apply the Pitch Multiplier
Multiply your adjusted footprint area by the pitch multiplier:
| Pitch | Multiplier | Example (1,749 sq ft footprint) |
|---|---|---|
| 3:12 | 1.031 | 1,803 sq ft |
| 4:12 | 1.054 | 1,843 sq ft |
| 5:12 | 1.083 | 1,894 sq ft |
| 6:12 | 1.118 | 1,956 sq ft |
| 7:12 | 1.158 | 2,025 sq ft |
| 8:12 | 1.202 | 2,102 sq ft |
| 9:12 | 1.250 | 2,186 sq ft |
| 10:12 | 1.302 | 2,277 sq ft |
| 12:12 | 1.414 | 2,473 sq ft |
Step 5: Convert to Roofing Squares
Divide the total roof area by 100 to get roofing squares:
1,956 sq ft ÷ 100 = 19.56 squares (at 6:12 pitch)
Method 2: Direct Roof Measurement (Most Accurate)
If you can safely access the roof, direct measurement provides the most accurate results.
Safety First
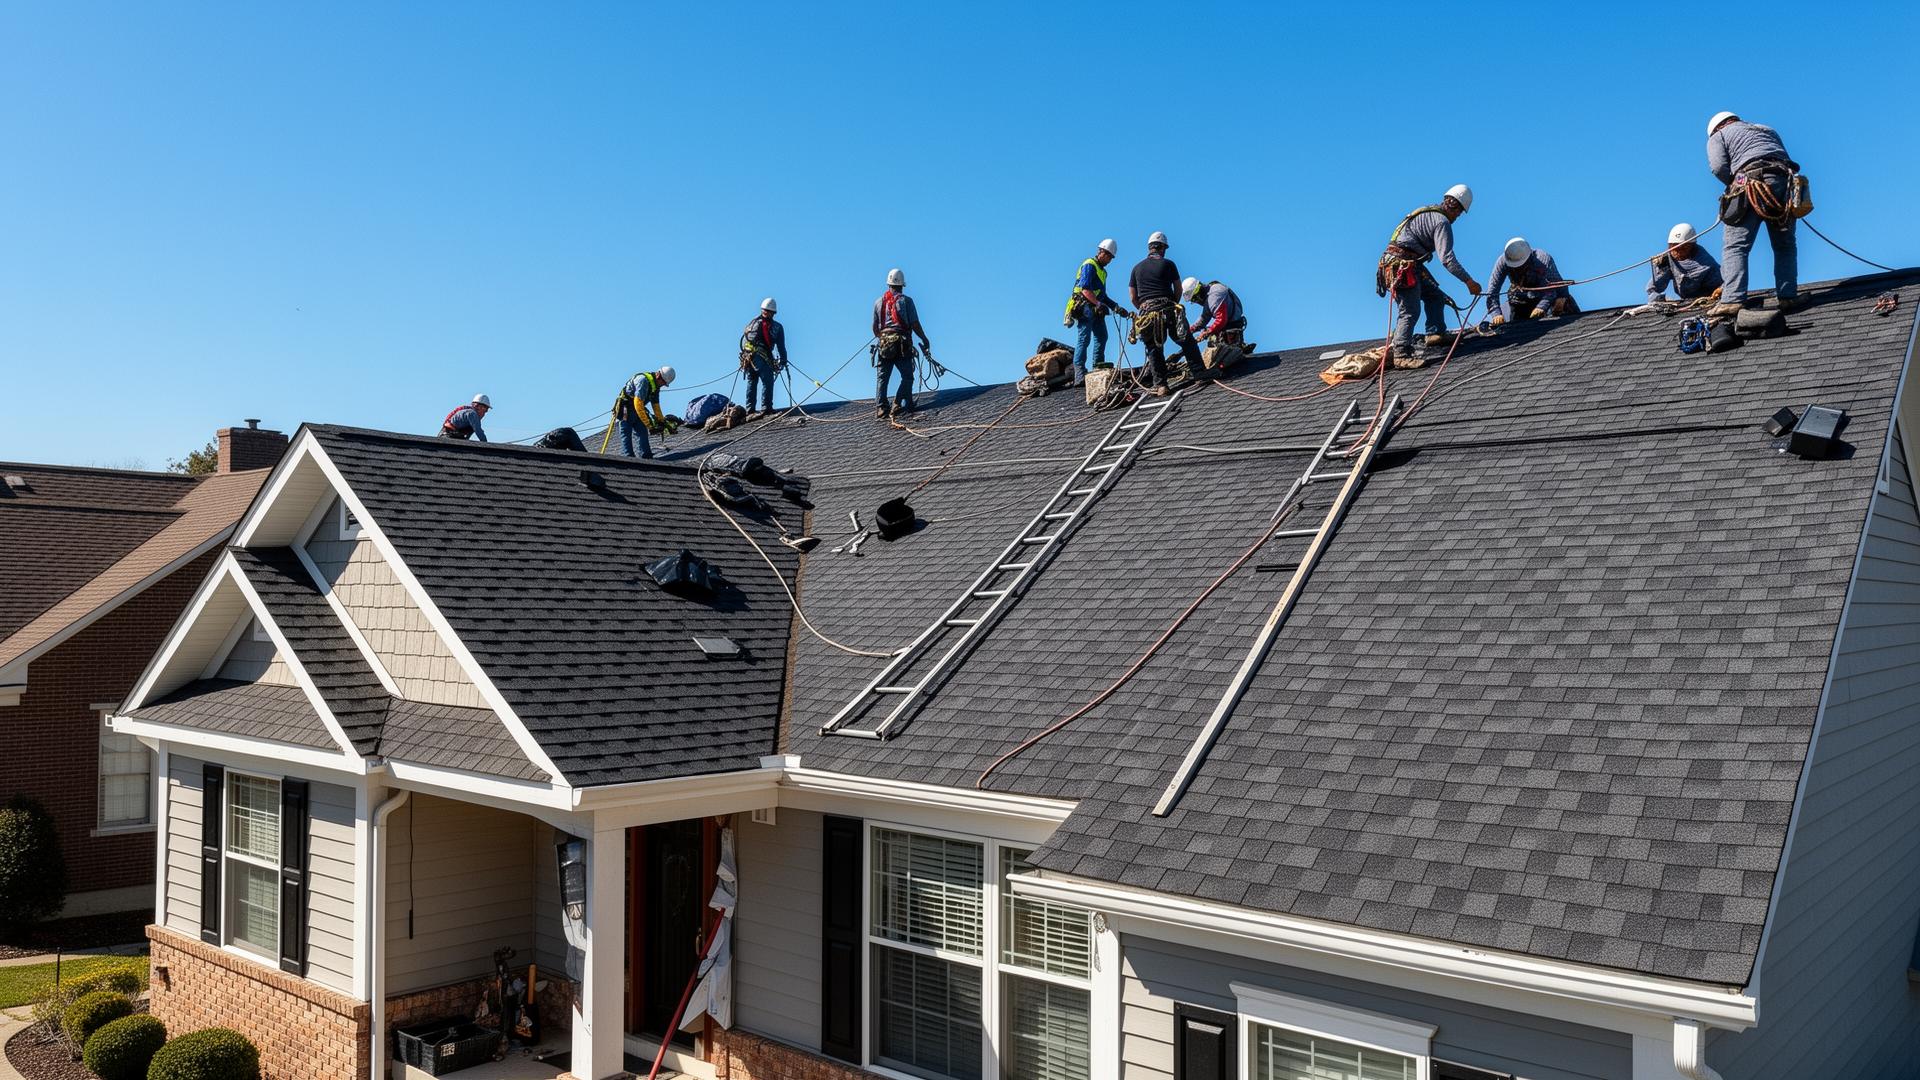
Before climbing on your roof: - Use a sturdy ladder properly positioned - Wear non-slip shoes - Use a safety harness and rope on steep pitches - Work on dry, calm days only - Have someone on the ground aware you're on the roof - If the roof pitch exceeds 6:12 or you're uncomfortable, hire a professional
Measuring Simple Roof Sections
Rectangular Sections:: Measure the length and width of each rectangular section. Multiply length × width for the area.
Triangular Sections (Gable Ends):: Measure the base and height. Area = (base × height) ÷ 2
Trapezoidal Sections (Hip Roof Faces):: Measure both parallel sides and the height. Area = ((top + bottom) ÷ 2) × height
Measuring Complex Roofs
For roofs with multiple sections:
- Break the roof into geometric shapes — rectangles, triangles, and trapezoids
- Measure each shape independently
- Calculate each area using the appropriate formula
- Add all areas together for total roof area
- Don't forget to measure dormers, valleys, and any bump-outs
Tips for Accurate Measurement
- Measure each section twice and average the results
- Use a long tape measure (100 feet) for larger sections
- Mark your measurements on a sketch of the roof
- Include eaves and overhangs in your measurements
- Measure along the roof surface, not horizontally (the slope is already accounted for)
Method 3: Technology-Based Measurement
Modern technology offers increasingly accurate measurement options:
Satellite Imagery Services
Services like EagleView and RoofSnap use high-resolution aerial imagery and proprietary algorithms to calculate precise roof measurements. These services provide detailed reports including total area, individual section areas, pitch measurements, and material estimates.
Accuracy:: Typically within 2-5% of actual measurements Cost: $15-$50 for basic reports, $75-$200 for detailed contractor reports Time: Reports are typically delivered within 24-48 hours
Drone Measurement
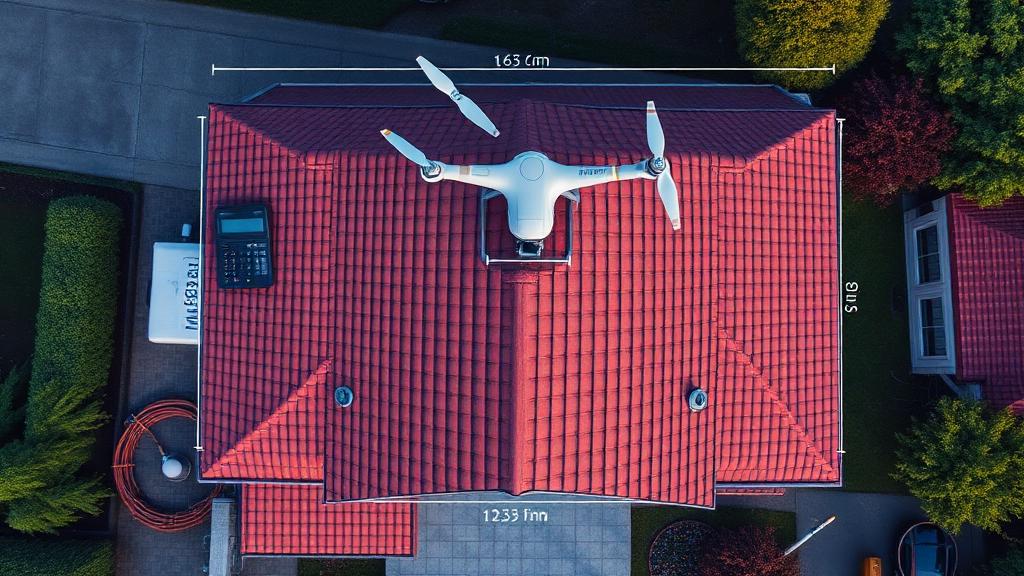
Professional drone surveys create detailed 3D models of your roof: - Highly accurate measurements (within 1-2%) - Detailed imagery for identifying damage - Creates permanent digital records - Can access areas too dangerous for manual measurement
Smartphone Apps
Several apps help estimate roof measurements: - Some use GPS and property records for quick estimates - Others use the phone's camera and sensors for more detailed measurements - Accuracy varies significantly by app and conditions
Method 4: Using Building Plans
If you have access to your home's original blueprints or building plans:
- Locate the roof plan drawing
- Note the dimensions shown
- Calculate area from the plan dimensions
- Verify against the actual structure (renovations may have changed the roof)
Building plans are available from your local building department, previous owners, or the original builder.
Adding the Waste Factor
After calculating your total roof area and converting to squares, add a waste factor:
| Roof Complexity | Waste Factor |
|---|---|
| Simple gable (2 slopes) | 10% |
| Cross gable or hip | 12-15% |
| Complex with dormers/valleys | 15-20% |
| Very complex (many sections) | 20-25% |
Example:: Total roof area: 19.56 squares (6:12 pitch) Roof type: Hip with one dormer (15% waste) Material needed: 19.56 × 1.15 = 22.49 squares
For architectural shingles at 3 bundles per square: 22.49 × 3 = 68 bundles (rounded up)
Converting Square Footage to Material Quantities
Once you know your roof's square footage, you can estimate all materials needed:
Shingles:: See our detailed guide on shingles per bundle
Underlayment:: - Felt (#15): Covers ~4 squares per roll - Synthetic: Covers ~10 squares per roll
Nails:: See our guide on calculating roofing nails
Ice and Water Shield:: Typically covers ~2 squares per roll
Drip Edge:: Sold in 10-foot lengths; measure total eave and rake edge length
Flashing:: Measured by linear feet of valleys, wall intersections, and penetrations
Common Mistakes to Avoid
- Forgetting the overhang: The roof extends beyond the walls — include this in your measurement.
- Ignoring pitch: Using footprint area without applying the pitch multiplier underestimates by 5-40% depending on pitch.
- Missing sections: Dormers, bump-outs, and covered entryways all add roof area.
- No waste factor: Failing to add waste results in material shortages.
- Single measurement: Always measure twice for accuracy.
- Assuming symmetry: Not all roof slopes are identical — measure each section independently.
Conclusion
Calculating roof square footage accurately is a skill that pays off in better material estimates, more accurate contractor comparisons, and a smoother roofing project overall. Whether you use the simple ground-level estimation method or invest in professional measurement technology, the key is starting with accurate numbers.
For the most reliable results, consider having a professional roofing contractor perform the measurement. Many offer free estimates that include precise roof measurements using satellite or drone technology. This small investment in accuracy can prevent significant material waste and budget overruns.
Find verified roofing professionals near you for accurate roof measurement and project estimates.