Roof Replacement Before and After: What to Expect Throughout the Process
Understanding what your roof replacement will look like at each stage helps set realistic expectations and allows you to monitor progress effectively. This comprehensive visual guide walks you through the complete transformation, highlighting what quality workmanship looks like and what to watch for during each phase.
Before: Recognizing a Roof That Needs Replacement
Before any work begins, it's important to understand what indicates replacement rather than repair.
Visual Signs of Aging:: - Widespread curling or cupping of shingles - Extensive granule loss creating bald spots - Multiple missing or damaged shingles - Visible moss or algae growth patterns - Sagging or uneven rooflines
Structural Concerns:: - Soft spots when walking on roof - Daylight visible through roof boards - Water stains spreading on interior ceilings - Musty odors in attic spaces - Failed previous repairs
These symptoms indicate your roof has reached the end of its functional life and replacement provides the most cost-effective solution.
Phase 1: Pre-Installation Preparation
Before crews arrive, significant preparation occurs.
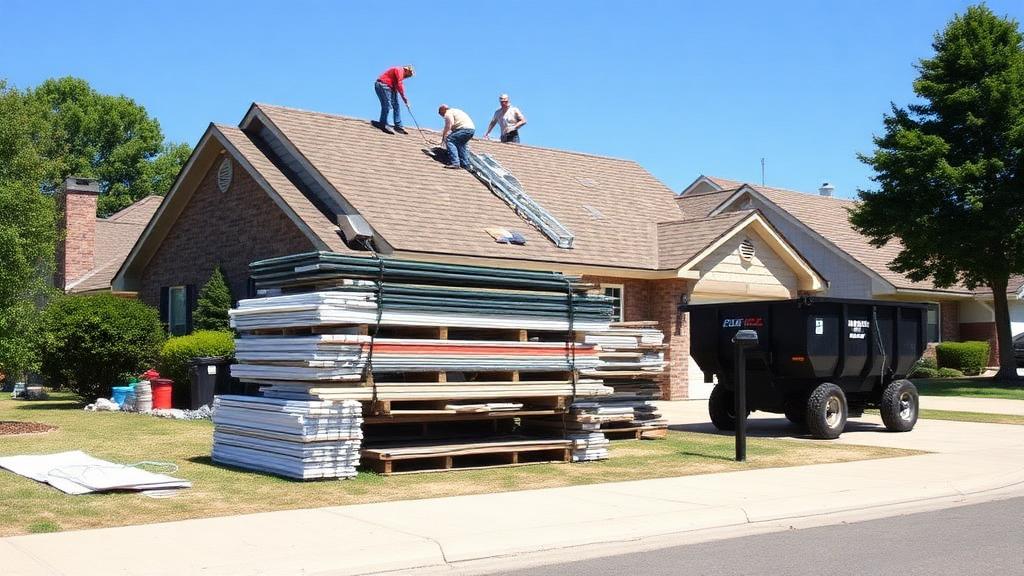
What You'll See:: - Material delivery (typically 1-2 days before work) - Dumpster placement for debris - Protective coverings over landscaping - Staging areas for tools and supplies
What's Happening Behind the Scenes:: - Permit acquisition and approvals - Weather monitoring and scheduling - Crew coordination and assignments - Material inventory verification
Your contractor should walk you through the timeline and answer any questions about the setup process.
Phase 2: Tear-Off Process
The most dramatic visual change occurs during tear-off.
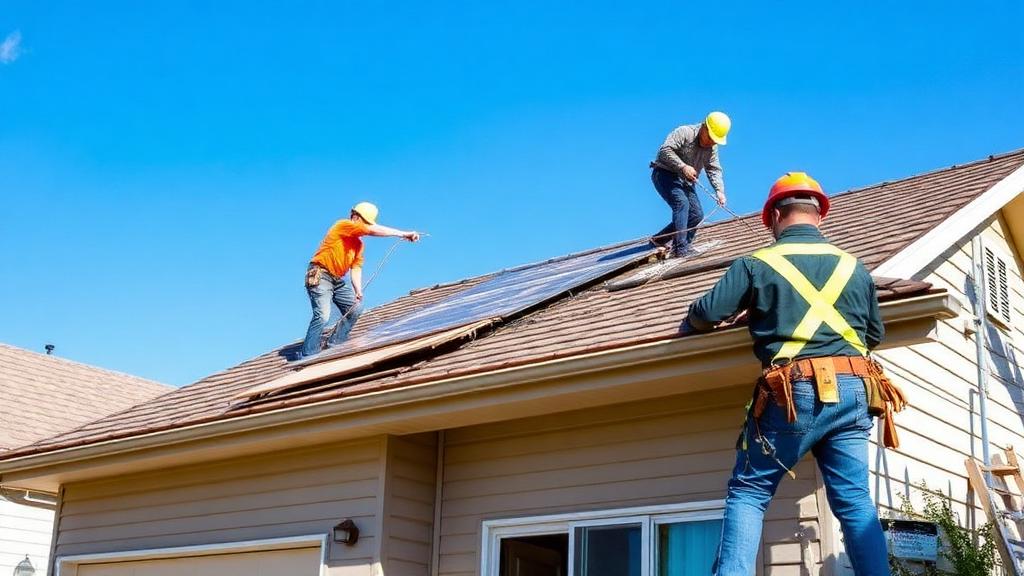
What You'll Observe:: - Crews removing shingles section by section - Old underlayment being stripped - Decking becoming visible - Debris falling into protective chutes - Nail removal and surface cleaning
Timeline:: - Average home tear-off: 4-8 hours - Larger or complex roofs: 1-2 days - Multiple layers add significant time
Quality Indicators:: - Complete removal to decking (not covering old layers) - Careful handling around penetrations - Organized debris collection - Thorough nail removal from decking
Phase 3: Decking Inspection and Repair
With shingles removed, the underlying structure becomes visible.
What Healthy Decking Looks Like:: - Solid, consistent wood without soft spots - No water staining or rot indicators - Properly fastened to rafters - Adequate thickness (typically 7/16" to 5/8" OSB or plywood)
Common Issues Discovered:: - Rotted sections requiring replacement - Water damage from previous leaks - Inadequate decking thickness - Poor original installation
Repair Process:: - Damaged sections cut out precisely - New decking material installed - Proper fastening to rafters - Seamless integration with existing good decking
This phase is critical—never allow contractors to cover compromised decking. See our roof inspection guide for more on what to look for.
Phase 4: Underlayment Installation
The water barrier layer goes down next.
What You'll See:: - Rolls of synthetic or felt underlayment - Horizontal installation from eaves upward - Proper overlap at all seams - Staple or cap nail fastening
Ice and Water Shield Application:: - Applied along eaves (first 3+ feet) - Around all penetrations - In valleys - Along wall intersections
Quality Checks:: - No wrinkles or bubbles - Complete coverage with proper overlap - Secure fastening throughout - Appropriate material for climate
Phase 5: Flashing Installation
Critical waterproofing components protect vulnerable areas.
Flashing Locations:: - Drip edge along all eaves and rakes - Step flashing at wall intersections - Valley flashing (metal or woven) - Pipe boots and penetration collars - Chimney and skylight flashings
Before and After Comparison:: - Old rusted or deteriorated flashing removed - New galvanized or aluminum flashing installed - Proper integration with roofing system - Sealed and secured appropriately
Flashing failures cause many roof leaks. Our flashing guide covers these components in detail.
Phase 6: Shingle Installation
Your new roof begins taking shape.
Installation Pattern:: - Starter strip along eaves first - First course installed with proper overhang - Staggered pattern working upward - Careful alignment and spacing maintained
Quality Workmanship Indicators:: - Consistent exposure (visible portion) - Straight, aligned rows - Proper nail placement (not overdriven or exposed) - Correct pattern at hips and ridges
Timeline:: - Average installation: 1-2 days - Larger homes: 2-3 days - Weather delays may extend timeline
Phase 7: Ventilation Components
Proper ventilation extends roof life significantly.
What Gets Installed:: - Ridge vents along roof peaks - Intake vents at soffits - Specialized vents if needed - Proper ventilation balance
Visual Changes:: - Clean ridge line with integrated venting - Consistent appearance throughout - No visible gaps or openings
For ventilation importance, see our attic ventilation guide.
Phase 8: Final Details and Cleanup
The finishing touches complete your transformation.
Final Installation Items:: - Ridge cap shingles - Hip shingles on multi-plane roofs - Final flashing sealing - Boot and collar completion
Cleanup Process:: - Debris removal from all areas - Magnetic sweeping for nails - Gutter cleaning - Landscape restoration - Property inspection
What Your Finished Roof Should Look Like:: - Consistent color and pattern throughout - Clean, straight lines at all edges - Properly sealed at all penetrations - No exposed nails or gaps - Professional, finished appearance
Documenting Your Transformation
Before and after documentation serves multiple purposes.
Photos to Capture:: - Overall roof appearance from multiple angles - Close-ups of key areas (valleys, penetrations) - Interior spaces (attic, ceilings) - Problem areas that prompted replacement
Documentation Benefits:: - Warranty support if issues arise - Insurance claim support for future damage - Property value documentation - Personal records for maintenance
Quality Assurance Walkthrough
Your contractor should perform a final walkthrough with you.
Inspection Points:: - All surfaces covered and sealed - Flashing properly installed - Ventilation functioning - Cleanup complete - No visible defects
Questions to Ask:: - Where are the warranty documents? - What maintenance is recommended? - How do I report concerns? - When will final inspection occur?
Before vs. After: Visual Transformation
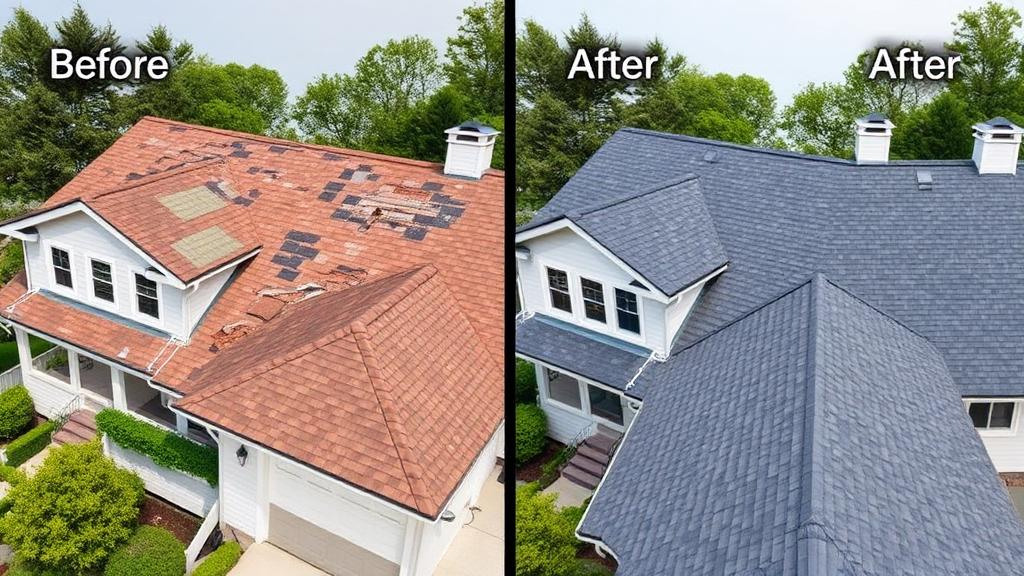
The transformation from a failing roof to a new installation represents dramatic improvement.
Common Visual Changes:: - Uniform color replacing patchy, faded appearance - Consistent texture eliminating curled or missing shingles - Clean lines replacing uneven, sagging sections - Professional appearance replacing neglected look
Value Impact:: - Immediate curb appeal improvement - Increased property value - Enhanced protection and efficiency - Peace of mind for years to come
Conclusion
Understanding the visual progression of your roof replacement helps you appreciate the value of professional workmanship and identify quality at each stage. Document your own transformation and use this guide to ensure your project meets professional standards throughout.
Ready to transform your roof? Connect with qualified contractors who deliver quality before-and-after results.