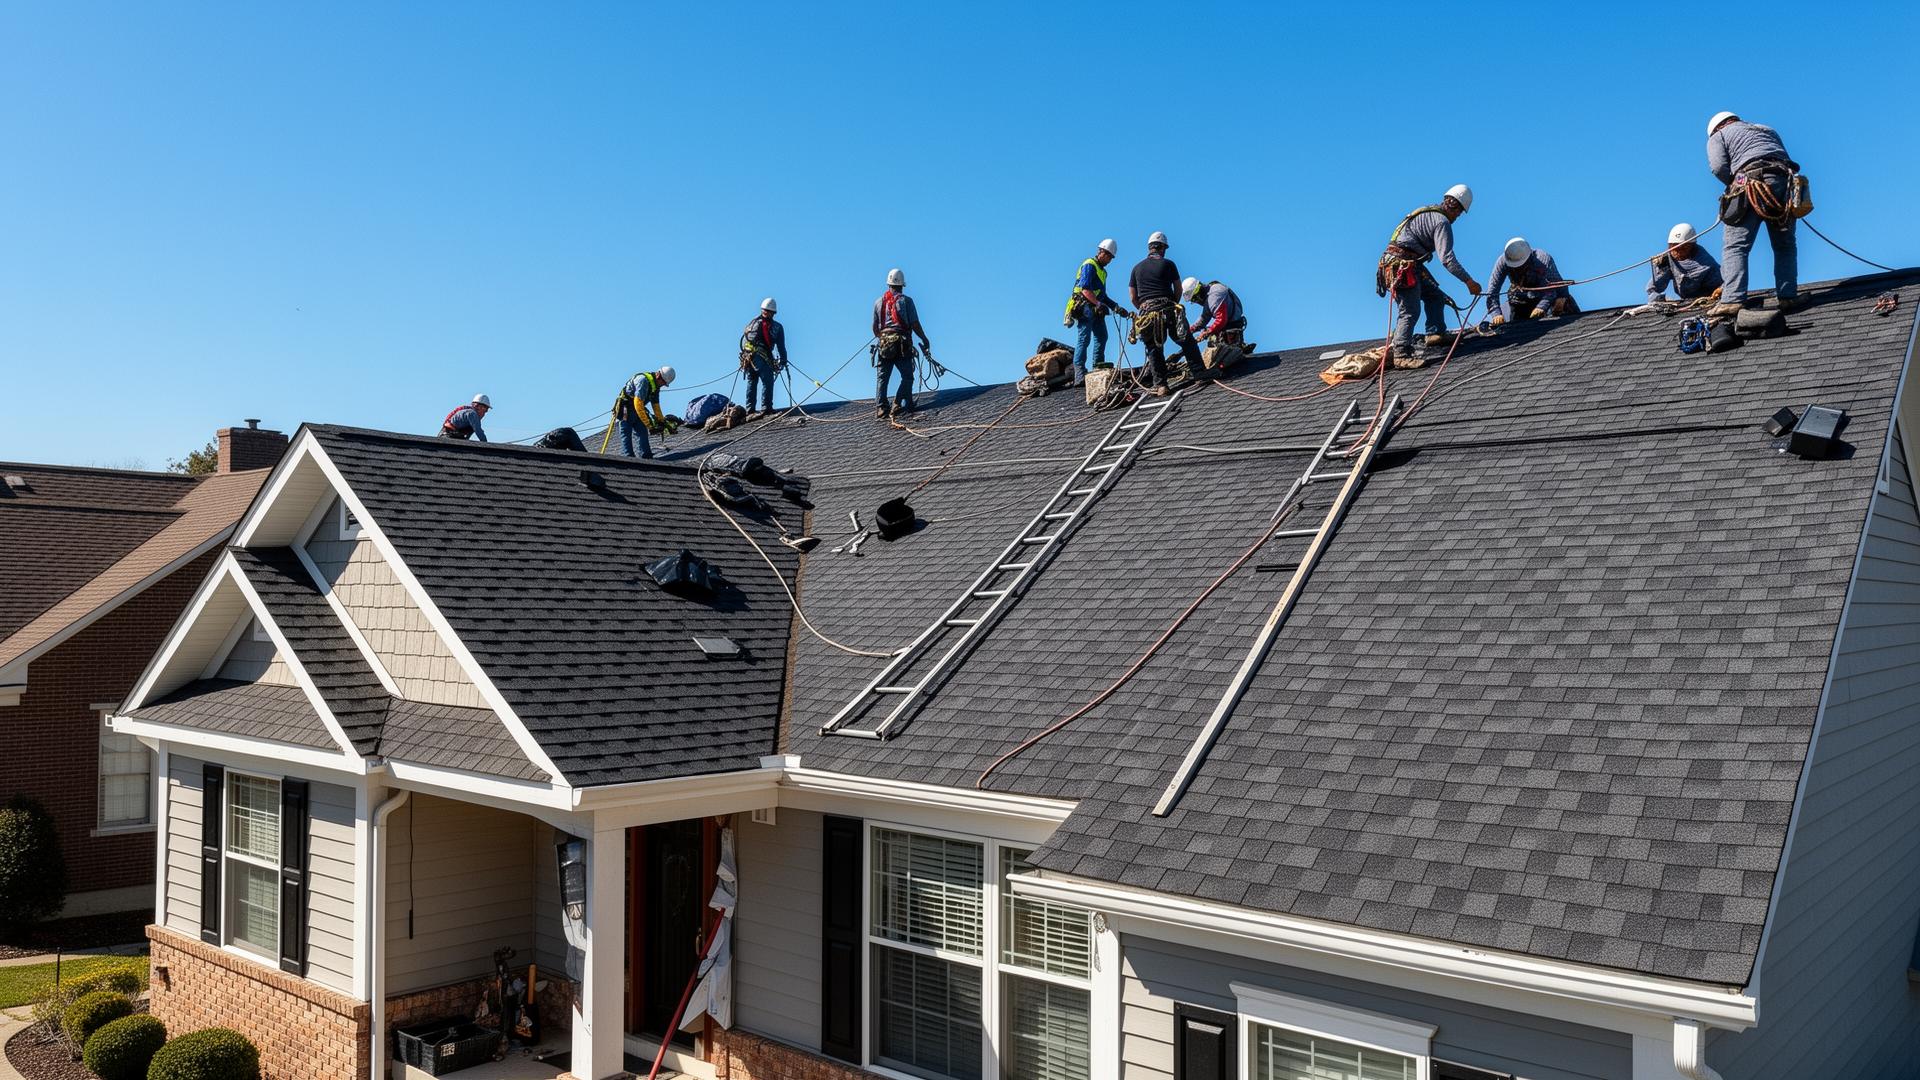
Understanding Roof Flashing: The Complete Guide to Waterproofing Your Roof
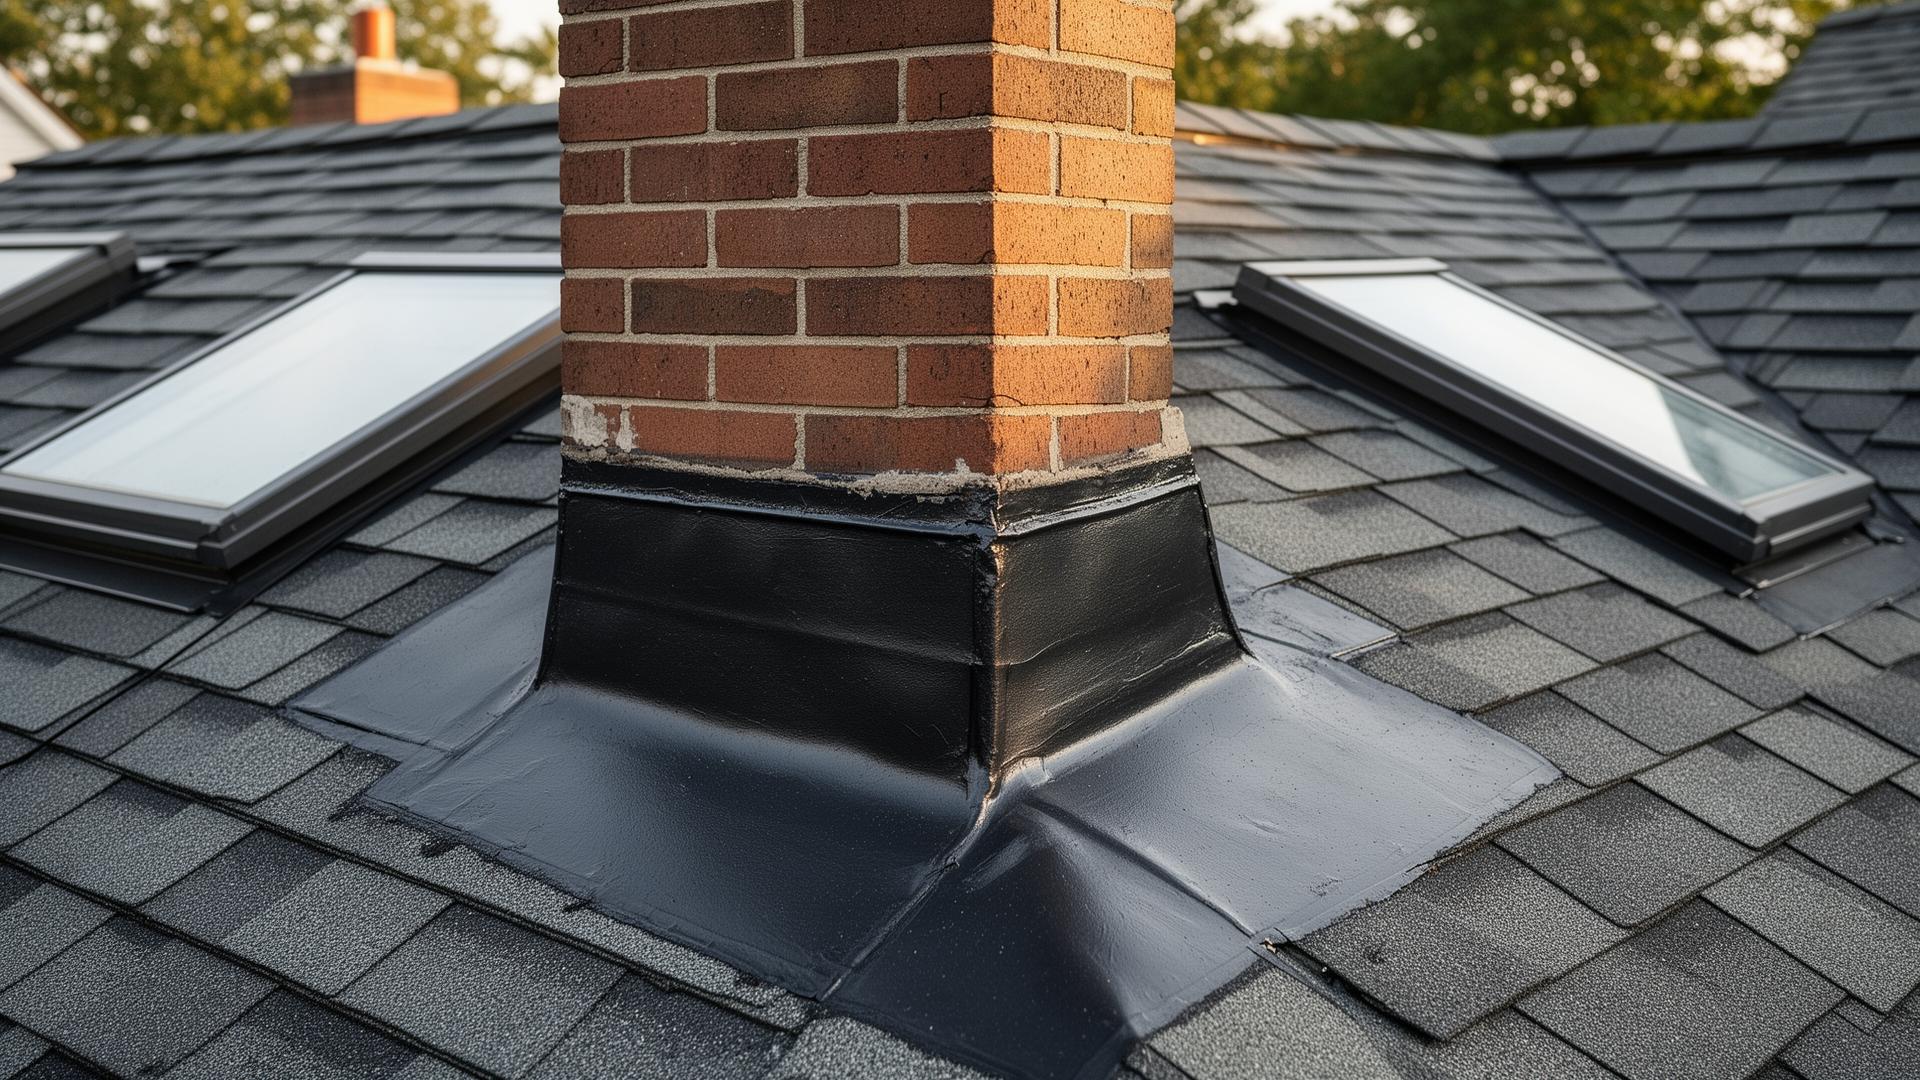
Roof flashing may not be the most glamorous part of your roof, but it's one of the most critical. These thin pieces of metal or other materials seal the vulnerable joints and transitions where most roof leaks originate. Understanding flashing helps you maintain your roof's integrity and catch problems before they cause water damage.
What is Roof Flashing?
Roof flashing consists of thin, weatherproof materials—typically metal—installed at vulnerable points where the roof surface meets other elements. Its primary purpose is directing water away from these potential weak points and toward the drainage system.
Why Flashing is Essential:: Your roof's field of shingles or other materials does an excellent job of shedding water on flat surfaces. But wherever the roof meets a vertical surface, changes direction, or has penetrations, water can find pathways into your home. Flashing creates waterproof barriers at these transition points.
Common Materials:: - Galvanized Steel - Affordable and widely used, but can corrode over time - Aluminum - Lightweight, corrosion-resistant, easy to work with - Copper - Premium option, very durable (50+ years), develops attractive patina - Lead - Excellent conformability for complex shapes, long-lasting - Rubber and Plastic - Used for specific applications like vent pipe boots
Types of Roof Flashing
Different roof areas require specific flashing types designed for their unique challenges.
Step Flashing:: Used where roofs meet vertical walls, such as where a lower roof intersects a wall or dormers. It consists of L-shaped pieces installed in a "step" pattern, with each piece overlapping the one below. This design allows shingles and siding to integrate properly while maintaining water protection.
Counter Flashing:: Installed over step flashing, counter flashing is embedded into mortar joints or attached to walls to cover the top edge of step flashing. This two-layer approach provides redundant protection at wall intersections.
Chimney Flashing:: Chimneys require a combination of base flashing (sealing the junction between roof and chimney), step flashing (along the sides), and counter flashing (embedded in mortar). Cricket or saddle flashing is often added behind wider chimneys to divert water around them.
Valley Flashing:: Valleys—where two roof planes meet and form a channel—handle concentrated water flow. Valley flashing may be: - Open metal valleys with exposed flashing visible between shingles - Closed-cut valleys where shingles cover the flashing - Woven valleys where shingles interlock
Drip Edge:: Metal strips installed along roof edges (eaves and rakes) that guide water into gutters and prevent it from wicking under roofing materials. Building codes now require drip edge in most jurisdictions.
Vent Pipe Flashing (Boots):: Collar-style flashing that seals around plumbing vent pipes penetrating the roof. The base integrates with roofing material while a flexible collar fits snugly around the pipe.
Skylight Flashing:: Factory-made or custom-built flashing kits that seal the perimeter of skylights. Proper installation is critical—skylight leaks are among the most common roofing complaints.
Headwall Flashing:: Used where a roof meets a wall head-on (rather than at an angle like step flashing). Also called apron flashing, it's a single piece bent to cover the joint.
How Flashing Fails
Understanding failure modes helps you identify and address problems early.
Common Failure Causes:
- Corrosion and Rust - Metal flashing eventually corrodes, especially galvanized steel in coastal or industrial areas. Signs include discoloration, flaking, and holes.
- Improper Installation - The most common cause of premature failure. Errors include:
- - Insufficient overlap between flashing pieces
- - Missing sealant at critical joints
- - Incompatible metal combinations causing galvanic corrosion
- - Inadequate fastening
- - Cutting corners on complex areas
- Physical Damage - Falling branches, foot traffic, and storm debris can bend, dent, or puncture flashing.
- Thermal Movement - Metal expands and contracts with temperature changes. Without proper allowances, this movement can loosen fasteners and break seals.
- Sealant Failure - Caulks and sealants used with flashing degrade over time, requiring periodic renewal.
- Settling and Movement - As homes settle or components shift, flashing that was once properly aligned may develop gaps.
Flashing Inspection Points:
| Location | What to Check |
|---|---|
| Chimney | Separation from masonry, rust, gaps |
| Walls | Lifted edges, missing counter flashing |
| Valleys | Visible holes, rust, debris accumulation |
| Vents | Cracked boots, lifted edges, failed seals |
| Skylights | Gap formation, sealant condition |
| Drip Edge | Proper positioning, water damage signs |
Signs of Flashing Problems
Learn to recognize symptoms that suggest flashing issues.
Exterior Indicators:: - Visible rust or corrosion on metal surfaces - Lifted, separated, or displaced flashing edges - Missing flashing pieces - Failed or cracked sealant around flashing - Staining on walls below roof-wall intersections - Damaged or deteriorated vent pipe boots
Interior Warning Signs:: - Water stains on ceilings near walls, chimneys, or skylights - Leaks during or shortly after rain - Musty odors near chimneys or where roof meets walls - Peeling paint or wallpaper in attic or upper floors - Mold growth in attic near flashings
Inspection Best Practices:: - Examine flashing during regular roof inspections - Check after severe weather events - Look for changes over time with comparison photos - Don't forget interior attic inspection around penetrations
Flashing Repair vs. Replacement
Not all flashing problems require complete replacement. Here's how to evaluate your options.
Situations for Repair:: - Small sections of separated sealant - Minor lifting that can be resecured - Surface rust without perforation - Single damaged section when rest is sound - Damaged vent pipe boot with solid flashing base
Repair Approaches:: - Reseal with roofing cement or appropriate sealant - Secure lifted edges with roofing nails and sealant - Apply rust-inhibiting primer and paint to corroded areas - Replace individual damaged components - Install boot cover over aging vent pipe boot
When Replacement is Necessary:: - Widespread corrosion or multiple failure points - Holes or perforations in metal - Improper original installation - During roof replacement (always replace flashing with new roof) - When repairs have been made multiple times - Incompatible material combinations present
Cost Considerations:
| Repair Type | Typical Cost Range |
|---|---|
| Reseal flashing | $100 - $350 |
| Replace vent boot | $75 - $200 |
| Chimney flashing repair | $200 - $500 |
| Chimney flashing replacement | $500 - $1,500 |
| Skylight reflashing | $300 - $800 |
| Valley flashing replacement | $400 - $1,000 |
DIY vs. Professional Flashing Work
While some minor flashing maintenance is DIY-appropriate, most work is best left to professionals.
DIY-Appropriate Tasks:: - Visual inspection from ground level - Applying sealant to minor gaps (if safely accessible) - Clearing debris from valleys - Installing boot covers over aging vent flashings - Temporary emergency patches
Professional Work:: - Any work requiring climbing on the roof - Complete flashing replacement - Chimney or skylight work - Step flashing installation - Counter flashing embedding - Work near electrical lines or hazards
Why Professional Installation Matters:: Proper flashing installation requires understanding water behavior, material characteristics, and integration with other roofing components. Improper flashing work often creates problems worse than the original issue. Additionally, DIY flashing work can void roofing warranties.
Flashing During Roof Replacement
When you're getting a new roof, flashing decisions are critical.
Always Replace:: - Vent pipe boots (rubber degrades regardless of appearance) - Flashing showing any corrosion - Flashing that's been repaired multiple times - Any flashing more than 15-20 years old
Case-by-Case Evaluation:: - Copper flashing in good condition (may last longer than new roof) - Recently installed aluminum flashing - Premium materials with significant remaining life
Upgrade Opportunities:: A roof replacement is ideal for: - Upgrading from galvanized to more durable materials - Adding drip edge if missing - Installing ice and water shield under vulnerable flashing - Correcting previously improper installation - Adding cricket behind wide chimneys
Questions for Your Contractor:: - What flashing materials will you use? - What's included in the price vs. what's extra? - How will chimney flashing be installed? - Will existing flashing be replaced or reused? - What warranty covers flashing work?
Flashing Maintenance Tips
Regular attention keeps flashing performing effectively.
Annual Inspection Checklist:: - [ ] Examine all visible flashing from ground level - [ ] Check for rust, separation, or damage - [ ] Verify vent pipe boots are flexible and sealed - [ ] Inspect sealant condition around flashings - [ ] Look for staining on walls below roof intersections - [ ] Check interior attic areas near flashings
Seasonal Considerations:
Spring:: - Inspect after winter weather - Address any ice dam damage - Clear debris from valleys - Check for frost-heave effects on chimney flashing
Fall:: - Pre-winter inspection and maintenance - Clear leaves and debris from flashing areas - Reseal any failing caulk before cold weather - Verify all boots and seals are intact
After Storms:: - Check for wind damage or debris impact - Verify flashing hasn't lifted or separated - Look for new leaks in previously dry areas
Special Considerations
Some situations require extra attention to flashing.
Coastal and Humid Climates:: - Corrosion is accelerated; consider stainless or copper - More frequent inspections needed - Galvanic corrosion more likely with mixed metals
Historic Homes:: - May have lead or other traditional materials - Replacement should match architectural character - Special techniques may be needed for old masonry
Metal Roofs:: - Flashing materials must be compatible - Expansion/contraction more significant - Specialized flashing methods required
Flat and Low-Slope Roofs:: - Different flashing approaches needed - Water doesn't drain as quickly; seals more critical - Membrane-integrated flashings common
Conclusion
Roof flashing is a small investment that provides critical protection for your home. Understanding the types of flashing on your roof, recognizing signs of problems, and maintaining these components properly can prevent costly water damage and extend your roof's effective life.
Don't neglect these unassuming but essential components. Include flashing in your regular roof maintenance routine, address problems promptly, and ensure proper installation during roof replacements. When in doubt, consult a qualified roofing professional to evaluate and service your flashing system.