How to Find and Fix Roof Leaks: A Complete Homeowner's Guide
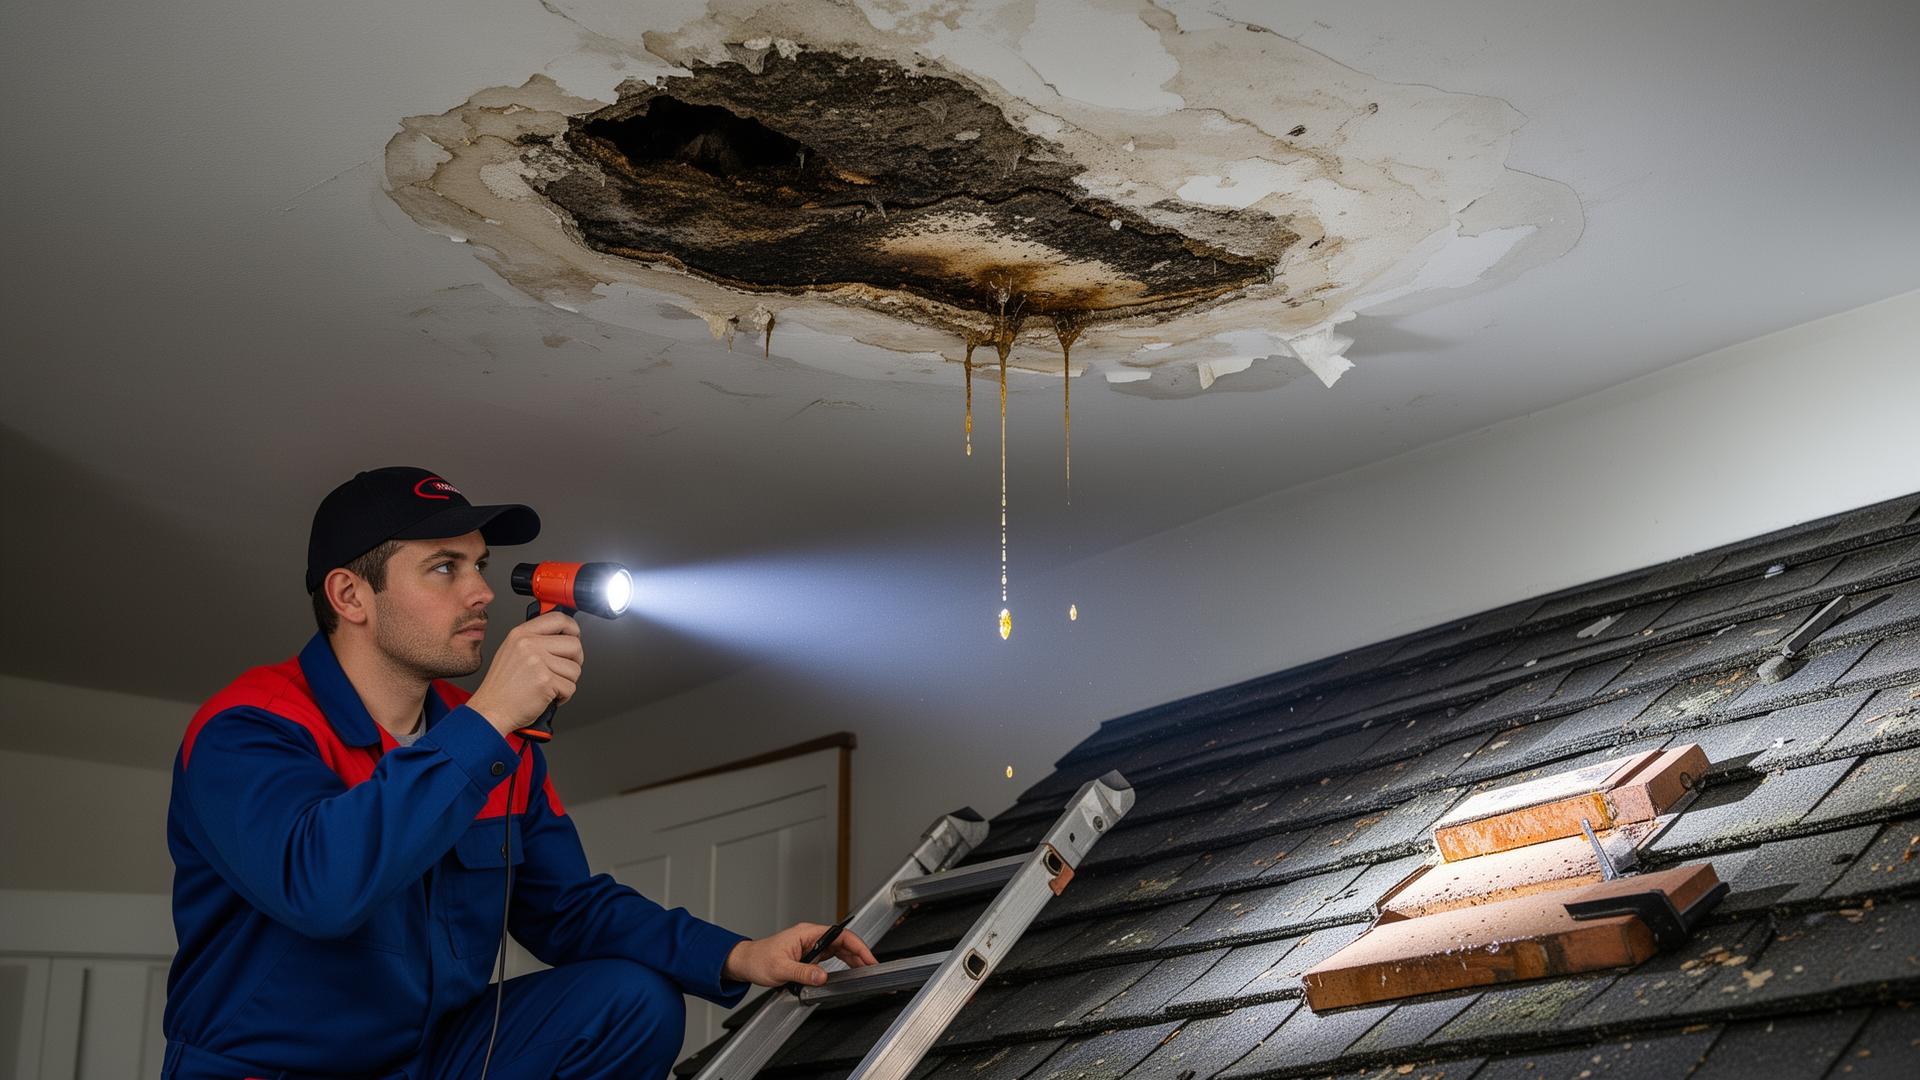
A roof leak is one of the most stressful problems a homeowner can face. Water intrusion can cause significant damage to your home's structure, insulation, and belongings. This comprehensive guide walks you through finding leak sources, implementing temporary fixes, and understanding when professional help is necessary.
Understanding Roof Leaks
Before searching for leaks, understand how water behaves and where leaks commonly originate.
How Water Travels:: Water takes the path of least resistance, and that path is often surprising. A leak appearing on your ceiling may originate far from where water enters the roof. Water can: - Travel along rafters, sheathing, and other structural elements - Pool in low spots before finding an exit point - Follow electrical wires or pipes into interior spaces - Accumulate behind vapor barriers before breaking through
This behavior makes leak detection challenging because the visible damage often doesn't indicate the entry point.
Common Leak Locations:
| Location | Frequency | Cause |
|---|---|---|
| Flashings | Very Common | Deterioration, separation, improper installation |
| Valleys | Common | Debris accumulation, damaged material, wear |
| Roof Penetrations | Common | Failed seals around vents, pipes, skylights |
| Damaged Shingles | Common | Wind, impact, aging |
| Ice Dams | Seasonal | Inadequate ventilation/insulation in cold climates |
| Gutter Areas | Moderate | Clogged gutters, fascia rot |
Locating the Leak Source
Finding where water enters your roof requires systematic investigation.
Step 1: Interior Investigation
Start from where you see water damage and work toward the source:
- Examine the Damage Area
- - Note the location precisely
- - Measure from reference points (walls, corners)
- - Look for the highest point of water staining
- - Check for multiple water trails
- Check the Attic
- If you have attic access:
- - Wait for rainy conditions (or use a hose) to observe active leaking
- - Look for water stains, trails, or drips on rafters and sheathing
- - Check insulation for wet spots or discoloration
- - Trace water trails upward toward the roof deck
- - Look for daylight penetrating (indicates holes)
- - Mark the suspected entry point for later roof examination
- Document Everything
- - Take photographs of all water damage
- - Note the date and weather conditions when leaks occur
- - Track whether leaks happen during rain, after rain, or with snow melt
Step 2: Exterior Investigation
Once you have interior clues, examine the roof from outside:
- Ground-Level Observation
- - Use binoculars to scan the roof surface
- - Look for missing, damaged, or displaced shingles
- - Check flashing visibility around chimneys and vents
- - Note any debris accumulation or vegetation growth
- Roof Surface Inspection (If Safe)
- - Only access the roof if you can do so safely
- - Start at the point identified from interior inspection
- - Look for obvious damage above that point
- - Check all flashings and transitions within the area
- - Examine vent pipe boots for cracking
- - Look for nail pops or exposed fasteners
- - Check for soft spots indicating deck damage
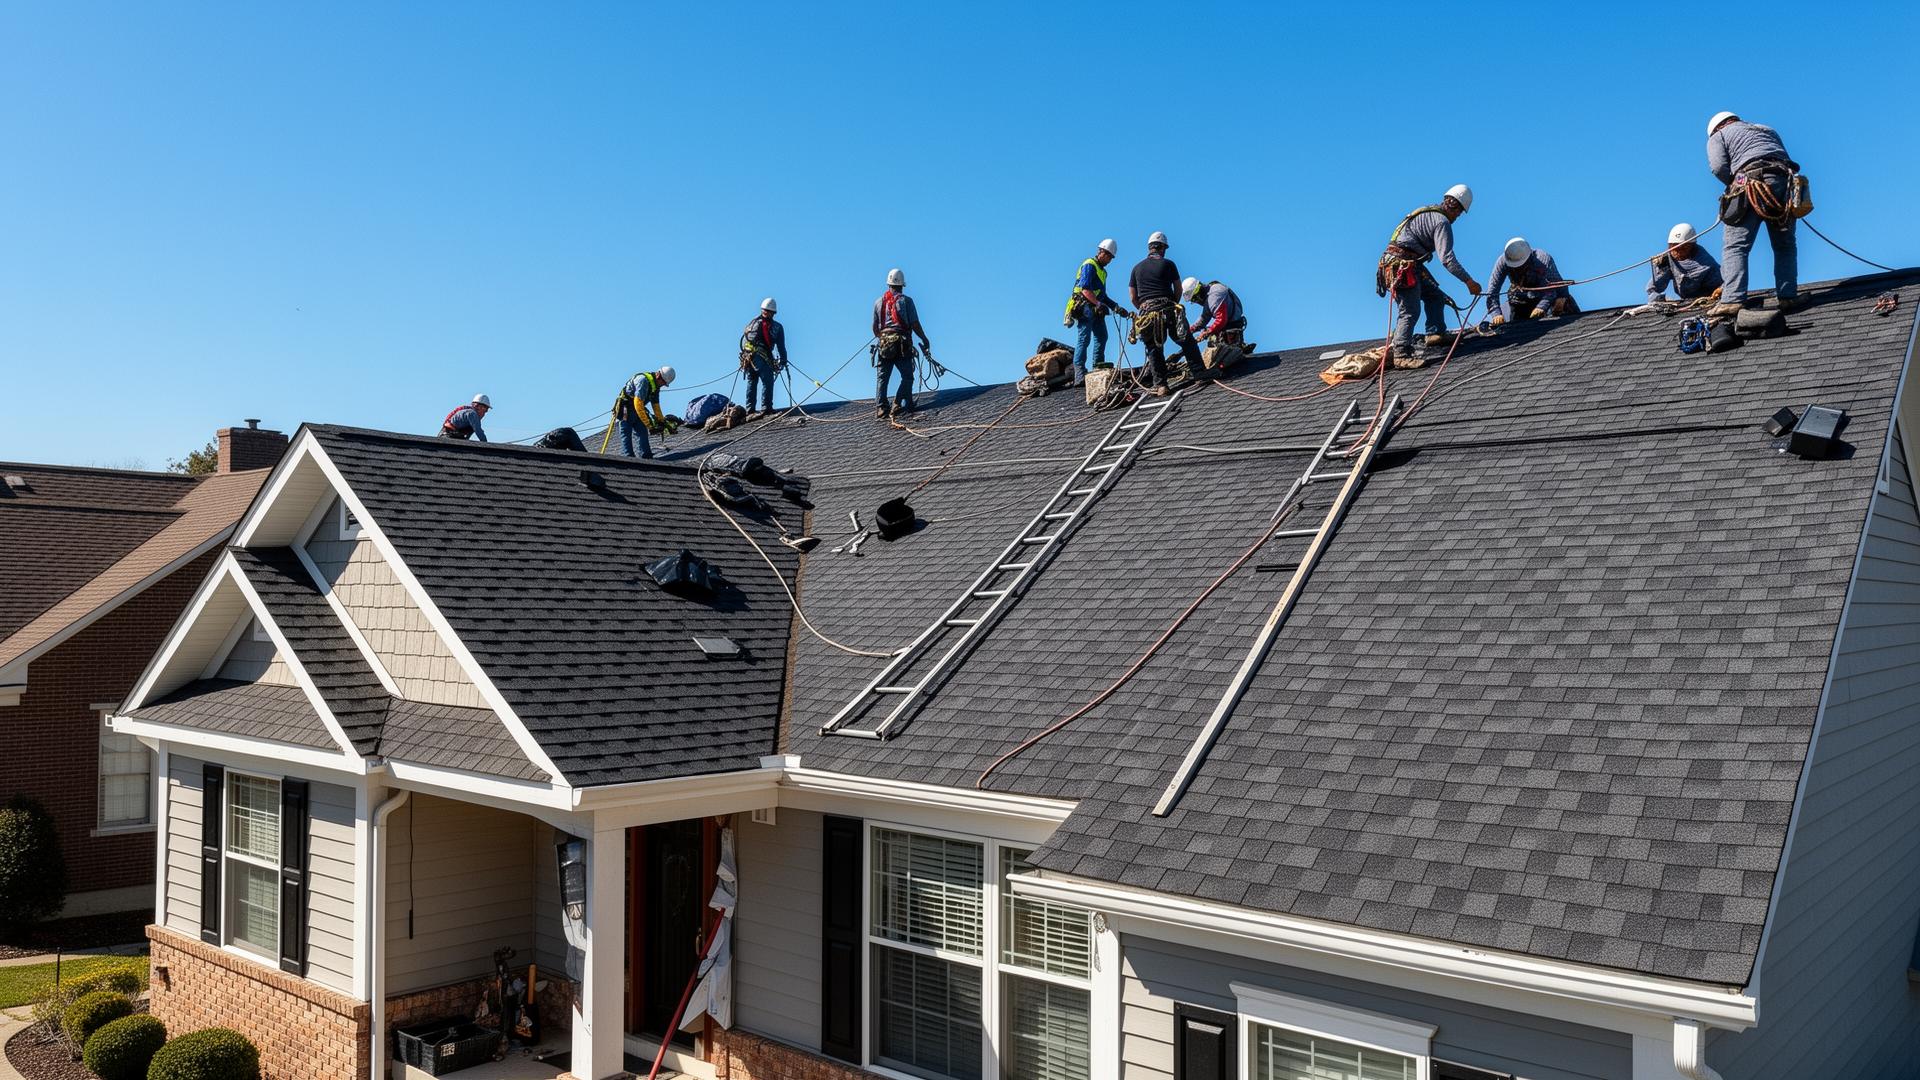
Safety Warning:: Roof work is dangerous. If you're not comfortable on roofs or lack proper safety equipment, call a professional for inspection.
Step 3: Water Testing
If you can't find the source during inspection:
- Have a helper inside watching the leak point
- Use a garden hose to wet the roof in sections
- Start below the suspected area and work upward
- Run water on each section for several minutes
- When the helper sees water appear, you've found the entry zone
- Narrow down the specific entry point
This method is time-consuming but effective for stubborn leaks.
Common Leak Types and Their Solutions
Different leak sources require different approaches.
Damaged or Missing Shingles:
*Identification:* Visible damage, exposed underlayment, or missing pieces.
*Temporary Fix:* - Apply roofing cement or sealant under lifted shingles - Press flat and secure with roofing nails - Apply sealant over nail heads - For missing shingles, use plastic sheeting secured with boards
*Permanent Fix:* - Replace damaged shingles with matching material - Ensure proper overlap and nailing patterns - Address any underlying damage
Failed Flashing:
*Identification:* Separated, rusted, or lifted flashing material.
*Temporary Fix:* - Clean area thoroughly - Apply roofing cement to seal gaps - Press flashing back into place - Add additional sealant over the repair
*Permanent Fix:* - Remove and replace damaged flashing - Ensure proper integration with roofing material - Use compatible metals to prevent galvanic corrosion
Vent Pipe Boot Failure:
*Identification:* Cracked or deteriorated rubber boot around vent pipes.
*Temporary Fix:* - Apply roofing sealant around the boot - Consider boot covers (slip-over rubber repair products) - Wrap with roof tape as emergency measure
*Permanent Fix:* - Replace the entire vent boot - Ensure proper shingle integration - Use quality boot materials
Valley Leaks:
*Identification:* Water stains below roof valleys, visible damage in valley area.
*Temporary Fix:* - Clear all debris from valley - Apply roofing cement to visible holes or gaps - Use plastic sheeting for major damage
*Permanent Fix:* - May require valley flashing replacement - Often best left to professionals - Shingle replacement in valley area may be needed
Ice Dam Leaks:
*Identification:* Winter leaks near eaves, visible ice buildup at roof edges.
*Temporary Fix:* - Carefully remove snow from roof edge (never use salt on roofing) - Create channels in ice for water drainage - Use heated cables to melt channels
*Permanent Fix:* - Improve attic ventilation - Add insulation to reduce heat transfer - Install ice and water shield membrane - Ensure soffit vents aren't blocked
Emergency Leak Response
When you discover an active leak, quick action minimizes damage.
Immediate Steps:
- Protect Interior Belongings
- - Move furniture and valuables away from leak area
- - Place buckets or containers to catch water
- - Lay plastic sheeting to protect flooring
- Control the Water
- - If water is pooling on ceiling, carefully puncture to drain into bucket (preventing ceiling collapse)
- - Contain spread with towels or absorbent materials
- Document for Insurance
- - Photograph all damage
- - Note date, time, and conditions
- - List damaged items
- Make Emergency Roof Repairs
- If safely accessible:
- - Apply plastic sheeting or tarp over suspected area
- - Weight down with boards (don't nail through roofing)
- - Extend coverage beyond damage area for protection
- Contact Professionals
- - Schedule inspection and repair
- - Call insurance company if damage is significant
Temporary Repair Materials and Methods
Keep these supplies on hand for emergency roof repairs.
Emergency Repair Kit:: - Heavy-duty plastic sheeting or tarps - Roofing cement/roof sealant - Roofing nails - Hammer - Pry bar - Utility knife - Duct tape or roof repair tape - Flashlight - Safety equipment (gloves, safety glasses)
Tarp Application:
For significant damage or when specific repair isn't possible:
- Use a tarp larger than the damaged area by at least 4 feet in each direction
- Position tarp extending over the roof ridge if possible
- Secure with 2x4 boards laid over edges (not nailed through roofing)
- Ensure water runs off tarp, not under it
- Monitor regularly and resecure as needed
Roof Cement Applications:
Roofing cement can temporarily seal: - Small holes and cracks - Lifted shingle edges - Separated flashing - Around pipe penetrations
Apply generously and press firmly. This is a temporary measure—plan for permanent repairs.
When to Call Professionals
Some leak situations require professional expertise.
Call a Professional When:: - You can't safely access the roof - The leak source is unclear despite investigation - Structural damage is evident - Multiple leak points exist - Major flashing or valley work is needed - The roof is old and may need replacement - You're uncomfortable making repairs yourself - Insurance claim documentation is needed
Choosing a Contractor:: Use our comprehensive hiring guide to find a qualified professional. For leak repairs: - Look for emergency service availability - Verify insurance and licensing - Get written estimates - Understand warranty coverage - Check reviews for leak repair specifically
Preventing Future Leaks
Prevention is far easier than repair.
Regular Maintenance:
- Inspect Twice Yearly
- Schedule inspections each spring and fall to catch problems early.
- Clean Gutters Regularly
- Clogged gutters cause water backup that can penetrate roofing.
- Trim Overhanging Branches
- Prevent damage from falling limbs and reduce debris accumulation.
- Address Minor Issues Promptly
- Small problems become big leaks if ignored.
- Maintain Flashings
- Reseal flashings periodically before they fail.
Post-Storm Inspection:
After significant weather events: - Inspect from ground level for visible damage - Check attic for new water signs - Have professional inspection after severe storms - Document any damage for insurance purposes
Insurance Considerations
Understanding insurance coverage helps you recover leak-related costs.
What's Typically Covered:: - Sudden and accidental damage (storm, fallen tree) - Resulting interior damage from covered events - Emergency repairs to prevent further damage
What's Usually Not Covered:: - Gradual deterioration or wear - Maintenance-related failures - Neglect or failure to repair known issues - Flood damage (requires separate policy)
Claim Best Practices:: - Document everything with photos and notes - Report damage promptly - Don't make permanent repairs before adjuster inspection - Keep receipts for emergency repairs - Get contractor estimates for permanent repairs - Consider independent inspection if claim is disputed
Conclusion
Roof leaks require prompt attention to prevent serious damage to your home. By understanding how to locate leaks, make temporary repairs, and prevent future problems, you can protect your home while determining the best long-term solution.
Remember that safety comes first—if you can't safely investigate or repair a leak, contact a professional roofing contractor immediately. The cost of professional help is always less than the damage from an unaddressed leak.
Keep emergency supplies on hand, maintain your roof regularly, and address problems quickly. With this approach, you can minimize leak-related stress and protect your home investment.