Ice Dam Prevention: The Complete Homeowner's Guide to Winter Roof Protection
Ice dams are one of the most destructive winter roofing problems, causing water damage, structural issues, and expensive repairs for thousands of homeowners each year. Understanding how ice dams form and taking proactive prevention steps can save you from significant headaches and costs. This comprehensive guide covers everything you need to know about protecting your home from ice dam damage.
What Are Ice Dams and How Do They Form?
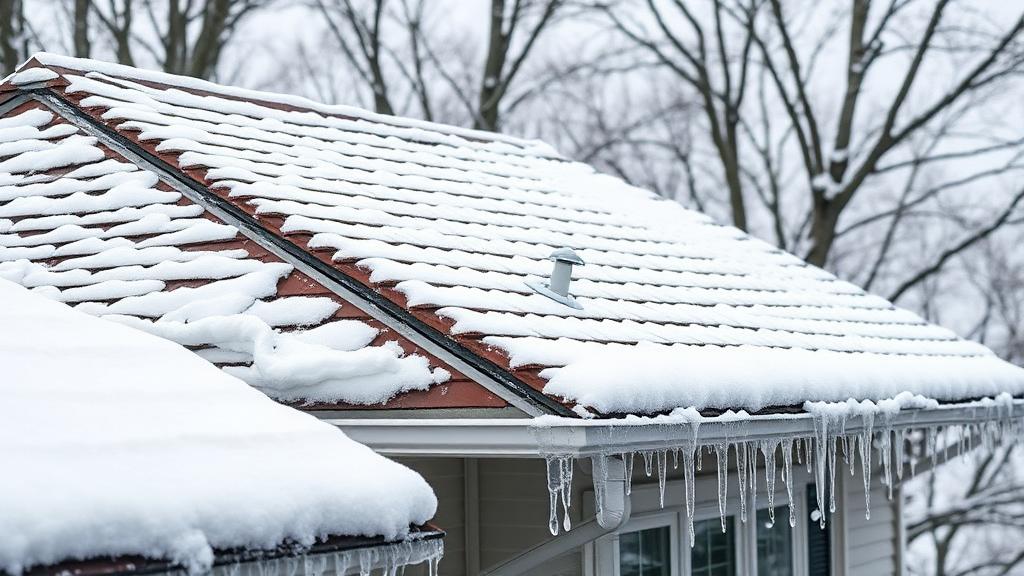
An ice dam is a ridge of ice that forms at the edge of a roof, preventing melting snow from draining properly. When water backs up behind this ice barrier, it can seep under shingles and into your home, causing extensive damage.
The Ice Dam Formation Process
Step 1: Heat Escapes Through the Roof Warm air from your living space rises into the attic. If the attic isn't properly insulated and sealed, this heat warms the roof deck from below.
Step 2: Snow Melts Unevenly The warmed upper roof sections melt snow, while the eaves (which extend beyond the heated house) remain cold. Water runs down toward the cold eaves.
Step 3: Water Refreezes at the Eaves When melted water reaches the cold eaves, it refreezes, building up a ridge of ice at the roof edge.
Step 4: Water Backs Up Behind the Dam As more snow melts and refreezes, the ice dam grows. Eventually, liquid water pools behind the dam with nowhere to go but under your shingles.
Step 5: Water Enters Your Home Water penetrating the roof system causes damage to: - Roof decking and structural members - Insulation (reducing effectiveness and promoting mold) - Ceilings and walls - Electrical systems - Personal belongings
Conditions That Promote Ice Dams
Temperature Patterns:: Ice dams typically form when outdoor temperatures fluctuate between teens and low 30s°F, with attic temperatures above freezing. Consistent cold (below 15°F) or consistent warmth (above 35°F) reduces ice dam risk.
Snow Accumulation:: At least 1-2 inches of snow must be present to provide a water source. Deep snow acts as insulation, keeping roof surfaces warmer and accelerating melting.
Roof Characteristics:: - North-facing slopes are more prone (less sun exposure to melt ice naturally) - Low-slope roofs hold snow longer - Complex roofs with valleys concentrate water flow
Warning Signs of Ice Dam Problems
Recognizing early warning signs allows intervention before major damage occurs.
Exterior Indicators
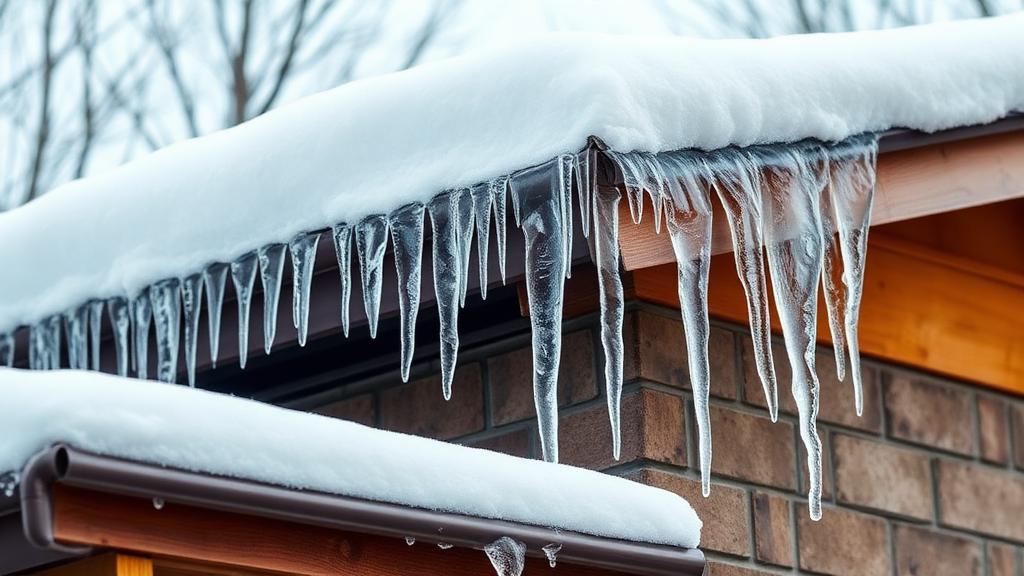
Icicle Formation:: Small icicles along eaves are normal; large, thick icicles indicate potential ice dam conditions. Icicles forming behind gutters or between siding and gutters suggest water backup.
Ice Buildup at Eaves:: Visible ice ridge along roof edges is the clearest sign of an active ice dam. The dam may extend several feet up the roof from the eaves.
Inconsistent Snow Patterns:: If snow melts faster in certain roof areas while remaining frozen elsewhere, heat loss is uneven—a recipe for ice dams.
Sagging Gutters:: Ice-filled gutters become extremely heavy, pulling away from fascia and potentially causing damage. This is both a symptom and a contributing factor.
Interior Warning Signs
Water Stains on Ceilings:: Brownish stains appearing on ceilings near exterior walls often indicate water intrusion from ice dams, especially if they appear during or after freeze-thaw cycles.
Peeling Paint:: Moisture infiltration from ice dams can cause interior paint to bubble, peel, or discolor, particularly on ceilings and upper walls.
Damp Insulation:: If accessible, check attic insulation near eaves for dampness after ice dam events. Wet insulation loses effectiveness and promotes mold growth.
Mold or Musty Odors:: Persistent moisture from ice dams creates ideal mold growth conditions. Musty odors in upper floors or attics warrant investigation.
Long-Term Ice Dam Prevention Strategies
The most effective ice dam prevention addresses the root causes: heat loss from living spaces into the attic and inadequate roof ventilation.
Air Sealing: Stop Heat Leaks
Before adding insulation, seal air pathways that allow warm air into the attic. Common leak points include:
Electrical and Plumbing Penetrations:: - Seal around electrical boxes with fire-rated caulk - Insulate and seal around plumbing stacks - Address gaps around electrical wires with foam sealant
HVAC Components:: - Seal around ductwork penetrations - Insulate ducts running through attic space - Verify bathroom and kitchen exhaust vents terminate outside, not into attic
Architectural Features:: - Seal around chimney chases with metal flashing and fire-rated sealant - Address dropped ceilings and soffits over kitchen cabinets - Seal around whole-house fans when not in use
Access Points:: - Weather-strip attic access hatches or doors - Install insulated covers over attic stairs - Seal around recessed light fixtures (use IC-rated fixtures)
Insulation: Keep Heat Where It Belongs
Proper attic insulation maintains comfortable living spaces while keeping roofs cold.
Recommended R-Values by Climate:: | Climate Zone | Minimum Attic R-Value | |--------------|----------------------| | Zones 1-2 (Hot) | R-30 to R-60 | | Zone 3 (Warm-Moderate) | R-30 to R-60 | | Zones 4-5 (Mixed-Cool) | R-38 to R-60 | | Zones 6-7 (Cold) | R-49 to R-60 | | Zone 8 (Very Cold) | R-49 to R-60 |
Insulation Best Practices:: - Maintain consistent depth throughout the attic - Don't compress insulation against roof deck at eaves - Use baffles to maintain airflow from soffits - Address thermal bridging at joists and rafters
Ventilation: Keep the Roof Cold
Proper roof ventilation removes any heat that does enter the attic, keeping roof surfaces uniformly cold.
Balanced Ventilation System:: - Intake vents at soffits (low) - Exhaust vents at or near ridge (high) - Natural convection draws cool air in and pushes warm air out
Ventilation Calculations:: The standard rule requires 1 square foot of net free ventilation area per 150 square feet of attic floor space. With proper balanced intake/exhaust, this can be reduced to 1:300.
Common Ventilation Problems:: - Blocked soffit vents (insulation, paint, debris) - Inadequate exhaust venting - Competing ventilation types (gable vents fighting ridge vents) - Bathroom fans exhausting into attic instead of outdoors
Roofing Solutions
When re-roofing, incorporate ice dam prevention features:
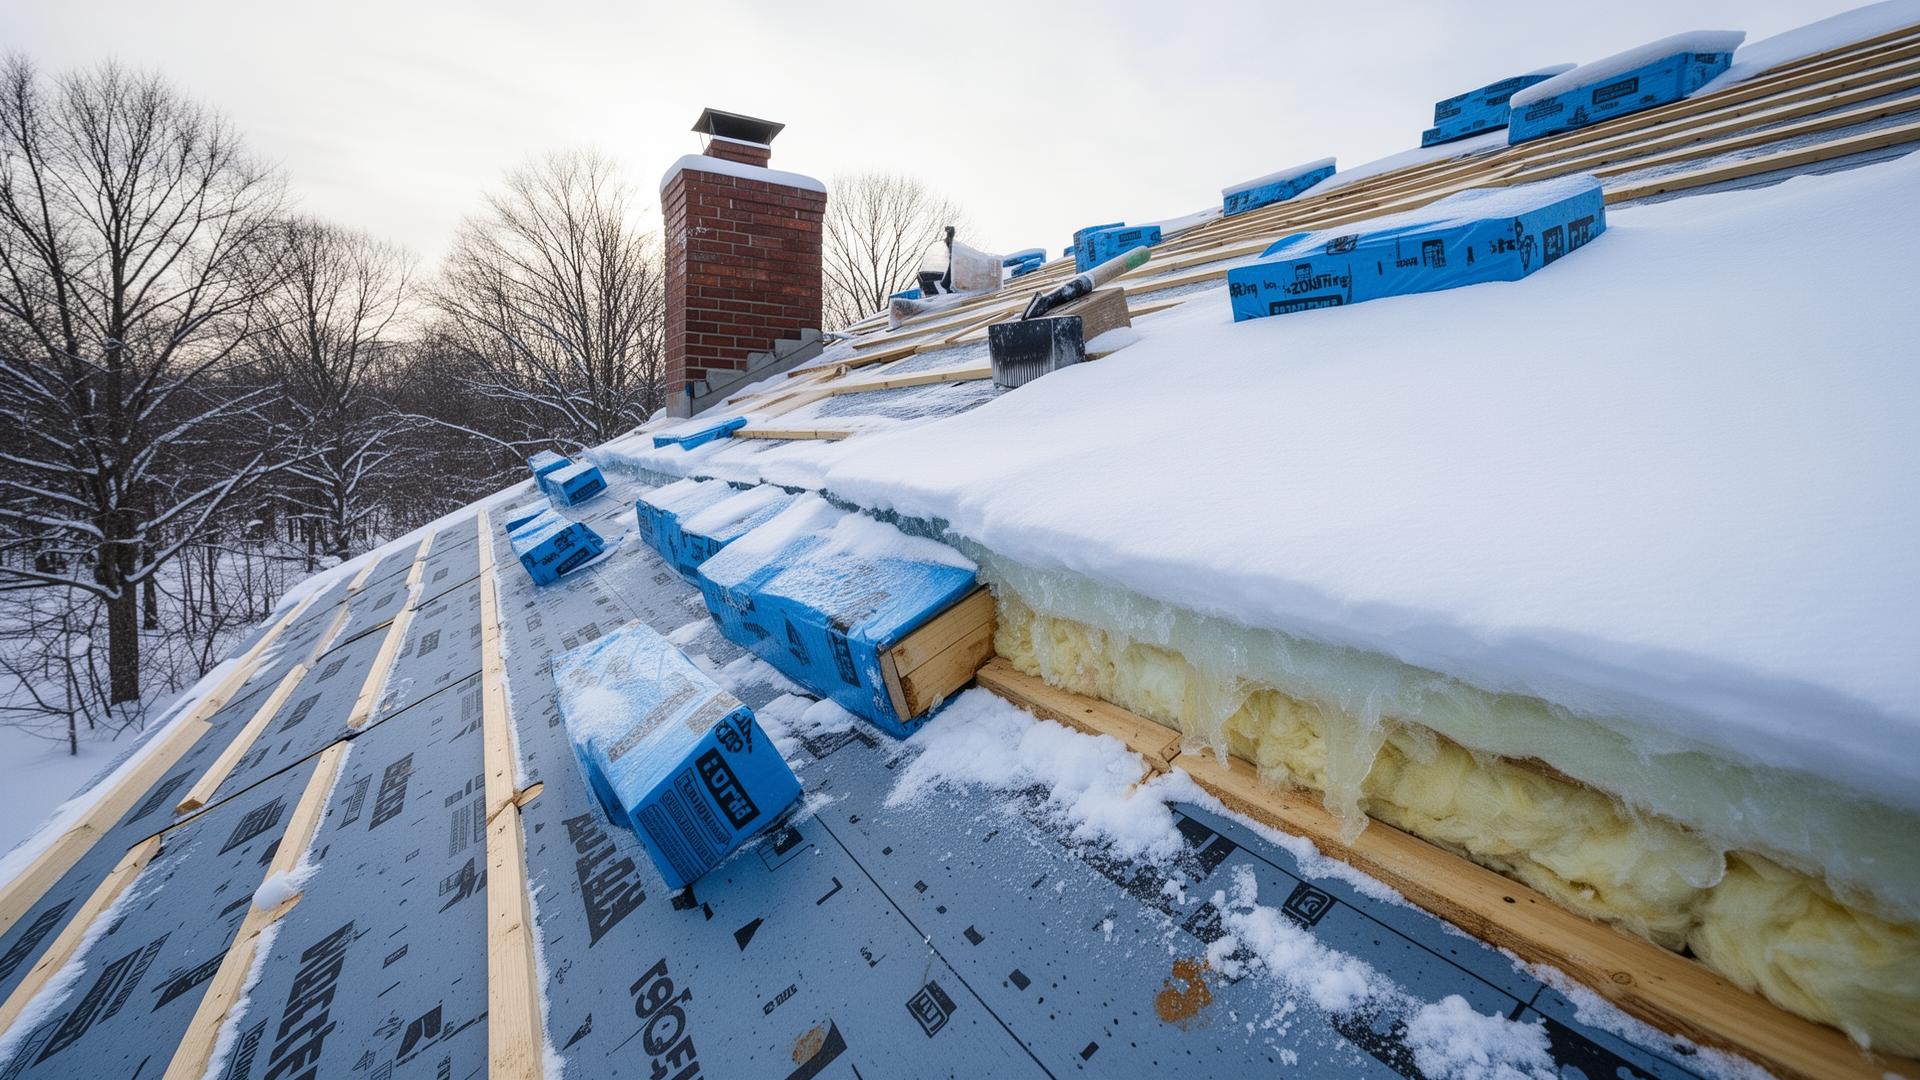
Ice and Water Shield:: Self-adhering membrane installed under shingles at eaves, valleys, and penetrations. Most building codes require it from eaves to at least 24 inches past the interior wall line. In severe climates, extend further up the roof.
Drip Edge Installation:: Metal flashing at roof edges promotes proper water drainage and protects fascia from water intrusion.
Metal Roofing:: Metal roofs shed snow more readily than asphalt shingles, reducing ice dam formation. Their smooth surface and thermal conductivity promote even temperature distribution.
Heat Cable Systems
Electric heat cables (also called heat tape or de-icing cables) provide active ice dam prevention for problem areas.
How Heat Cables Work
Cables installed in a zigzag pattern along roof edges and in gutters generate heat to melt ice, creating channels for water drainage even when ice dams try to form.
Heat Cable Types
Self-Regulating Cables:: - Automatically adjust heat output based on temperature - More energy-efficient - Can overlap without overheating - Higher initial cost but lower operating costs - Recommended for most applications
Constant Wattage Cables:: - Fixed heat output regardless of temperature - Less expensive initially - Cannot overlap (overheating risk) - Less energy-efficient - Suitable for budget-conscious applications
Installation Considerations
Professional Installation Recommended:: - Electrical connections must meet code requirements - Proper routing prevents damage and maximizes effectiveness - Incorrect installation creates fire risks or fails to prevent ice dams
Typical Installation Pattern:: - Cables run in zigzag pattern on roof surface - Extend through gutters and downspouts - Connected to dedicated electrical circuit - Controlled by thermostat or manual switch
Operating Costs:: Heat cables typically cost $0.50-$2.00 per linear foot per day to operate. For a 100-foot system, expect $15-$60 monthly during active use. Self-regulating systems cost less due to variable output.
Safe Ice Dam Removal
When ice dams form despite prevention efforts, safe removal prevents immediate water damage while you address underlying causes.
Safe Removal Methods
Calcium Chloride Application:: Fill old pantyhose or mesh bags with calcium chloride and lay across the ice dam. The chemical melts channels through the ice for water drainage. Never use rock salt, which damages roofing materials and vegetation.
Steam Removal (Professional):: Professionals use commercial steamers to melt ice dams without damaging roofing materials. This is the safest and most effective removal method for established dams.
Roof Raking (Prevention):: After heavy snowfall, use a roof rake from ground level to remove snow from the lower 3-4 feet of roof. This eliminates the water source before dams can form. Never climb on icy roofs.
Dangerous Methods to Avoid
Never Use:: - Axes, picks, or sharp tools (damage shingles and roof deck) - Power washers (water freezes and compounds problems) - Open flames or torches (extreme fire hazard) - Rock salt (corrodes metals, damages roofing, kills plants)
Never Attempt:: - Walking on icy or snow-covered roofs - Climbing ladders in icy conditions - Chipping at ice with any tool - Removing ice dams during active snowfall or extreme cold
Insurance Considerations
Understanding your coverage helps navigate ice dam damage claims.
Typically Covered:: - Interior water damage from ice dams (sudden and accidental) - Repair of damaged structural elements - Mold remediation resulting from covered water damage
Typically Not Covered:: - The ice dam itself - Roof repairs needed due to age or wear - Prevention measures (insulation, ventilation improvements) - Damage resulting from lack of maintenance
Documentation Tips:: - Photograph ice dams and resulting damage - Document dates and temperatures - Keep records of maintenance and prevention efforts - Report claims promptly
When to Call Professionals
Some situations require professional assistance:
Emergency Situations:: - Active water intrusion into living spaces - Large ice dams requiring immediate removal - Electrical concerns from water near fixtures
Prevention Projects:: - Attic air sealing and insulation upgrades - Ventilation system improvements - Heat cable installation - Roof replacement with ice dam prevention features
Find qualified contractors experienced with ice dam prevention and removal in your climate zone.
Conclusion
Ice dams are preventable with proper attention to attic air sealing, insulation, and ventilation. While these improvements require investment, they pay dividends through reduced heating costs, prevented water damage, and peace of mind during winter months.
Start with an attic inspection to assess current conditions, address air leaks first, then ensure adequate insulation and balanced ventilation. For persistent problem areas, consider heat cable systems as supplementary protection. With comprehensive prevention measures in place, you can enjoy winter weather without worrying about ice dam damage to your home.