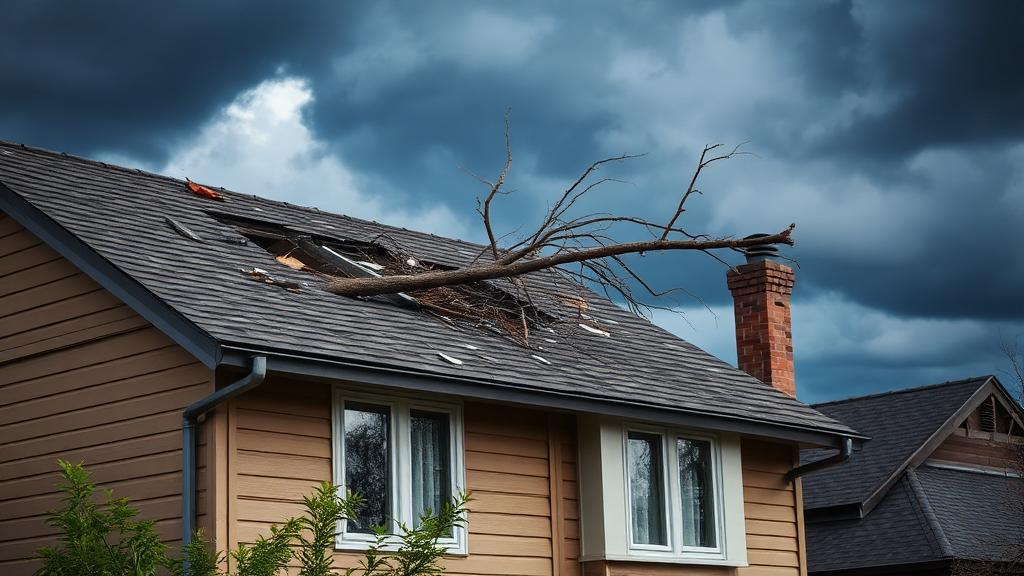
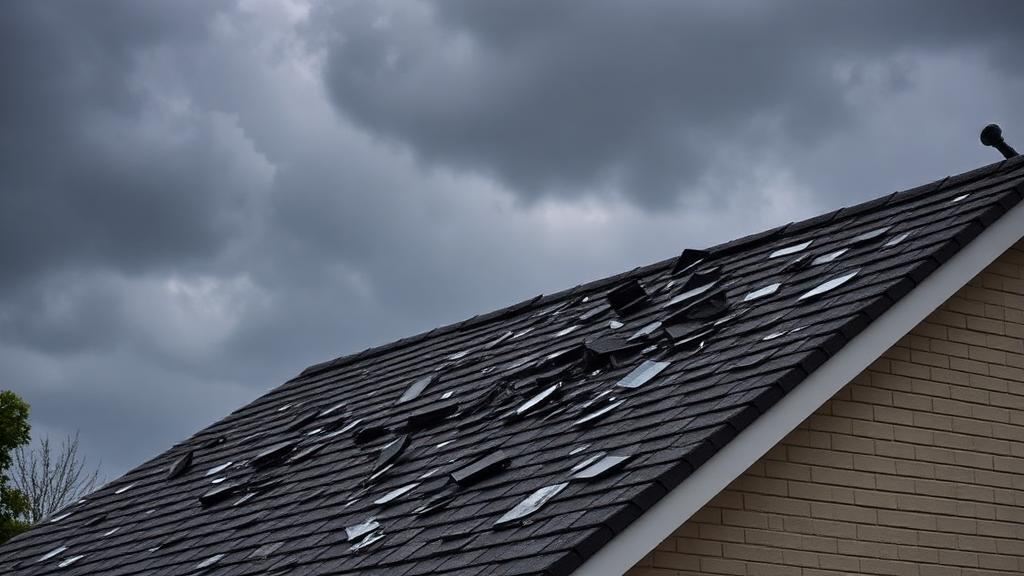
Post-Storm Roof Inspection: Complete Checklist for Homeowners

After any significant storm, inspecting your roof for damage is essential—even when no obvious problems are visible from the ground. Hidden damage left unaddressed can lead to water infiltration, mold growth, and costly repairs. This comprehensive post-storm inspection guide provides a systematic approach to examining your roof, identifying damage, and taking appropriate action.
Pre-Inspection Preparation
Before beginning your inspection, proper preparation ensures safety and thoroughness.
Wait for Safe Conditions:
Never inspect during: - Active storms or precipitation - High winds (above 15-20 mph) - Icy or wet roof conditions - Darkness or low visibility - Ongoing lightning activity (wait 30 minutes after last strike)
Gather Equipment:
Basic inspection tools: - Binoculars (for ground-level viewing) - Camera or smartphone - Notepad or inspection app - Flashlight (for interior/attic inspection) - Ladder (if safely accessing roof) - Non-slip footwear
Safety Equipment (if accessing roof):
- Ladder stabilizer
- Work gloves
- Safety glasses
- Fall protection (harness and anchor for steep roofs)
- Helper on the ground
Know When NOT to Access the Roof:
Call professionals instead if: - Roof pitch exceeds 6:12 - Structural damage is suspected - Power lines are near or on roof - You lack proper safety equipment - You're uncomfortable with heights
Ground-Level Exterior Inspection
Begin from the ground, systematically examining all visible roof and related components.
Overall Roof Assessment:
Using binoculars if needed:
□ Check for missing shingles or tiles □ Look for lifted, curled, or buckled shingles □ Examine hip and ridge caps for damage □ Note any visible debris on roof □ Check for sagging areas in roof plane □ Look for exposed underlayment or decking
Gutter System:
□ Examine gutters for dents or damage □ Check for pulled-away sections □ Look for excessive granules in gutters □ Verify downspouts are intact and attached □ Check gutter screens/guards if present
Fascia and Soffits:
□ Look for damage, dents, or holes □ Check for separated or hanging sections □ Examine paint damage or exposed wood □ Note any water staining
Roof Projections:
Examine from ground: □ Chimney caps and flashing visible damage □ Vent covers and pipe boots □ Skylights for obvious damage □ Satellite dishes and antennas □ Solar panels if applicable
Perimeter and Foundation:
□ Note any fallen roofing materials □ Check for debris accumulation □ Look for water pooling near foundation □ Examine window wells for debris
Roof-Level Inspection (When Safe)
If conditions allow safe roof access, conduct detailed examination.
Shingle/Material Inspection:
□ Walk systematically across accessible areas □ Check for soft spots indicating deck damage □ Examine shingles for hail impact marks □ Look for cracked, split, or torn shingles □ Check for exposed nail heads □ Examine granule loss patterns □ Look for lifted tabs and damaged seal strips
Flashing Points:
□ Chimney flashing integrity □ Skylight flashing and seals □ Plumbing vent boot condition □ HVAC penetration seals □ Valley flashing condition □ Wall intersection flashing □ Step flashing along dormers
Vents and Penetrations:
□ Ridge vent damage or displacement □ Roof vent covers intact □ Exhaust fan covers □ Attic fan if present □ Satellite/antenna mounts
Edges and Transitions:
□ Drip edge integrity □ Rake edge condition □ Eave condition □ Hip and ridge cap integrity □ Valley condition
Interior Inspection
Interior inspection reveals damage not visible externally.
Attic Inspection:
If safely accessible:
□ Look for daylight through roof boards □ Check for water stains on sheathing □ Examine rafters for moisture □ Feel insulation for dampness □ Look for mold beginning □ Check around penetrations for leaks □ Verify ventilation components intact □ Note any musty odors
Ceiling Inspection:
Throughout the home:
□ Look for water stains (brown rings) □ Check for sagging or soft areas □ Note bubbling or peeling paint □ Look for cracks near walls/ceilings □ Check around light fixtures
Wall Inspection:
Especially upper floors:
□ Water staining below roofline □ Dampness near exterior walls □ Paint bubbling or peeling □ Wallpaper separation
Collateral Damage Assessment
Storm damage often extends beyond roofing. Document everything.
Siding and Exterior:
□ Dents, cracks, or holes □ Paint chips or damage □ Separated sections □ Impact marks
Windows and Doors:
□ Broken or cracked glass □ Damaged screens □ Frame damage □ Seal failures
HVAC and Equipment:
□ Air conditioner condenser damage □ Heat pump condition □ Outdoor unit debris □ Vent covers
Other Property:
□ Vehicles (dents establish hail size) □ Outdoor furniture □ Fencing □ Deck or patio □ Landscape features
Documentation Protocol
Thorough documentation supports insurance claims and repair planning.
Photography Requirements:
Each damage point needs: - Wide shot showing location context - Medium shot showing damage area - Close-up showing damage detail - Photos with size reference when applicable
Written Documentation:
For each issue found: - Location (specific as possible) - Description of damage - Estimated size or extent - Photo reference numbers - Date and time documented
Inspection Record Form:
Use consistent format:
| Location | Damage Description | Severity (1-5) | Photo # | Notes |
|---|---|---|---|---|
| North slope, 15' from ridge | 3 missing shingles | 4 | 12-14 | Underlayment exposed |
| Chimney flashing | Lifted edge, 6" section | 3 | 15-17 | Sealant failed |
Damage Severity Assessment
Categorize findings to prioritize response.
Emergency (Immediate Action Required):
- Active water entry
- Exposed roof deck
- Structural damage visible
- Large holes or missing sections
- Power line involvement
Urgent (Address Within Days):
- Missing shingles (multiple)
- Compromised flashing
- Damaged or missing vent covers
- Significant granule loss
- Lifted ridge caps
Priority (Schedule Promptly):
- Minor shingle damage
- Small flashing issues
- Cosmetic gutter damage
- Minor soffit damage
- Isolated granule loss
Monitor (Track Over Time):
- Minimal impact marks
- Minor cosmetic issues
- Previously repaired areas
- Aging-related concerns
When to Call Professionals
Some situations require expert assessment.
Call Professionals Immediately If:
□ Structural damage is suspected □ Large areas of shingles missing □ Active water intrusion continues □ Tree or debris impact occurred □ You cannot safely access or view areas □ Damage appears extensive
Professional Assessment Value:
Expert inspection provides: - Identification of hidden damage - Accurate repair estimates - Documentation for insurance - Code compliance verification - Warranty-compliant assessments
Find qualified roofing professionals for thorough post-storm assessments.
Insurance Claim Preparation
Your inspection supports potential claims.
Before Filing:
□ Review policy coverage and deductibles □ Compile all documentation □ List all damage points found □ Note timeline of storm and discovery □ Gather weather service storm data
When Filing:
Provide: - Date and nature of storm - When damage was discovered - Preliminary damage description - Photos and documentation - Contact information
Claim Strengthening:
- Get professional inspection reports
- Document collateral damage
- Preserve all damaged materials
- Keep all receipts for temporary repairs
Post-Inspection Actions
Based on findings, take appropriate next steps.
Emergency Response:
If immediate action required: 1. Contact emergency roofing services 2. Take temporary protective measures 3. File insurance claim immediately 4. Document all emergency actions
Standard Response:
For non-emergency damage: 1. Complete thorough documentation 2. Contact insurance if claim warranted 3. Obtain contractor estimates 4. Schedule repairs appropriately
Minimal or No Damage:
If inspection finds little damage: 1. Document the inspection (proves roof condition) 2. Save records with home documents 3. Monitor noted areas over time 4. Schedule routine maintenance
Seasonal Inspection Considerations
Different storms create different damage patterns.
After Winter Storms:
Specific concerns: - Ice dam effects at eaves - Snow load impacts - Freeze-thaw cycle damage - Gutter ice damage
After Spring/Summer Storms:
Focus areas: - Hail impact damage - Wind-lifted shingles - Lightning strike damage - Flying debris impacts
After Fall Storms:
Check for: - Leaf/debris accumulation - Branch damage - Clogged gutters - Pre-winter vulnerabilities
After Hurricane Season:
Comprehensive assessment: - All wind damage - Water intrusion points - Structural integrity - Preparation for future events
Creating an Inspection Routine
Regular post-storm inspections become habit.
Inspection Triggers:
Inspect after: - Any hail report in your area - Winds exceeding 50 mph - Significant rain events - Any storm with reported damage nearby - Tree or debris falls on property
Maintaining Records:
Keep organized files of: - All inspection reports - Photographs (dated and organized) - Repair records - Insurance communications - Contractor documents
Annual Baseline:
Beyond storm response: - Conduct annual comprehensive inspection - Update photo documentation - Note changes over time - Plan preventive maintenance
Conclusion
Thorough post-storm roof inspection protects your home and supports insurance claims. Key principles:
- Wait for safe conditions - Never inspect during dangerous weather
- Be systematic - Follow consistent inspection pattern
- Document everything - Photos, notes, and organized records
- Know your limits - Call professionals when needed
- Act promptly - Address damage before it worsens
Making post-storm inspection routine ensures damage is caught early, repairs are made promptly, and your home remains protected. Use this checklist after every significant weather event to maintain your roof's integrity and your peace of mind.