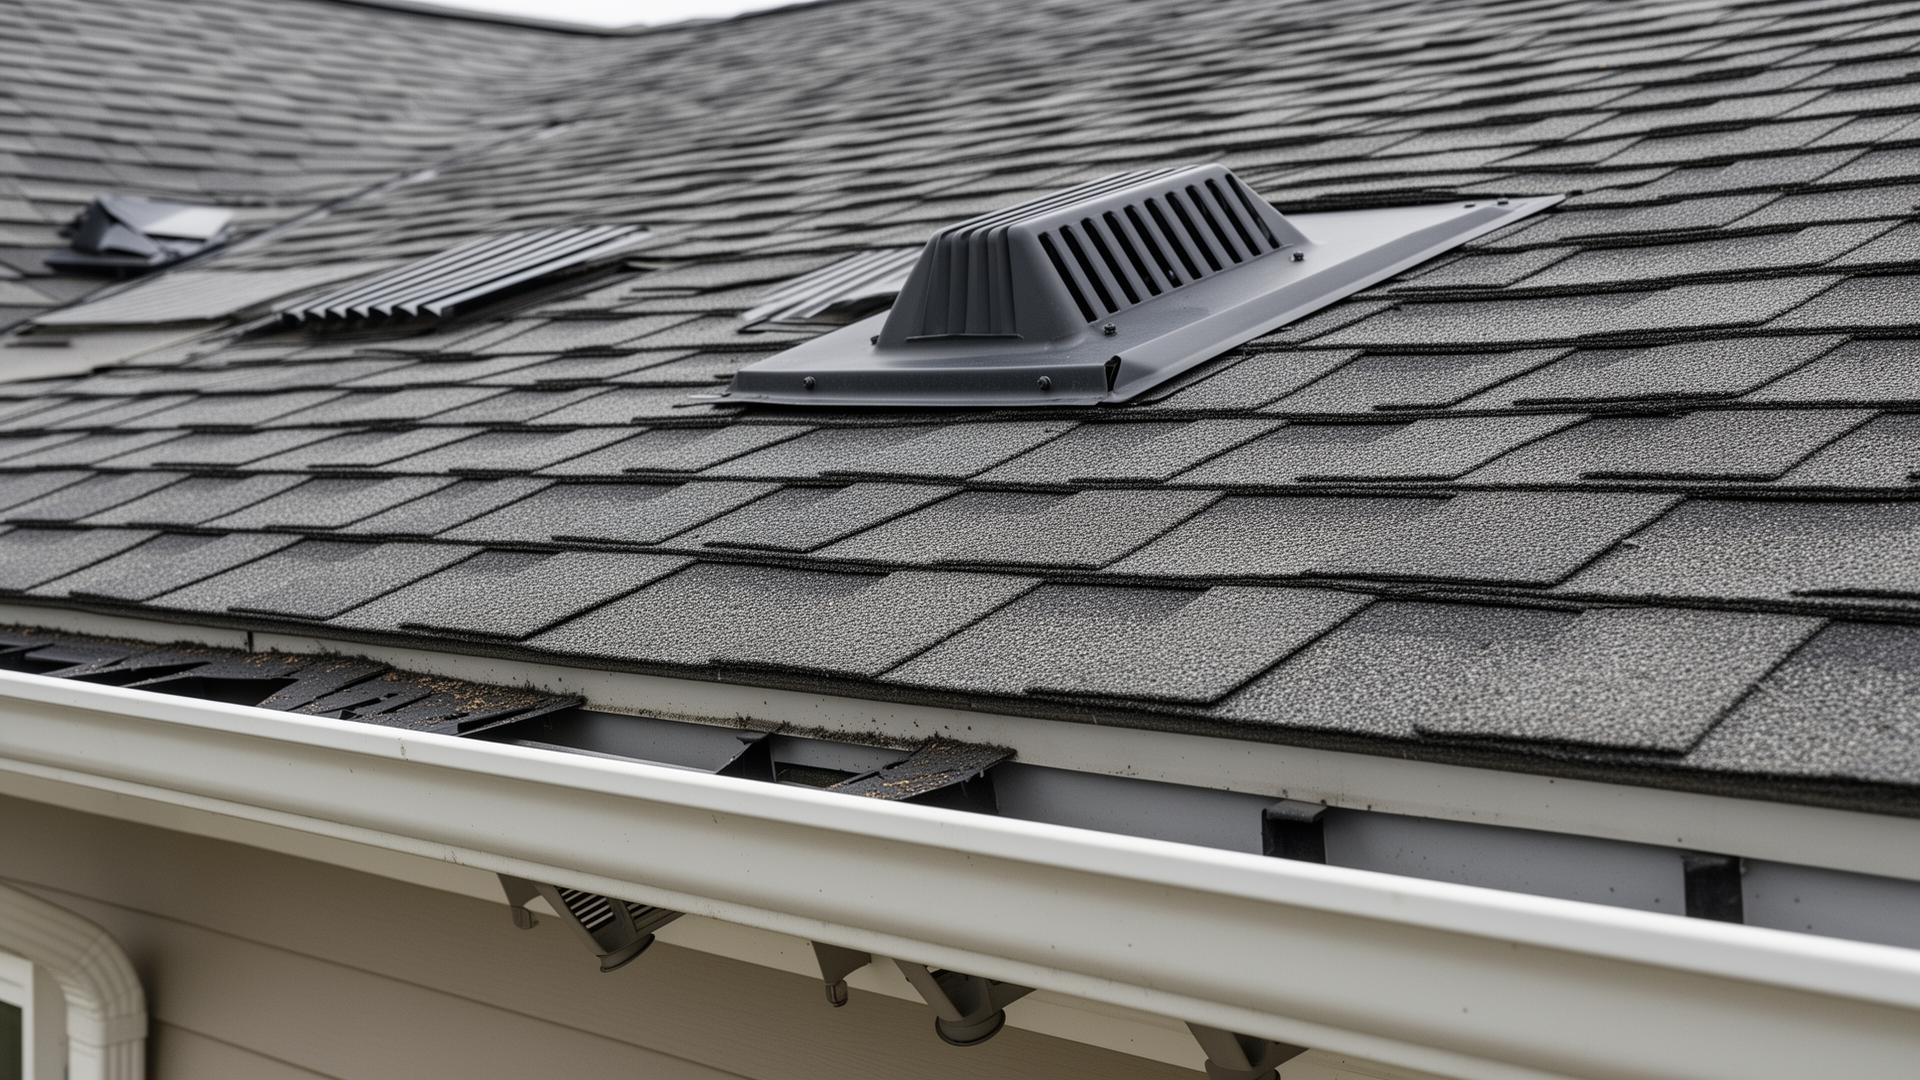
Winter Roof Preparation Guide: Protect Your Home from Cold Weather Damage
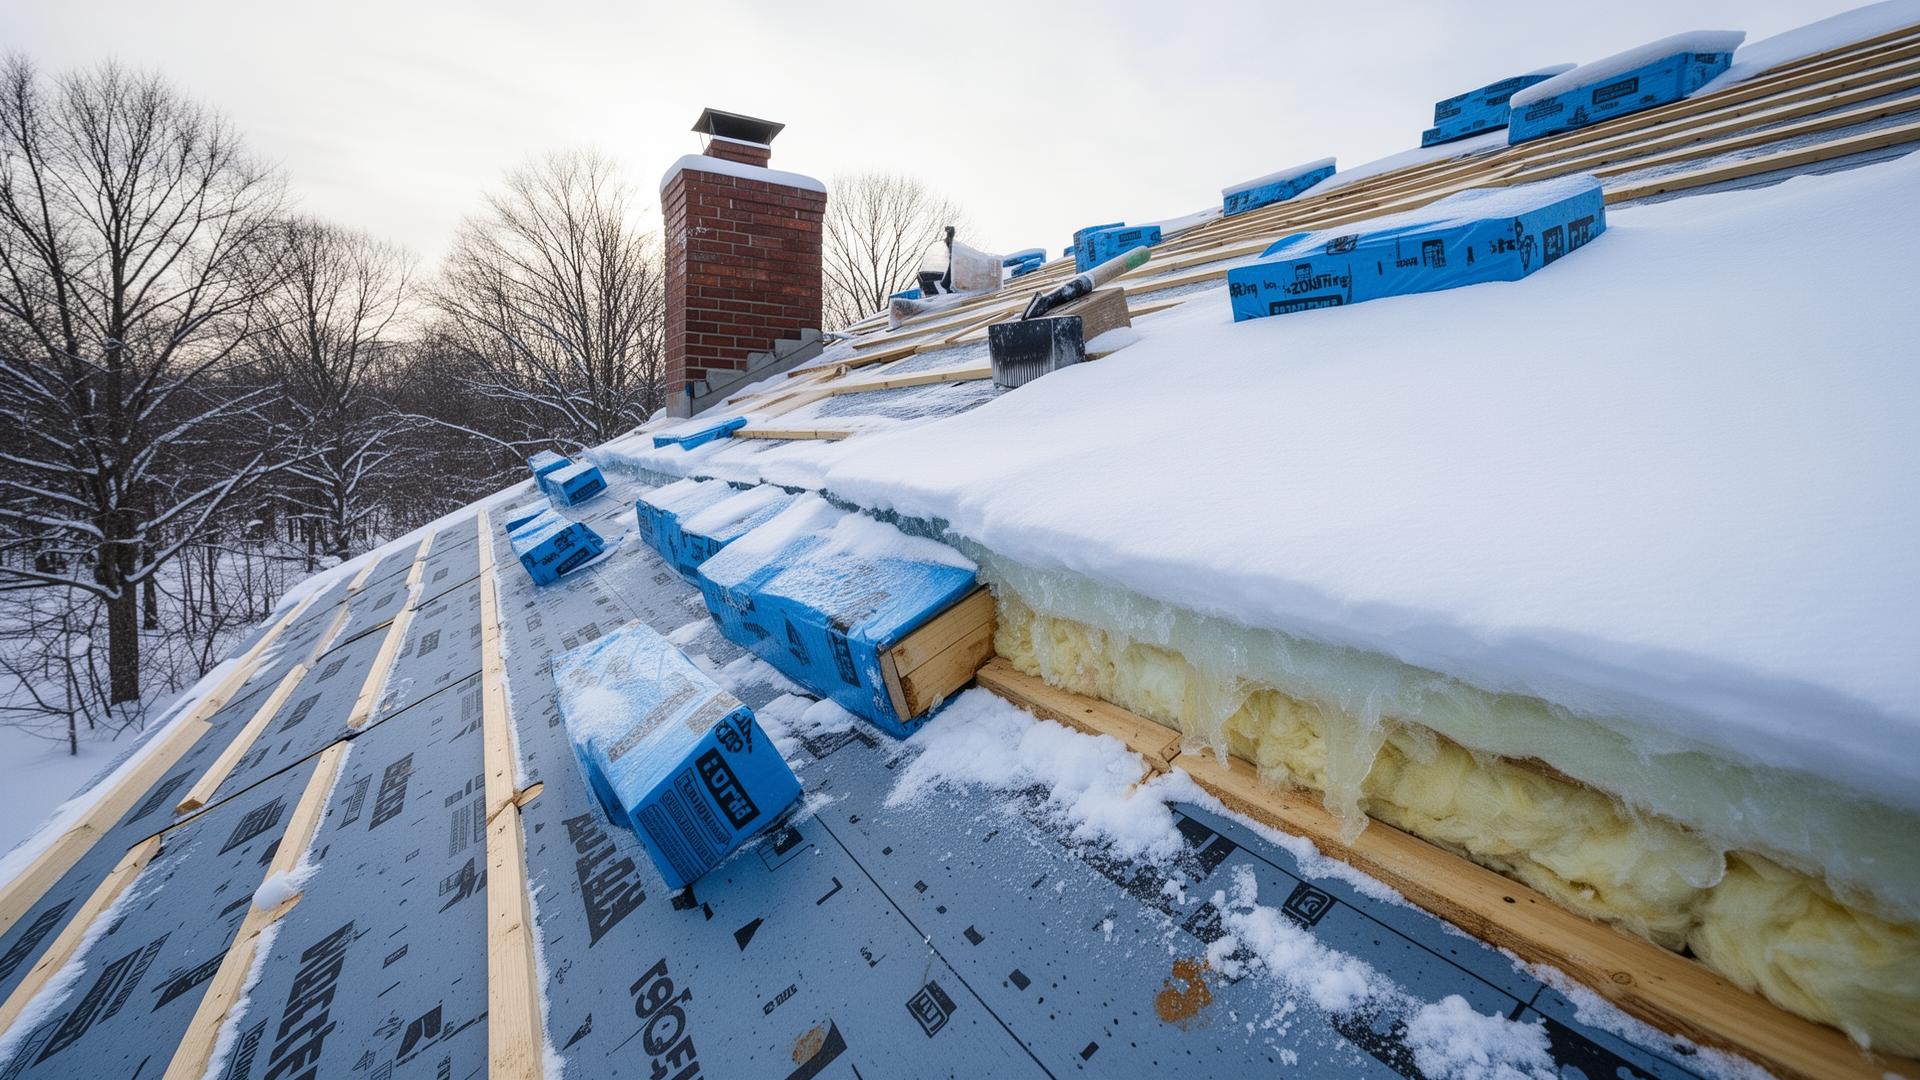
Winter poses unique challenges for residential roofs. Snow loads, ice dams, freeze-thaw cycles, and cold temperatures can stress roofing systems and reveal weaknesses that go unnoticed in warmer months. This comprehensive guide helps you prepare your roof for winter, prevent common cold-weather problems, and handle emergencies when they occur.
Understanding Winter Roof Challenges
Before preparing for winter, understand the specific threats your roof faces.
Snow and Ice Loads:: Fresh snow weighs approximately 3-5 pounds per cubic foot, but ice can weigh 57 pounds per cubic foot. A typical winter snow accumulation can place thousands of pounds of weight on your roof.
Structural capacity varies, but most residential roofs are designed to handle 20-40 pounds per square foot of snow load. When snow becomes saturated with water or compacts into ice, loads can exceed design limits.
Ice Dams:: Ice dams form when snow melts on warmer upper roof sections, then refreezes at the cold eaves. This ice barrier traps subsequent meltwater, which can back up under shingles and into your home.
Ice dam formation requires: - Snow on the roof - Roof sections warm enough to melt snow - Eave temperatures cold enough to refreeze meltwater
Freeze-Thaw Cycles:: Water expands when it freezes. When water penetrates small cracks or gaps and then freezes, the expansion widens those openings. Repeated cycles progressively damage flashing, sealants, and roofing materials.
Condensation:: In cold weather, warm moist air from inside your home rises and can condense on cold roof surfaces in the attic. This moisture damages insulation, causes mold growth, and deteriorates structural components.
Fall Inspection and Maintenance
Preparing for winter starts in autumn with thorough inspection and maintenance.
Complete Inspection Checklist:
Roof Surface:: - [ ] Check for damaged, curled, or missing shingles - [ ] Look for exposed nail heads - [ ] Examine all flashings for damage or separation - [ ] Inspect vent pipe boots for cracking - [ ] Check ridge caps for secure attachment - [ ] Look for moss, algae, or debris accumulation - [ ] Note any areas of ponding water or debris collection
Drainage System:: - [ ] Clean all gutters thoroughly - [ ] Verify gutters are securely attached - [ ] Check gutter pitch for proper drainage - [ ] Clear all downspouts of debris - [ ] Ensure downspouts direct water away from foundation - [ ] Consider installing gutter guards if not present
Attic:: - [ ] Verify ventilation is functioning properly - [ ] Check insulation levels and condition - [ ] Look for signs of past water intrusion - [ ] Ensure bathroom and kitchen exhaust vents discharge outside - [ ] Check for gaps around penetrations that allow air leakage
Structure:: - [ ] Look for sagging sections of roof - [ ] Examine visible rafters or trusses for damage - [ ] Check chimney masonry for cracks - [ ] Verify skylight seals are intact
Addressing Found Issues:
| Issue | Priority | Recommended Action |
|---|---|---|
| Damaged shingles | High | Repair or replace before winter |
| Flashing problems | High | Reseal or replace immediately |
| Gutter damage | High | Repair to ensure proper drainage |
| Ventilation issues | Medium | Improve before winter |
| Insulation gaps | Medium | Add insulation before cold weather |
| Minor wear | Low | Monitor through winter |
Ice Dam Prevention Strategies
Ice dams are among the most damaging winter roof problems. Prevention is far preferable to dealing with active ice dams.
Understanding Ice Dam Formation:
Ice dams form due to temperature differences on the roof surface. When the roof deck above the attic is warmer than 32°F while eaves remain colder, melted snow runs down and refreezes at the eaves. This ice buildup creates a dam that traps water.
The root cause is usually: 1. Inadequate attic insulation (heat transfers through) 2. Air leakage from house into attic 3. Insufficient attic ventilation
Prevention Measures:
1. Improve Insulation The attic floor should have enough insulation to keep the roof deck cold. - Check current insulation R-value against recommendations for your climate - Common recommendation: R-49 to R-60 for cold climates - Ensure insulation coverage is uniform without gaps - Address any compressed or damaged insulation
2. Seal Air Leaks Warm air from your living space entering the attic is a major heat source. - Seal around attic access hatches - Caulk gaps around electrical penetrations - Seal around plumbing vent stacks - Address gaps where walls meet the attic floor - Seal recessed light fixtures (or use IC-rated covers)
3. Ensure Proper Ventilation Good ventilation keeps the roof deck uniformly cold. - Verify soffit vents aren't blocked by insulation (use baffles) - Check that ridge vents or roof vents are functioning - Balance intake and exhaust ventilation - Don't mix exhaust vent types (ridge vents and power vents together cause problems)
4. Consider Ice and Water Shield For new roofs or reroofing: - Install self-adhering ice and water shield membrane - Cover at least 24 inches past the warm wall line - Some codes require this protection in cold climates - Also install in valleys and around penetrations
5. Evaluate Heated Cables As a supplemental measure: - Electric heat cables can melt channels for water drainage - Install in zigzag pattern along eaves and valleys - Not a substitute for proper insulation and ventilation - Use with thermostat control for efficiency - Check systems before winter and repair any damage
Snow Load Management
Heavy snow accumulation requires attention to prevent structural stress.
Monitoring Snow Loads:
Warning signs of excessive weight: - New cracks in interior walls or ceilings - Doors suddenly sticking - Visible sagging in roof lines - Popping or cracking sounds from roof structure
Safe Snow Removal:
- Use a Roof Rake
- - Remove snow from ground level with telescoping roof rake
- - Work from eaves upward
- - Remove only enough to relieve weight; don't scrape to the shingles
- - Don't pull snow toward yourself (stand to the side)
- Clear Around Structures
- - Remove snow piled against walls and dormers
- - Keep gutters accessible for drainage
- - Clear around exhaust vents
- Know Your Limits
- - Never get on an ice-covered or snowy roof
- - If you can't reach from ground level, call professionals
- - Don't attempt to remove ice; wait for thaw or professional help
Professional Snow Removal:
Consider hiring professionals when: - Snow depth exceeds your reach from ground level - Ice has formed that prevents safe removal - Structural concerns exist - You have a flat or low-slope roof that needs clearing - Physical limitations prevent safe removal
Cold Weather Emergency Preparation
Despite preparation, winter emergencies can occur. Being ready helps minimize damage.
Emergency Supplies:
Keep these items accessible: - Heavy-duty plastic sheeting or tarps - Roof rake with extension handles - Calcium chloride ice melt (in mesh bags for roof use) - Flashlights with fresh batteries - Roofing professional contact information - Insurance documentation
Emergency Response Plan:
For Active Leaks:: 1. Position containers to catch water 2. Move valuables from affected area 3. Document with photos 4. Contact professional for emergency service 5. Don't attempt roof repairs in winter conditions
For Ice Dams with Leaking:: 1. Control interior water as above 2. Create channels through ice dam (calcium chloride in stockings placed on dam) 3. Don't chop ice (damages roofing) 4. Contact professional for steam removal if available 5. Plan for spring improvements to prevent recurrence
For Heavy Snow:: 1. Monitor for structural stress signs 2. Remove snow with roof rake if safely possible 3. Call for professional removal if beyond capacity 4. Evacuate if structural failure seems imminent
Protecting Vulnerable Areas
Certain roof features need extra winter attention.
Skylights:: - Verify seals are intact before winter - Monitor for ice buildup around frames - Check for condensation on interior surfaces - Keep skylights clear of heavy snow accumulation
Chimneys:: - Inspect masonry for cracks that water can enter and freeze - Check flashing condition - Consider chimney cap to prevent snow and water entry - Have chimneys inspected and cleaned before heating season
Valleys:: - Clear debris before winter - Check for flashing damage - Monitor for ice dam formation in valley channels - Address any visible wear or damage promptly
Gutters:: - Clean thoroughly in late fall - Verify secure attachment (ice weight is substantial) - Check for proper pitch - Consider gutter guards to reduce winter debris accumulation - Keep downspouts clear
Indoor Winter Monitoring
Pay attention to interior signs that indicate roof problems.
Regular Checks:
Ceilings and Walls:: - New water stains or expanding stains - Paint bubbling or peeling - Damp or musty odors - Cracks in plaster or drywall
Attic:: - Frost on roof sheathing (indicates moisture problem) - Wet insulation - Dripping water during or after snowfall - Light visible through roof (indicates holes)
Windows and Frames:: - Excessive condensation (indicates humidity issues) - Ice formation on interior surfaces - Drafts near ceiling level
When to Take Action:
| Sign | Urgency | Response |
|---|---|---|
| Active leak | Emergency | Control water, call professional |
| New stains | High | Investigate source, monitor closely |
| Frost in attic | Medium | Improve ventilation when weather allows |
| Small drafts | Low | Plan for spring repairs |
Planning for Spring Repairs
Document winter issues for comprehensive spring maintenance.
Winter Log:: Keep a record of: - All winter weather events (snow amounts, ice storms) - Any leaks or water intrusion - Ice dam formations and locations - Areas where snow accumulated heavily - Any emergency repairs made
Spring Priorities:
When weather allows, address: 1. Any emergency repairs made temporarily 2. Ice dam prevention (insulation, ventilation, air sealing) 3. Damage from freeze-thaw cycles 4. Gutter and drainage issues 5. Professional inspection for comprehensive assessment
Regional Considerations
Different cold climates have different priorities.
Heavy Snow Areas (Mountains, Upper Midwest):: - Focus on structural capacity and snow load management - Steep roof pitches help shed snow - Strong gutter systems essential - Consider snow guards in some applications
Freeze-Thaw Regions (Mid-Atlantic, Pacific Northwest mountains):: - Ice dam potential high with variable temperatures - Flashing and sealant integrity critical - Drainage must remain functional - Multiple freezes cause cumulative damage
Coastal Cold Climates (New England, Great Lakes):: - Wind-driven snow and ice - Salt air accelerates corrosion - Ice dam potential significant - Storm preparation important
Conclusion
Winter roof preparation is an investment that protects your home and prevents costly emergency repairs. By addressing insulation, ventilation, and maintenance in the fall, you significantly reduce the risk of ice dams, leaks, and weather damage.
Start your preparation early in autumn, address all identified issues before cold weather arrives, and maintain awareness throughout the winter months. When spring comes, follow up with professional inspection and repairs to address any winter wear.
For significant concerns or complex issues, don't hesitate to contact a qualified roofing professional who can evaluate your specific situation and recommend appropriate solutions. Your roof's ability to protect your home through winter depends on the preparation you do now.